How to Make Food Safe Disinfectants
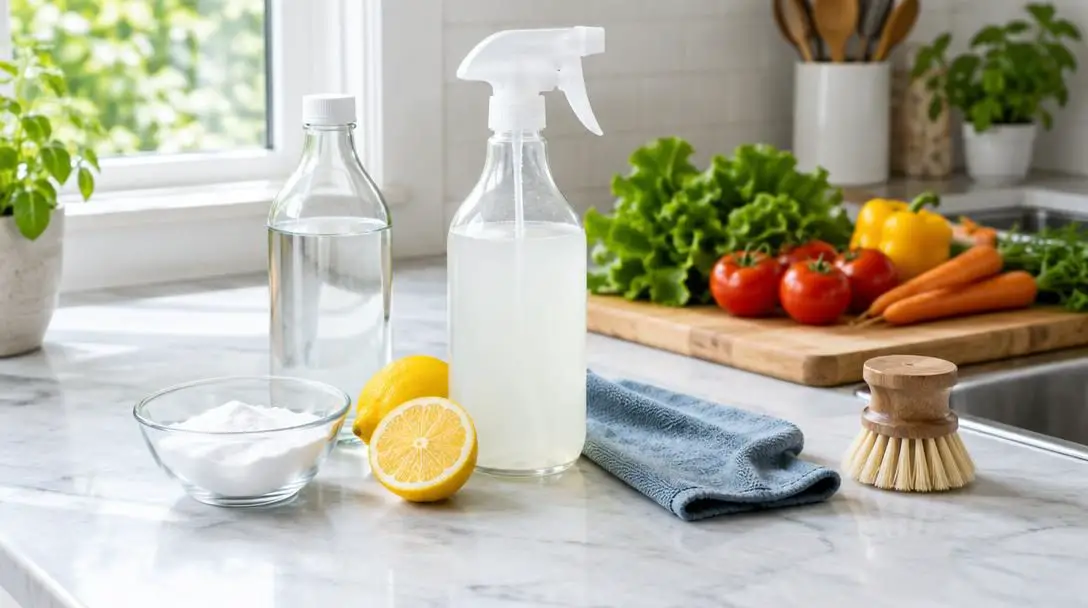
Maintaining a clean kitchen is a point of personal pride for many households, but visual cleanliness does not always equal microbiological safety. Even when countertops look spotless, spills are wiped away immediately, and dishes are neatly stacked, hard surfaces can still harbor invisible populations of bacteria, viruses, and fungi. These microscopic pathogens are continually introduced into food preparation areas via grocery bags, fresh produce, raw meat, unwashed hands, and household pets, creating direct pathways to contaminate daily meals.
While commercial specialty sanitizers are ubiquitous on grocery store shelves, they often feature steep price tags, heavy synthetic fragrances, and proprietary formulas that are impractical to stockpile. Fortunately, reliable food-safe disinfectants can be assembled at home using simple, inexpensive staple ingredients. By understanding the distinct chemical mechanisms of common sanitizers and applying them with proper contact times, anyone can establish a dependable, food-safe hygiene routine right on the home front.
Key takeaways
- Cleaning removes visible grease and organic grime with soap and friction, whereas disinfecting chemically neutralizes microscopic biological pathogens.
- A food-safe bleach solution requires one teaspoon of standard household bleach per quart of water and needs a minimum contact time of one minute.
- Undiluted five-percent white distilled vinegar serves as an accessible mild sanitizer, requiring a ten-minute dwell time at room temperature or faster action when heated above 130 degrees Fahrenheit.
- Bleach and vinegar must never be combined, as mixing an acid with chlorine bleach releases toxic, hazardous gas.
- Diluted bleach degrades into basic salt and water within one week, requiring fresh batches to maintain sanitizing efficacy.
The Science of Kitchen Sanitization: Cleaning Versus Disinfecting
Effective sanitation in culinary spaces requires drawing a clear line between two distinct operations: cleaning and disinfecting. Cleaning is primarily a mechanical process. By combining warm water, dish soap, and manual friction from a sponge or scrub brush, you dislodge crumbs, dissolve grease, and suspend dirt so it can be rinsed away. Although cleaning lifts away a significant volume of biological matter, it does not reliably eliminate the pathogens clinging to the underlying surface.
Disinfecting, by contrast, is a chemical intervention designed specifically to deactivate or destroy the residual microorganisms that survive the cleaning phase. Applying an active antimicrobial agent ensures that cutting boards, prep tables, and high-touch utensils do not transfer illness-causing pathogens to ready-to-eat foods. For a chemical sanitizer to function as intended, the surface must be completely free of physical debris; organic grease and food residue actively shield microbes from the sanitizing agent and dilute its chemical power.
True kitchen sanitization requires removing the organic debris first so the chemical disinfectant can make direct contact with microscopic organisms.
Evaluating Homemade Food-Safe Sanitizing Formulations
Households seeking self-reliant sanitation methods generally rely on two dependable, accessible agents: household chlorine bleach and distilled white vinegar. Each substance operates through a distinct chemical mechanism, has unique storage limitations, and requires specific handling protocols to remain safe around food contact surfaces.
Diluted Household Bleach Solution
- Active Mechanism: Cellular oxidation and protein disruption
- Standard Mixing Ratio: One teaspoon of bleach per quart of tap water
- Required Contact Time: At least one minute of visible wetness
- Mixed Solution Lifespan: Approximately one week in a closed container
Ordinary household bleach remains the international benchmark for kitchen sanitation and is standard in commercial restaurant operations. The hypochlorite ion acts as a potent oxidizer, rapidly breaching the protective cell walls of bacteria and dismantling structural proteins. When mixed at a food-safe dilution of one teaspoon of bleach per quart of water (or four teaspoons per gallon), it effectively sanitizes non-porous prep zones without leaving toxic residues that could contaminate food. Because chlorine degrades swiftly when exposed to daylight, this diluted solution should always be prepared in opaque bottles or kept inside a dark cupboard.
Room-Temperature White Distilled Vinegar
- Active Mechanism: Acetic acid antimicrobial inhibition
- Standard Mixing Ratio: Undiluted (standard five-percent concentration)
- Required Contact Time: Ten minutes of continuous surface contact
- Mixed Solution Lifespan: Indefinite shelf life in sealed containers
For individuals who prefer to avoid chlorine chemistry, standard white distilled vinegar provides a gentle, accessible alternative. Bottled grocery store vinegar typically contains roughly five percent acetic acid, which produces an acidic environment hostile to many common foodborne microbes. Unlike bleach, vinegar requires no water dilution and can be sprayed directly from the bottle. However, because acetic acid is a milder antimicrobial agent than chlorine, it requires a much longer contact time of approximately ten minutes to accomplish thorough sanitization, during which the treated counter or cutting board must remain completely wet.
Heated White Distilled Vinegar
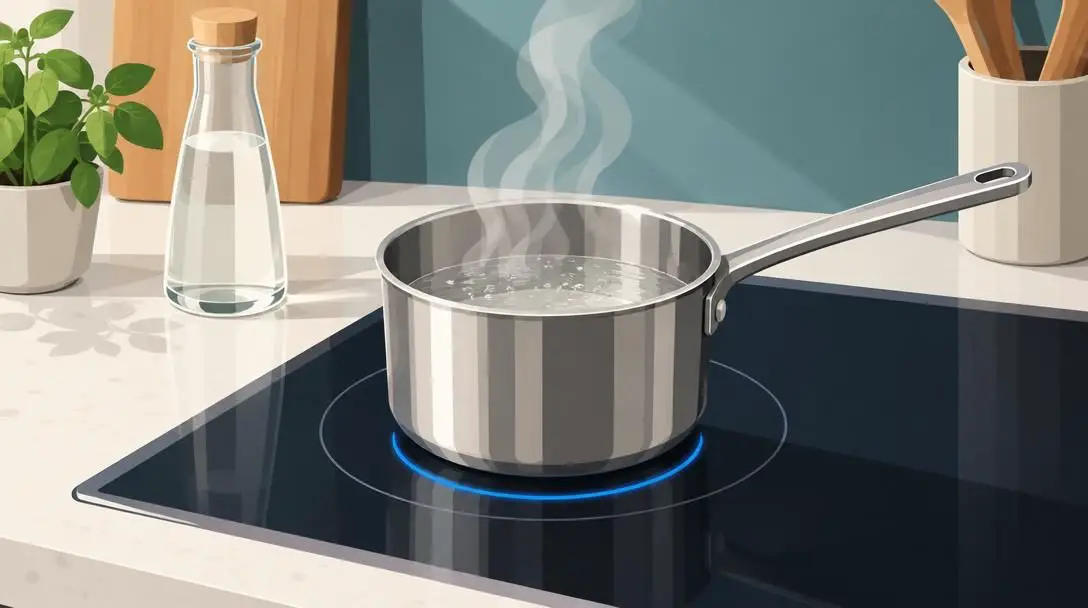
- Active Mechanism: Accelerated thermal-acidic pathogen destruction
- Standard Mixing Ratio: Undiluted five-percent vinegar heated above 130°F
- Required Contact Time: Significantly reduced contact time compared to cold vinegar
- Mixed Solution Lifespan: Best utilized immediately after heating
The sanitizing potency of five-percent acetic acid increases substantially when thermal energy is introduced. By warming standard white vinegar until it exceeds 130 degrees Fahrenheit, you increase the speed at which the acid disrupts cellular membranes. This allows the liquid to sanitize heat-tolerant kitchen surfaces, such as tempered glass prep slabs or commercial-grade stainless steel counters, much faster than ambient-temperature vinegar. Care must be taken during handling to prevent thermal burns or skin irritation from hot acidic steam.
At a Glance: Comparing Food-Safe Sanitizing Solutions
| Sanitizing Solution | Preparation Method | Dwell Time | Working Potency | Primary Surface Compatibility |
|---|---|---|---|---|
| Diluted Household Bleach | 1 tsp bleach per 1 quart tap water | 1 minute | 7 days once diluted | Stainless steel, glazed ceramic, food-safe plastics |
| Room-Temperature Vinegar | Undiluted 5% acetic acid straight from bottle | 10 minutes | Indefinite shelf life | Glass, sealed plastics, non-acid-sensitive surfaces |
| Heated Distilled Vinegar | Undiluted 5% vinegar heated past 130°F | Shortened contact duration | Single cleaning session | Heat-safe stainless steel, heat-tolerant ceramics |
A Step-by-Step Procedure for Kitchen Sanitizing
Applying a disinfectant without an organized procedure often results in wasted supplies and incomplete pathogen removal. Adopting an orderly workflow ensures your kitchen implements and countertops are fully sanitized without leaving soap films or dangerous residues behind.
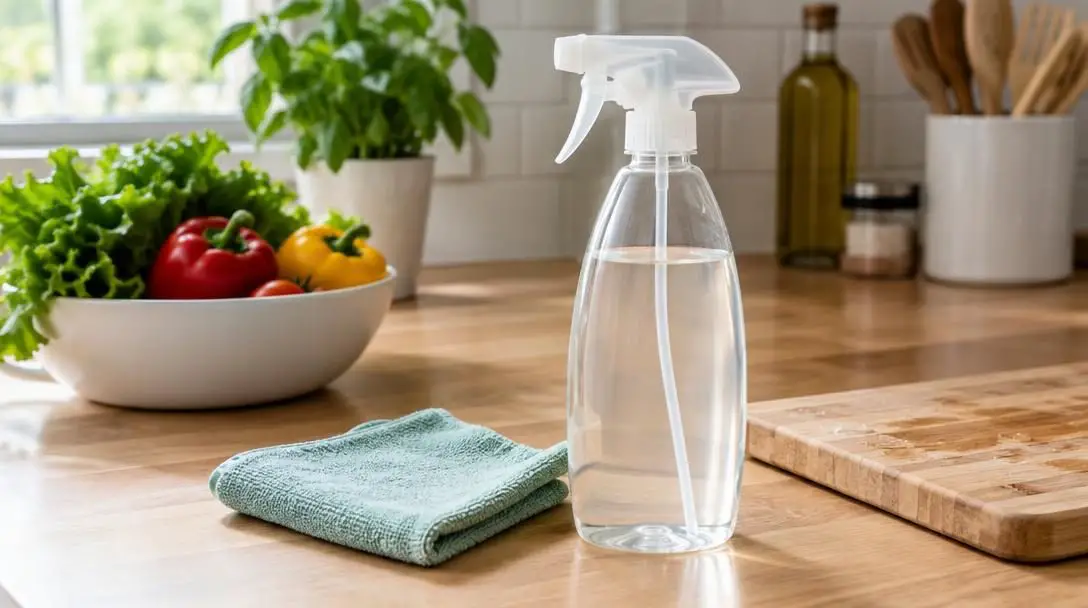
- Clear and scrape: Remove all loose scraps, meat trimmings, peelings, and visible crumbs from cutting boards, prep counters, and sink basins into the compost or trash bin.
- Wash with soap and water: Scrub the area thoroughly using hot tap water, standard dish soap, and a clean sponge to break down fats, oils, and stuck-on proteins.
- Rinse clean: Wipe the surface with clean, warm water to eliminate all soap suds and suspended debris, as soap films can neutralize sanitizing chemicals.
- Apply the disinfectant: Spray or wipe your chosen sanitizer generously across the surface until it is entirely covered in an even, continuous sheen of moisture.
- Observe the dwell time: Allow the sanitizer to remain undisturbed on the surface for the required duration—at least one minute for diluted bleach, or ten minutes for room-temperature vinegar.
- Air dry completely: Permit the treated surface or utensil to air dry naturally, or wipe it down with a single-use paper towel after the contact time has elapsed, avoiding reused dish rags that can reintroduce bacteria.
Critical Mistakes That Compromise Kitchen Safety
Even seasoned home cooks and self-sufficiency enthusiasts can fall victim to misconceptions that reduce the effectiveness of their sanitizing routines. Avoiding these standard missteps ensures your homemade formulations remain potent and safe.
- Combining bleach and vinegar: Some believe combining strong cleaners increases their strength. In reality, mixing chlorine bleach with vinegar produces toxic chloramine and chlorine gases, creating an immediate health hazard.
- Over-concentrating bleach mixtures: Pouring extra bleach into the spray bottle does not create an "extra-clean" kitchen. Excessive concentrations generate toxic fumes, leave unwanted chemical deposits on food prep boards, and irritate skin and eyes.
- Applying sanitizers over greasy messes: Skipping the initial soap-and-water scrub wastes the chemical strength of the sanitizer, as the active molecules are consumed reacting with surface oils rather than destroying bacteria.
- Relying on outdated bleach dilutions: Diluted bleach naturally reverts to salt and water over time. Using a spray bottle that has sat on a counter for a month offers zero sanitizing efficacy.
- Wiping away sanitizers prematurely: Spritzing a surface and drying it immediately with a towel renders the application useless. Sanitizers require dedicated dwell time to destroy microbial structures.
- Exposing mixtures to direct sunlight: Storing bleach mixtures in clear containers near bright kitchen windows quickly breaks down the chlorine molecules, neutralizing the sanitizer within days.
Long-Term Storage and Material Compatibility
Integrating homemade sanitizers into a broader self-reliance strategy requires understanding how raw supplies age and how they interact with common kitchen materials. While distilled white vinegar boasts an almost indefinite shelf life when sealed in plastic jugs, standard household bleach degrades gradually over several months inside its original container. Bleach containers should be rotated regularly to ensure the stock remains fresh and potent.
Material compatibility is equally important. While bleach solutions are suitable for plastics, non-porous resin cutting boards, and glazed tiles, extended exposure to high concentrations can pit or tarnish certain metals. Vinegar, though completely non-toxic, is an acid that will permanently etch unsealed natural stone countertops, such as marble, limestone, and certain varieties of granite. Matching your sanitizing agent to the appropriate countertop material protects both your physical kitchen investments and your household health.
Frequently asked questions
Can I rinse cutting boards with water right after applying the bleach spray?
Rinsing immediately prevents the sanitizer from working. The diluted bleach solution must remain in wet contact with the cutting board for at least one full minute to deactivate pathogens before you rinse or let it air dry.
Is apple cider vinegar an acceptable substitute for white distilled vinegar?
While apple cider vinegar contains similar acetic acid levels, it also contains natural sugars, color compounds, and organic sediments that leave sticky residues on prep surfaces. Plain white distilled vinegar is preferred because it evaporates cleanly without leaving organic residue.
Does diluted bleach leave harmful residues on food prep surfaces?
When mixed precisely at one teaspoon per quart of water, the chlorine concentration is safe for food prep surfaces. As it dries, the chlorine dissipates, leaving behind minuscule, harmless traces of basic mineral salts that do not pose health risks.
How can I tell if my stored bleach has lost its sanitizing potency?
Unopened bleach loses between 20 and 50 percent of its potency over a year of storage, especially in warm spaces. If an undiluted jug no longer has a sharp chlorine scent or is past its manufacturer date code, replace it with fresh stock.
Can I use regular dish towels instead of paper towels to dry sanitized surfaces?
Reusing cloth towels is a leading cause of kitchen cross-contamination because fabric traps moisture and food grease. It is best to let surfaces air dry naturally or wipe them with a single-use paper towel once the required dwell time has passed.
The bottom line
Maintaining a hygienic, food-safe kitchen does not require expensive commercial cleansers or complex laboratory equipment. By using common household staples like diluted bleach or distilled white vinegar—paired with an understanding of proper dilution, clean surfaces, and necessary contact times—you can maintain complete control over kitchen cleanliness, minimize foodborne illness, and build dependable household self-reliance.