5 Essential Tips for Building a Custom Miniature Terrain
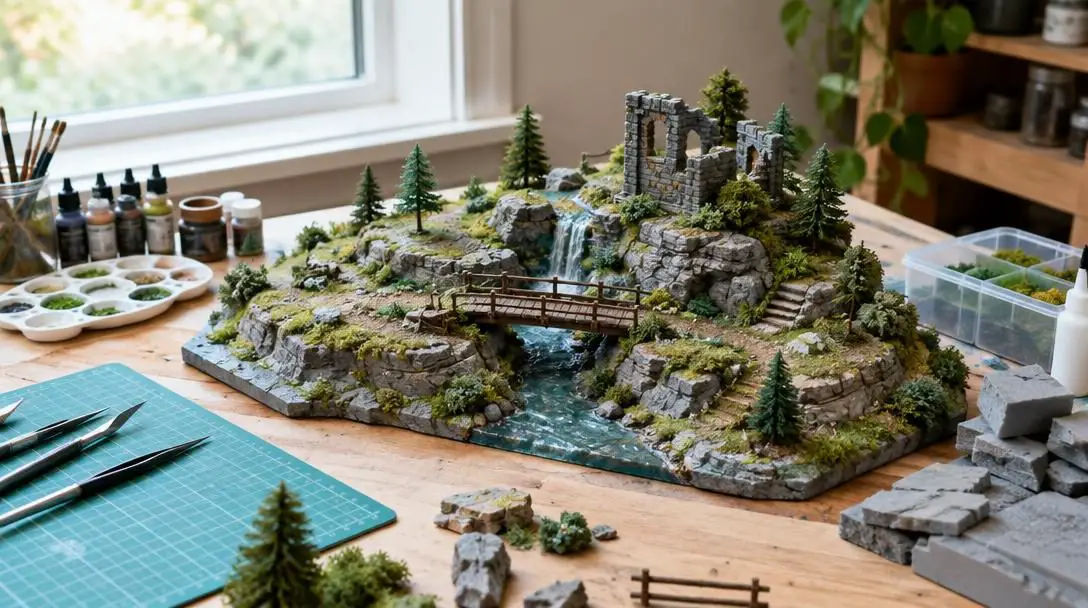
Custom miniature terrain represents a captivating intersection of scale modeling, fine art, and tabletop gaming. Whether you are staging an epic fantasy siege, navigating an intimate role-playing campaign through subterranean caverns, or coordinating armored divisions across futuristic industrial ruins, three-dimensional terrain transforms a session. While two-dimensional battle maps and simple cardboard standees can delineate basic grid coordinates and movement ranges, hand-crafted scenic layouts elevate the visual drama, clarify tactical line-of-sight, and immerse players in a tangible world.
While commercial hobby retailers sell pre-cast plastic and resin scenery, building your own tabletop environments provides total creative autonomy. Hand-crafting allows you to tailor every cliff face, stone wall, and roadway to the exact narrative lore and physical scale of your chosen game system. Utilizing everyday craft goods, lightweight building mediums, and basic household items, any hobbyist can construct stunning, resilient scenery on a modest budget.
Key takeaways
- Thoughtful pre-planning guarantees that miniature terrain supports tactical gameplay, line-of-sight mechanics, and model stability rather than creating cluttered bottlenecks.
- Selecting proper core substrates, like extruded insulation foam sheets and lightweight timber, yields lightweight structures that realistically replicate stone and earthen textures.
- Layering paint with dark undertones, targeted mid-tones, drybrushed highlights, and deep washes establishes believable organic shadows and weathered visual depth.
- Scatter elements like small pebbles, trees, shrubs, and fences enrich environmental storytelling while offering critical functional cover for miniatures.
- Applying a clear protective lacquer spray or dedicated sealant preserves delicate flocking, shields against dice impacts, and prevents paint from chipping during storage.
Core Principles of Miniature Landscape Crafting
Creating authentic miniature landscapes relies on scale representation, structural layering, and visual trickery. In nature, terrain is rarely flat, sterile, or uniform. The human eye immediately spots unnaturally smooth planes, repetitive geometry, or jarring scale inconsistencies on a tabletop. Successful terrain building breaks down organic environments into distinct physical layers, replicating the chaotic geometry of the natural world through careful manipulation of density, texture, and light.
The crafting process always moves from structural foundations upward toward minute dressing. Builders first anchor their work with a rigid baseboard, carve the broad geological contours from lightweight foam materials, trowel on aggregate texturing mediums to mimic soil and gravel, and finish with paint, static fibers, and scatter foliage. Because full-scale objects accumulate dirt, grime, and uneven atmospheric weathering over decades, miniature builders recreate that history through optical shading, applying dark base coats and translucent washes to build weight and physical realism.
A deliberate layout ensures the finished terrain naturally belongs in the world of your choice rather than feeling like a random collection of disjointed pieces.
Five Essential Tips for Building Custom Terrain
Mastering scenic fabrication does not require expensive commercial machinery. Instead, it demands an understanding of five essential principles that guide a raw concept through to a durable, playable piece of scenery.
| Technique | Primary Materials | Core Focus | Gameplay Impact |
|---|---|---|---|
| 1. Plan Your Layout | Paper templates, graph sheets, miniature bases | Spatial geometry, waterways, elevation levels | Prevents movement choke points and ensures model stability |
| 2. Choose the Right Materials | Insulation foam sheets, lightweight woods, plastics | Structural strength, weight, realistic surface texture | Delivers resilient structures that withstand heavy handling |
| 3. Paint It Right | Pigmented acrylics, washes, translucent glazes | Shadow values, drybrush highlights, color depth | Eliminates flat, toy-like finishes by emulating natural lighting |
| 4. Add Details | Static grasses, shrubs, trees, fences, bridges | Environmental narrative, fine micro-textures | Provides tactical cover and defines distinct objectives |
| 5. Seal It Up | Clear lacquer spray, matte protective sealants | Protective bonding, surface abrasion resistance | Guards paint and flocking against dice rolls and hand friction |
1. Plan Your Layout
Before cutting into structural foam or gluing wood planks, take time to map out the physical footprint of the project. A haphazard assembly often yields disjointed, impractical terrain with unnatural topographical transitions and unplayable zones. Decide early on which specific geographic landmarks your board requires, such as meandering river valleys, rugged hill crests, or sunken ravines. Factor in architectural elements, determining the exact number of structural tiers a ruin or hill should feature to facilitate vertical gameplay.
Always test your layout against the actual miniature figures you intend to use. Ensure pathways, bridges, and building entrances are broad enough to accommodate unit movement trays and wide character bases. By plotting lines of sight and balanced avenues of approach across your play area, you ensure that the board serves as an engaging tactical battlefield rather than an obstacle course that frustrates players.
2. Choose the Right Materials
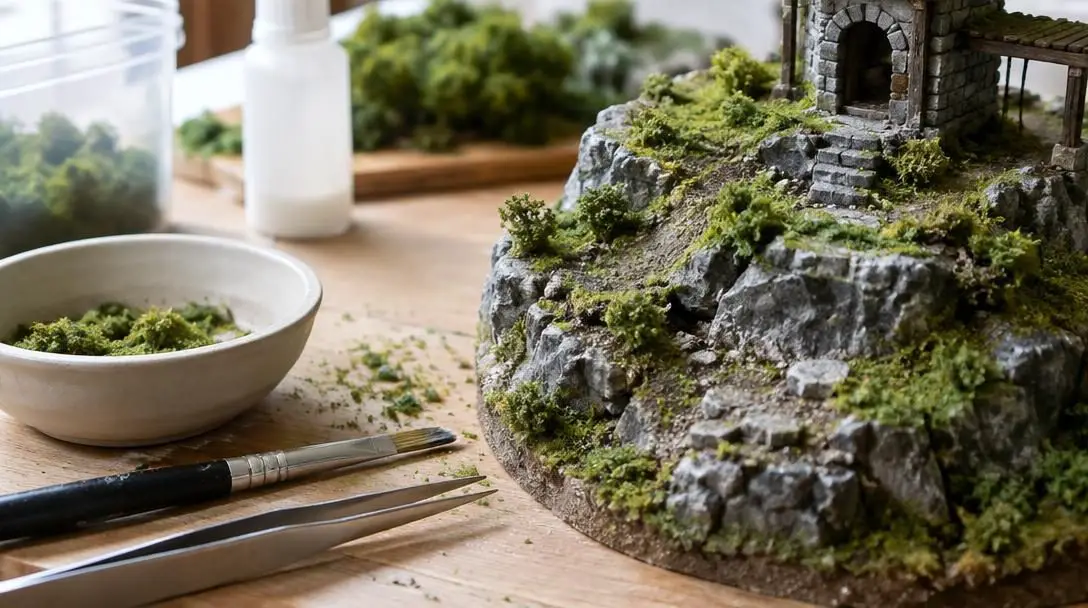
The realism and durability of your terrain hinge on the baseline materials you assemble. Dense foam insulation sheets, such as extruded polystyrene (XPS), represent the gold standard for landscape sculpting. Unlike loose white beadboard, which breaks into messy spheres when cut, dense insulation foam holds razor-sharp bevels, accepts textured impressions, and carves cleanly into jagged cliff faces or flat earthen terraces. Lightweight woods, such as balsa or thin craft plywood, provide rigid structural framing without making the final terrain unwieldy to transport.
Pair these structural foundations with supplementary materials that provide organic tactility. Fine sand, small pebbles, and aggregate grit mimic riverbeds and crumbling roads with authentic irregularity. Incorporate structural plastic elements and artificial grass mats to create contrasting smooth and fibrous surfaces across your piece.
3. Paint It Right
Color application either elevates or undermines your sculpted physical shapes. A piece sculpted with absolute precision will still look flat and artificial if it is coated in a single monochromatic shade of craft paint. Real-world surfaces exhibit immense color variation, subtle temperature shifts, and pervasive shadow gradients caused by natural ambient lighting and continuous exposure to the elements.
Begin with deeply pigmented base paints that saturate porous textures thoroughly. After setting your foundational earth tones, use shade washes and thinned glazes to sink deep into structural recesses, stone fissures, and subterranean cracks. Finish by drybrushing raised edges with lighter mid-tones and pale neutral tints to catch ambient overhead light, instantly creating believable three-dimensional volume.
4. Add Details
Micro-level dressing turns a generic green hill or gray stone platform into a lived-in environment rich with narrative context. Incorporating small accessories—such as standalone deciduous trees, wild shrub clusters, broken timber fences, weathered footbridges, and patches of tall weeds—tells a story about the world. These dressing elements suggest the local climate, the passing of history, and the presence of human or creature activity.
Beyond visual immersion, scenic scatter plays an indispensable functional role in tabletop games. Strategically arranged boulder outcroppings, defensive parapets, and low fieldstone walls give maneuvering miniatures viable defensive cover, transforming wide-open dead zones into tactical combat corridors.
5. Seal It Up
The physical demands placed on miniature terrain during an active tabletop game are significant. Rolling metal dice, dragging heavy resin miniature bases across surfaces, and packing boards away into plastic bins will rapidly scuff paint, fracture fragile plaster, and dislodge loose flocking fibers. A comprehensive finishing coat is non-negotiable for any terrain piece meant for routine gaming.
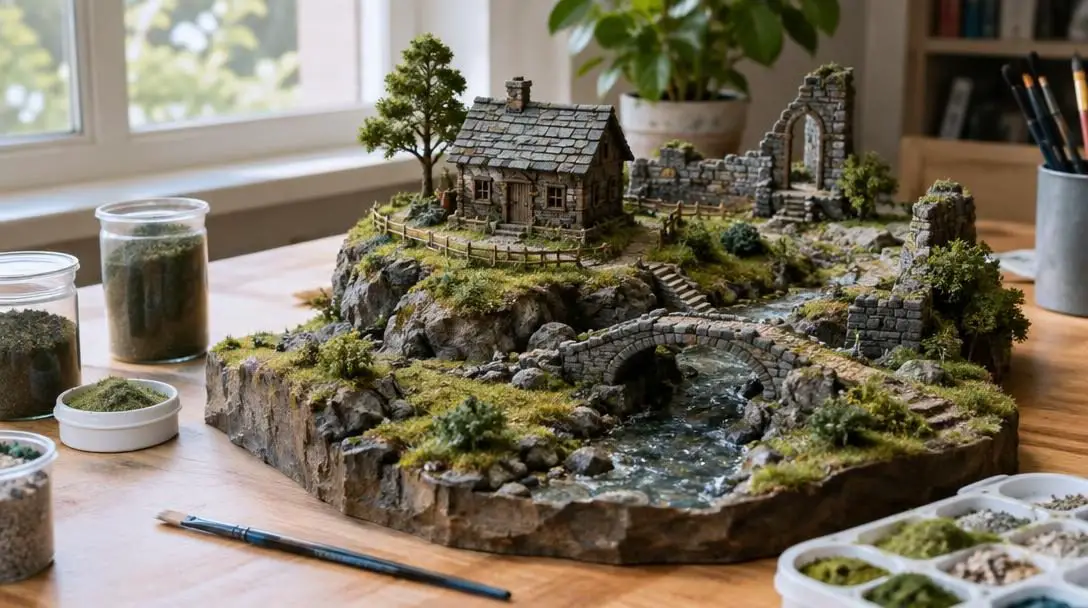
Once every drop of paint, ink glaze, and adhesive has cured, treat the piece with a durable, clear lacquer spray or professional-grade matte finish sealant. This protective shield seals loose particles of sand and static grass in place, dulls unnatural reflections, and prevents chipping along prominent edges, keeping your board pristine through countless game nights.
Step-by-Step Terrain Construction Guide
Executing a custom terrain project requires a methodical workflow. Skipping foundational steps to rush into painting almost always leads to structural warpage or loose materials that peel away during gameplay.
- Concept Sketching and Pre-Planning: Draft a top-down visual map on paper, indicating the placement of hills, waterways, bridges, and ruins. Set your miniature figures directly onto the sketch to verify that roads, doorways, and pathways accommodate their bases comfortably.
- Base and Elevation Cutting: Cut a flat, sturdy baseboard from lightweight wood or high-density foam board. Layer and glue tiers of foam insulation sheets using water-based construction adhesives to form rolling hills, layered plateaus, and craggy escarpments.
- Carving and Shaping Surfaces: Use hobby knives, textured rasps, and hot-wire cutters to carve structural terrain contours. Bevel abrupt foam edges into gradual slopes, score fissures into stone ramparts, and gouge winding riverbeds directly into the foam body.
- Applying Texture Pastes and Substrates: Slather exposed foam surfaces in a slurry of PVA white craft glue, fine sand, tiny pebbles, and plaster compound. Feather plaster over seams where stacked sheets of foam meet, hiding assembly joints under a continuous layer of earth.
- Base Coating and Foundation Paint: Once the texturing mediums dry rock-hard, brush an opaque base coat of dark brown, charcoal, or deep earth tone paint across the entire piece. This foundational dark layer ensures that any missed crevices read to the eye as natural shadows.
- Highlighting and Washing: Apply mid-tone colors over raised landforms, followed by a controlled drybrush using off-white, buff, or pale gray across the uppermost rock ridges and gravel crests. Flood crevices, stone joints, and gullies with dark washes to deepen structural shadow depth.
- Foliage and Scatter Accents: Affix artificial grass mats, static fibers, foam foliage clusters, fences, and bridges with white hobby glue. Concentrate vegetation in damp depressions, along fence lines, and around boulder bases where wild plants naturally collect.
- Final Protective Sealing: Move the finished, fully dried terrain piece to a well-ventilated exterior area. Coat all surfaces with multiple light applications of clear lacquer spray or matte protective sealant, shielding the surface against physical gaming friction.
Common Terrain-Building Mistakes to Avoid
Terrain building involves hands-on experimentation, but steering clear of predictable pitfalls preserves your crafting supplies, saves time, and keeps your gaming pieces safe.
- Skipping the Planning Stage: Rushing directly into carving without checking miniature footprints often produces impassable terrain, awkward cliff drops that cause figures to topple over, and cramped choke points that ruin tactical balance.
- Using Incompatible Adhesives: Applying petroleum-based contact cements or standard hardware-store aerosol primers directly to bare foam will spark a rapid chemical reaction that melts your sculpted landscapes into sticky, pitted ruins.
- Flat and Monochromatic Painting: Relying on a single coat of uniform green for ground cover or flat gray for rock faces yields an unconvincing, plastic look. Real environments demand progressive color layering, deep shadow washes, and high-value edge drybrushing.
- Overloading the Playing Field: Filling every square inch of surface area with impassable tree trunks, steep crags, and decorative debris makes it nearly impossible to balance miniature bases or resolve combat movement without knocking scenery over.
- Forgetting to Seal the Project: Leaving finished terrain unsealed leaves it vulnerable to moisture, friction, and impacts. Without a clear protective lacquer, dice will chip stone edges, and handling will strip away turf flocking.
Expanding Your Tabletop: Modular Design and Advanced Crafting
Once you are comfortable shaping, texturing, painting, and sealing basic terrain pieces, you can expand into advanced fabrication styles. One of the most rewarding shifts is moving from single display boards to modular terrain tiles. While a fixed board creates a cinematic, unbroken landscape, modular systems utilize standardized squares or interlocking hexes that can be rearranged into endless battlefield permutations, maximizing replayability.
Advanced terrain builders can also experiment with liquid craft mediums. Pouring clear two-part liquid resin into your carved, painted riverbeds and swamp depressions simulates realistic standing water with glossy clarity and authentic visual depth. Furthermore, embedding low-voltage LED circuits into ruined temples, tavern windows, or subterranean caverns introduces atmospheric illumination that elevates evening gaming sessions.
Frequently asked questions
What kind of foam is best for carving miniature terrain?
Dense extruded polystyrene (XPS) insulation foam is the premier choice. Unlike common expanded polystyrene beadboard, which tears into messy white granules, XPS foam features a tight cellular structure that carves cleanly, holds delicate stone textures, and provides immense structural strength without adding weight.
How can I prevent my terrain baseboards from warping?
Thin wood and card bases warp when water-based glues and heavy wet plaster dry and contract unevenly on one side. To prevent warping, use thick, rigid baseboards like quality craft plywood or heavy foam board, seal both sides of the base before texturing, and avoid oversaturating the surface with watery adhesives.
Why do miniature terrain builders start with a dark base coat?
Laying down a dark brown, black, or charcoal foundation paint ensures that any deep crevices, recessed cracks, and hard-to-reach pockets read as natural ambient shadows. If unpainted light foam or bright plaster shows through subsequent layers of flocking or paint, it shatters the illusion of depth.
Can I use real dirt and sand from my garden for terrain texturing?
Yes, natural dirt and sand provide exceptional texture, but they should be properly sifted through fine mesh and baked in an oven on low heat to eliminate residual moisture, organic matter, and microbes before being adhered to your terrain with PVA glue.
What is the best way to clean and store custom terrain?
Store your terrain pieces in enclosed plastic storage totes lined with non-slip shelf liner to prevent friction rub. Dust off delicate scenic flocking using a soft makeup brush or a light pass from a low-pressure can of compressed air rather than running cloths across textured features.
The bottom line
Building custom miniature terrain turns a standard tabletop game into an unforgettable, three-dimensional narrative event. By investing time into careful pre-planning, selecting resilient building mediums like extruded foam and natural aggregates, and utilizing deliberate painting techniques like shadow washes and drybrush highlights, you can produce professional-grade battlegrounds from inexpensive craft supplies. Capped with sensible scatter details and a durable protective sealant, your hand-crafted terrain will elevate your gaming table for years to come.