The Ultimate Guide to Building a Winning Warzone Loadout
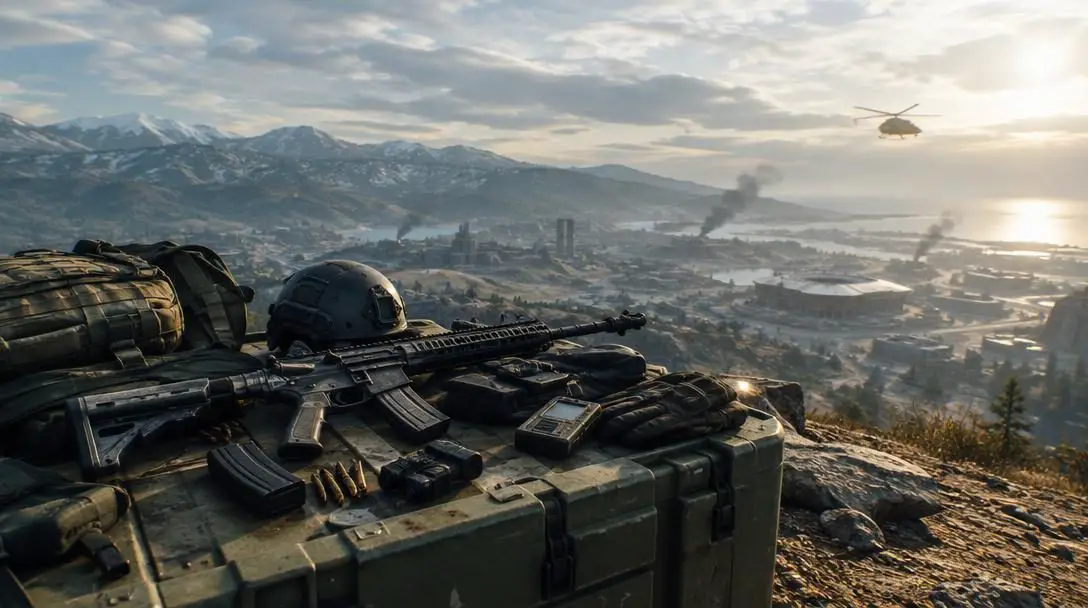
In the high-stakes environment of Call of Duty: Warzone, your setup determines your survival long before the final circle collapses. Dropping into a massive combat zone with minimal equipment forces players to scavenge for floor loot, but random weapons discovered inside crates rarely offer the consistency, precision, or tactical balance needed to overcome experienced opposing squads. Securing a custom loadout transforms your operational capabilities, shifting your arsenal from improvised survival gear to a finely tuned, purpose-built combat system.
A winning loadout does more than just boost your firepower. By harmonizing your primary and secondary weapons with complementary passive perks, lethal explosives, tactical utilities, and recoil-stabilizing attachments, you eliminate combat blind spots and take control of firefights on your own terms. Whether you prefer holding long-range sightlines across open terrain or breaching fortified buildings in close quarters, understanding how to construct a balanced setup is an indispensable skill for claiming victory.
Key takeaways
- Custom loadouts eliminate the inconsistency of ground loot by supplying personalized weapons, perks, and equipment tailored to your combat preferences.
- A balanced class requires selecting complementary weapons that cover distinct engagement ranges rather than doubling up on the same combat role.
- Perks such as Ghost, E.O.D., and Tracker provide vital passive survivability against enemy reconnaissance, explosive traps, and elusive targets.
- Gunsmith attachments should be fine-tuned to solve specific mechanical flaws, balancing recoil control and ammunition capacity against handling speed penalties.
The Anatomy of the Warzone Loadout System
To craft an effective class, players must first understand the interconnected structure of the loadout system. A loadout in Warzone is not a disconnected collection of powerful gear, but a unified tactical package designed to prepare an operative for unpredictable combat conditions. Players gain access to these configurations during a match through loadout drops, which either deploy automatically from the sky at fixed intervals or can be purchased directly from buy stations using in-game cash collected from contracts, floor loot, and eliminated rivals.
Every complete custom loadout comprises five essential building blocks:
- Primary Weapon: The centerpiece of your combat setup, typically chosen to dictate how you navigate mid-range shootouts or sustained firefights.
- Secondary Weapon: A supplementary firearm, launcher, or melee tool selected to cover engagement ranges or utility needs that your primary weapon cannot address.
- Perks: Passive character abilities distributed across multiple slots that provide persistent defensive, stealth, or reconnaissance advantages.
- Lethal Equipment: Offensive ordnance used to clear fortifications, finish downed opponents, or force hostile squads out of entrenched cover.
- Tactical Equipment: Non-lethal utilities deployed to disorient hostile operators, obscure sightlines, or gather spatial intelligence before an assault.
Primary Weapon Profiles: Choosing Your Foundation
Selecting a primary weapon establishes your identity on the battlefield. Because you rely on this firearm more than any other tool throughout the match, its effective range, handling profile, and damage characteristics will dictate where you position yourself on the map.
Assault Rifles
Assault rifles represent the most adaptable weapon class available in the game. Engineered to deliver reliable performance across medium-range distances, these rifles combine dependable rates of fire with manageable recoil and substantial stopping power. Their versatility makes them the premier choice for players navigating variable combat environments where a long-distance hillside skirmish can quickly transition into a street-level shootout.
Submachine Guns (SMGs)
Submachine guns prioritize mobility, rapid handling, and blisteringly fast fire rates over extended range. Built specifically for close-quarters combat, SMGs allow players to maintain maximum movement velocity while sprinting between cover. In tight spaces such as stairwells, multi-story office corridors, and interior rooms, an SMG can eliminate fully armored opponents before slower weapons can even raise their sights.
Sniper Rifles
Sniper rifles dominate long-range combat by providing the stopping power needed to down hostile targets across immense distances. Ideal for methodical operators who value patience and positioning, a sniper rifle punishes players caught rotating out in the open without cover. By anchoring atop elevated structures or ridgelines, a sniper can secure crucial squad eliminations while remaining outside the effective return-fire range of standard automatic rifles.
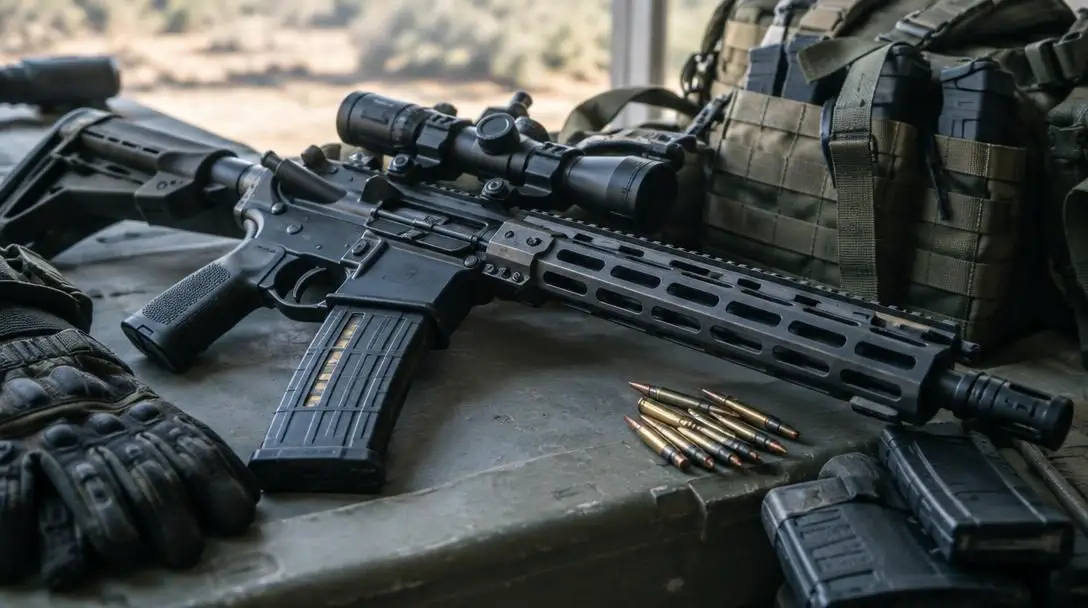
| Weapon Class | Optimal Engagement Range | Primary Tactical Strength | Ideal Secondary Pairing |
|---|---|---|---|
| Assault Rifles | Medium (25–60 meters) | Balanced handling, versatility, and steady recoil | Submachine Gun or Rocket Launcher |
| Submachine Guns | Close (0–20 meters) | High fire rate, rapid aim-down-sight, sprint mobility | Assault Rifle or Sniper Rifle |
| Sniper Rifles | Long (75+ meters) | Massive single-shot damage and long-distance pickoffs | Assault Rifle or Submachine Gun |
A Five-Step Guide to Assembling Your Loadout
Assembling a competitive setup requires moving methodically through each component of your class. By considering how every element complements the next, you build an operative ready for any tactical hurdle.
- Choose Your Primary Weapon: Identify your dominant combat style and select a weapon category that supports it. Squad point men should look toward aggressive automatic platforms, whereas perimeter anchors will prefer marksman or sniper rifles.
- Pick a Secondary Weapon to Cover Weaknesses: Select a secondary firearm that counterbalances your primary choice. If your primary weapon excels at distance, equip an SMG for high-speed indoor clearing; if you run an assault rifle, evaluate whether a launcher or close-range pistol best serves your squad.
- Equip Strategic Perks and Equipment: Assign passive perks that safeguard you against surveillance and area-of-effect damage, then select lethal and tactical gear that complement your team's tactical plan.
- Optimize Weapons in the Gunsmith: Fit your weapons with attachments designed to smooth out natural recoil patterns, enhance target acquisition, and expand magazine reservoirs without over-encumbering handling.
- Field-Test and Refine Handling: Enter matches to evaluate your weapon switch speeds, recoil control under pressure, and equipment trajectories, tweaking individual attachments as you learn your setup's operational limits.
A loadout is not simply a collection of powerful individual items; it is a synergistic system where each piece covers the weaknesses of another.
Maximizing Survivability with Perks and Equipment
While weapon choice determines how efficiently you eliminate targets, your perks and utility equipment dictate how well you survive hostile engagements and maneuver around enemy teams.
E.O.D.
The E.O.D. perk directly reduces incoming damage from non-killstreak explosives and fire. In a battle royale meta where squads consistently bombard interior rooms with grenades, rockets, and placed explosive traps to dislodge defensive holds, running E.O.D. provides the protection needed to withstand an opening blast and reset the fight.
Ghost
Information dictates the pace of battle, and hostile teams routinely deploy Unmanned Aerial Vehicles (UAVs) and radar sweeps to locate nearby players. The Ghost perk shields you from detection on standard radar sweeps, granting you the stealth required to execute wide flanks, reposition across contested sectors, or hold defensive positions without broadcasting your exact coordinates.
Tracker
Tracker reveals the recent footprints of enemy combatants on the ground, leaving visible digital impressions that lead straight to their current position. This perk is invaluable when hunting players through complex buildings, tracking survivors who flee after a chaotic firefight, or avoiding close-range ambushes around blind corners.
Complementing these passive abilities with the proper throwable gear rounds out your tactical utility:
- Frag Grenades: A classic lethal tool that allows operators to cook the fuse before throwing, enabling precise detonations through windows, around corners, or across elevated rooftops to flush out entrenched players.
- Flashbangs: A vital tactical initiator that temporarily blinds, deafens, and slows the movement of hostile operators, creating an ideal window of vulnerability for an aggressive breach into fortified rooms.
Gunsmith Customization: Fine-Tuning Performance
A base weapon fresh from the armory often exhibits rough handling characteristics, including harsh vertical kick, restrictive iron sights, and limited magazine capacities. Customizing your firearms in the Gunsmith allows you to mitigate these flaws directly, tailoring mechanical behavior to your preferences.
Sights
Optical attachments replace restrictive factory iron sights with transparent reticles that improve visual clarity during sustained fire. Ranging from lightweight holographic sights and reflex red dots for close encounters to high-magnification telescopic scopes for precision rifles, the right optic ensures immediate, unobstructed target acquisition.
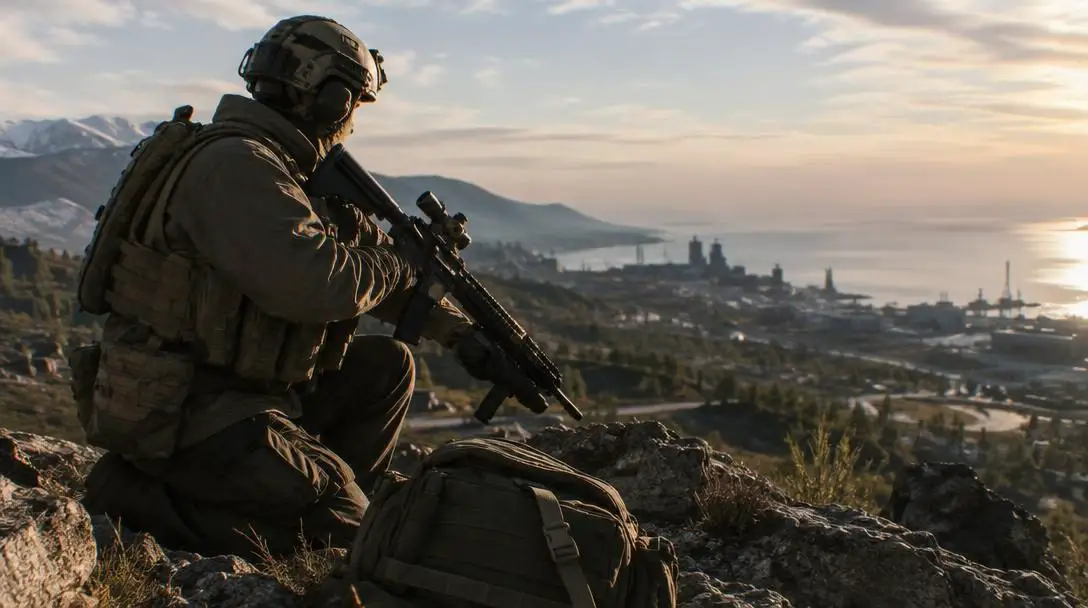
Grips
Specialized foregrips and rear grips dampen horizontal and vertical barrel movement. Adding stabilizing grips ensures your weapon remains on target during prolonged automatic bursts, preventing shots from drifting away from center mass when engaging opponents across extended ranges.
Magazines
Default magazines rarely hold enough ammunition to down and eliminate multiple fully plated adversaries in a single exchange. Equipping extended ammunition drums or high-capacity magazines ensures you have sufficient rounds to handle team wipes without being forced into an untimely reload mid-firefight.
Common Loadout Pitfalls to Avoid
Even experienced players frequently undermine their combat effectiveness by making basic design mistakes in their custom classes. Being mindful of these common traps will ensure your loadout operates at peak performance throughout the match:
- Equipping Overlapping Weapon Ranges: Carrying two weapons that perform the exact same operational task—such as pairing an assault rifle with a light machine gun or running two precision rifles—leaves you completely defenseless in close-quarters skirmishes.
- Over-Encumbering Handling Speeds: Prioritizing recoil dampening to the exclusion of handling will make your weapon unacceptably slow to raise. In reactive close-range gunfights, the operator who aims and fires first usually wins.
- Ignoring Squad Synergy: Building a class entirely in isolation hurts your team. If all squad members carry dedicated sniper rifles and stealth perks, the unit will lack the breaching tools, explosive firepower, and close-range aggression necessary to survive interior compound fights.
- Failing to Plan for Late-Game Circles: A long-range sniper class that dominates the open terrain of early circles may become useless if the final safe zones collapse into dense, multi-story urban centers.
Late-Game Adjustments and Contingency Classes
A comprehensive loadout strategy extends beyond your primary opening setup. Competitive operators regularly configure multiple distinct loadout slots to accommodate dynamic shifts in the match environment.
One critical preparation is building a dedicated late-game recovery class. When returning to the match late through a redeployment mechanic or after a teammate buys you back from a station, ground loot across the map is usually stripped clean, and safety circles are heavily compressed. Attempting to run a class that requires specialized secondary pickups or complex setup times can lead to a quick elimination.
A recovery class should feature a fully independent primary weapon equipped with a high-capacity magazine, stealth perks like Ghost to avoid active surveillance sweeps, and immediate defensive utilities. Having this self-sufficient kit ready to grab from an emergency late-game drop ensures you hit the ground fully armed and combat-effective without needing to scavenge additional resources.
Frequently asked questions
How do I get my custom loadout during a Warzone match?
You can acquire your loadout either by purchasing a loadout drop marker from a buy station using in-game cash or by accessing the free loadout crates that drop from the sky at predetermined times during the match.
Should I pair an assault rifle with an SMG or a sniper rifle?
Both pairings are viable, depending on your role. Pairing an assault rifle with an SMG creates an aggressive, high-mobility setup ideal for medium- and close-range combat, while pairing an assault rifle with a sniper rifle gives you full versatility from extreme distances down to mid-range skirmishes.
Why is the Ghost perk considered so valuable in Warzone?
Ghost keeps your operative invisible to hostile UAV surveillance and radar sweeps, preventing opposing squads from tracking your position and allowing you to reposition or flank undetected.
Do weapon attachments have negative effects on performance?
Yes. Many attachments that improve recoil stabilization, range, or magazine size introduce penalties, such as slower aim-down-sight speeds, reduced movement velocity, and sluggish reload times.
What equipment is best for clearing players out of buildings?
Flashbangs paired with frag grenades provide an effective combination. Flashbangs disorient and blind defenders inside a room, while cooked frag grenades force them out of entrenched cover or eliminate them outright.
The Bottom Line
Constructing a winning loadout in Warzone requires an intentional balance of firepower, defensive protection, and mobility. Rather than simply equipping high-damage components at random, the most effective players build cohesive classes where primary weapons, secondary options, passive perks, and Gunsmith attachments actively support each other. While having the ideal setup cannot replace sharp reflexes, sound spatial awareness, and decisive squad communication, entering the battlefield with a tailored, versatile loadout provides the decisive edge needed to survive the final circle and secure victory.