Is Building Your Own PC Hard?
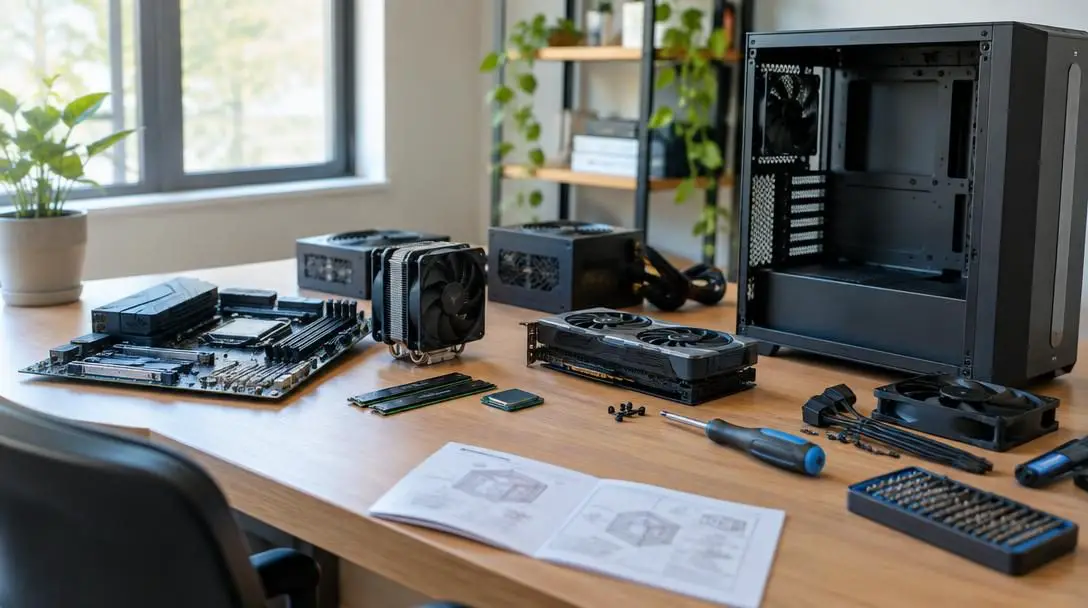
Building a personal computer from scratch often seems like an intimidating task reserved exclusively for electrical engineers, technicians, or seasoned hardware hobbyists. The visual appearance of exposed green circuit boards, fragile gold-plated contact pins, and an unruly tangle of loose power cables can make the initial endeavor appear completely overwhelming. Many prospective builders worry that a single minor misstep during assembly will permanently damage expensive microchips or leave them with an unresponsive, broken machine.
Despite this daunting initial impression, assembling a desktop computer is fundamentally a modular process rather than an exercise in delicate electrical engineering. Modern computer hardware relies strictly on established manufacturing and physical standards, meaning parts are engineered to slot together in clear, predictable configurations. If you are capable of following detailed instructions methodically and understand how individual hardware pieces communicate, you can successfully construct your own desktop system from the ground up.
Key takeaways
- Modern PC construction is a modular, standardized assembly process that behaves more like an advanced model kit than delicate electrical engineering.
- Building your own desktop enables complete hardware customization for specialized workloads such as high-demand gaming or cryptocurrency mining.
- Reusing functional spare parts like computer cases and power supplies offers deep savings, though buying all-new retail parts can sometimes exceed pre-built pricing.
- Combining printed component manuals with multi-angle video tutorials provides the visual clarity needed to master insertion force and cable routing.
- Careful pacing, double-checking component orientation, and applying proper driver software prevent the vast majority of first-time assembly failures.
Demystifying the hardware: core components and their roles
To understand why constructing a personal computer is achievable for beginners, you must first demystify what happens inside the chassis. A desktop computer is not a single impenetrable black box; it is an interconnected ecosystem of discrete components, each engineered to perform an explicit job while communicating across high-speed pathways. Understanding the specific responsibilities of each hardware unit transforms an intimidating pile of retail boxes into an intuitive, logical assembly project.
The Computer Case
- Primary Role: Physical enclosure and structural protection
- Key Feature: Dedicated mounting points and internal airflow channels
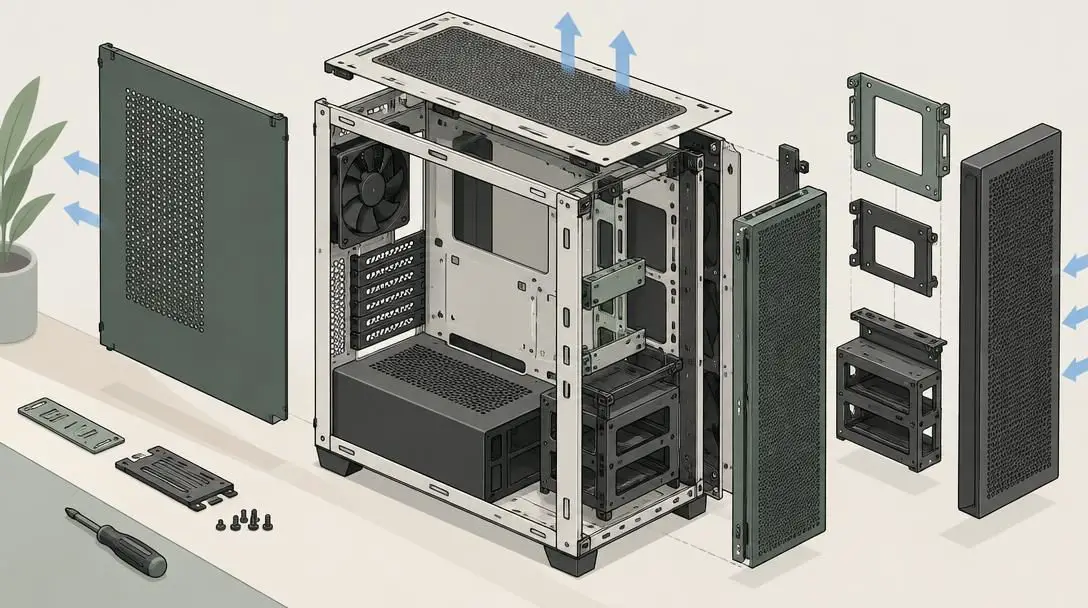
The computer case, often referred to as the chassis, acts as the structural frame that protects all delicate internal circuitry from outside hazards. Beyond simply housing the parts, the case features precisely positioned mounting points to keep circuit boards elevated and secure. It also dictates thermal efficiency by providing dedicated intake channels and exhaust vents that direct ambient air across heat-generating parts.
The Motherboard
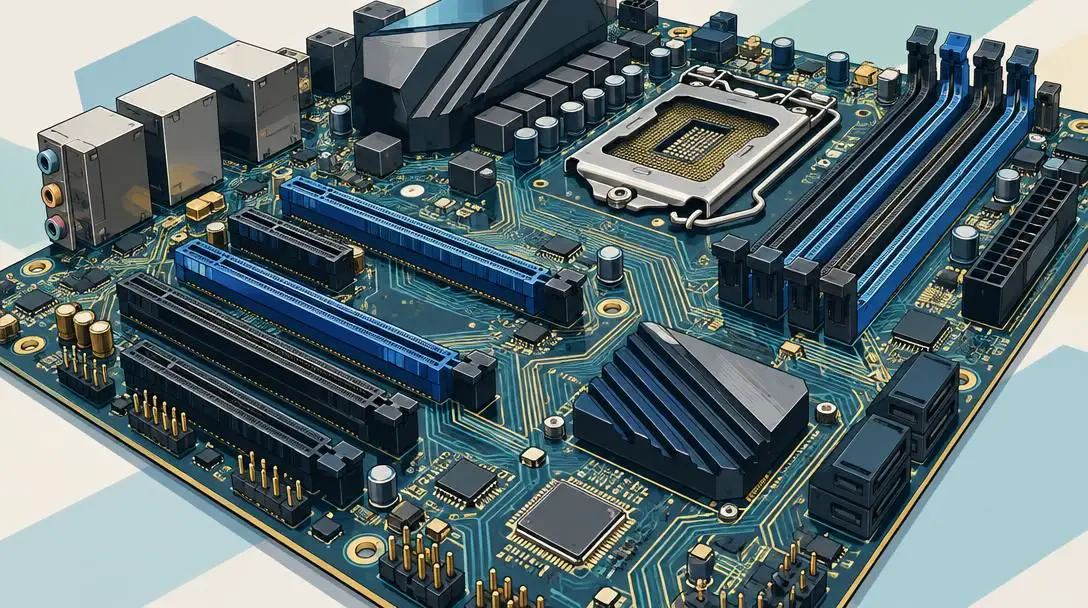
- Primary Role: Central communication backbone
- Key Feature: Integrated sockets, expansion slots, and pin headers
The motherboard is the primary circuit board responsible for linking every individual piece of hardware into a unified machine. It provides designated sockets for the processor, physical slots for memory modules, and high-speed bus interfaces for graphics and expansion cards. In addition to data routing, the motherboard distributes regulated electrical current directly from the power supply to lower-draw internal units.
The Central Processing Unit (CPU)
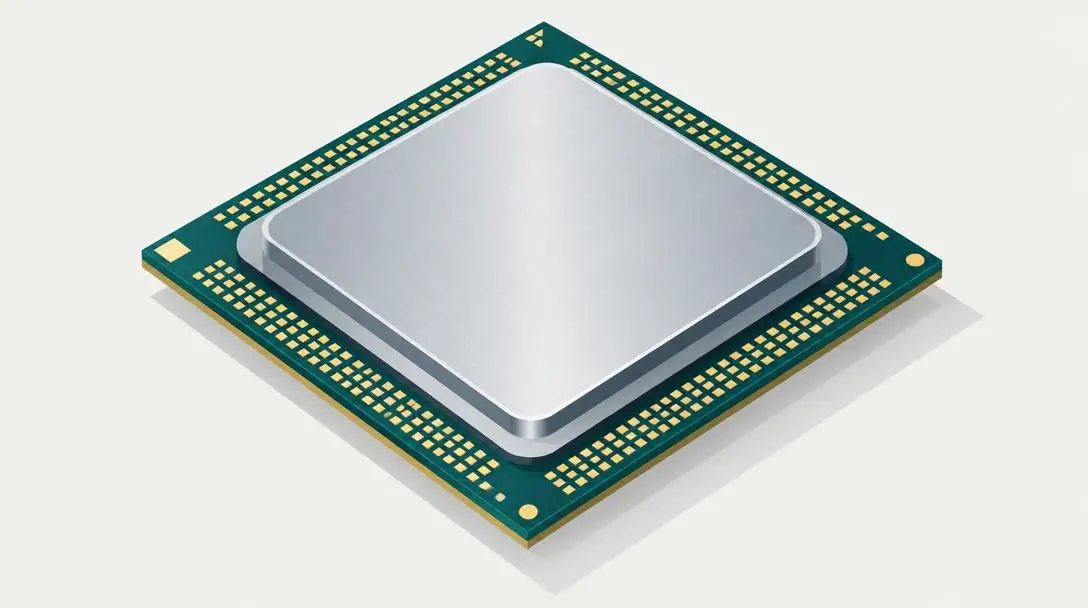
- Primary Role: Primary system computational engine
- Key Feature: Executes operating system commands and active application logic
Often designated as the brain of the machine, the central processing unit carries out the core calculations and logical instructions required by your software. Every system operation, from processing keystrokes to managing complex digital simulations, flows through this compact microchip. Because it concentrates massive computational throughput into a tiny surface area, it requires direct thermal management from a dedicated cooling assembly.
Random Access Memory (RAM)
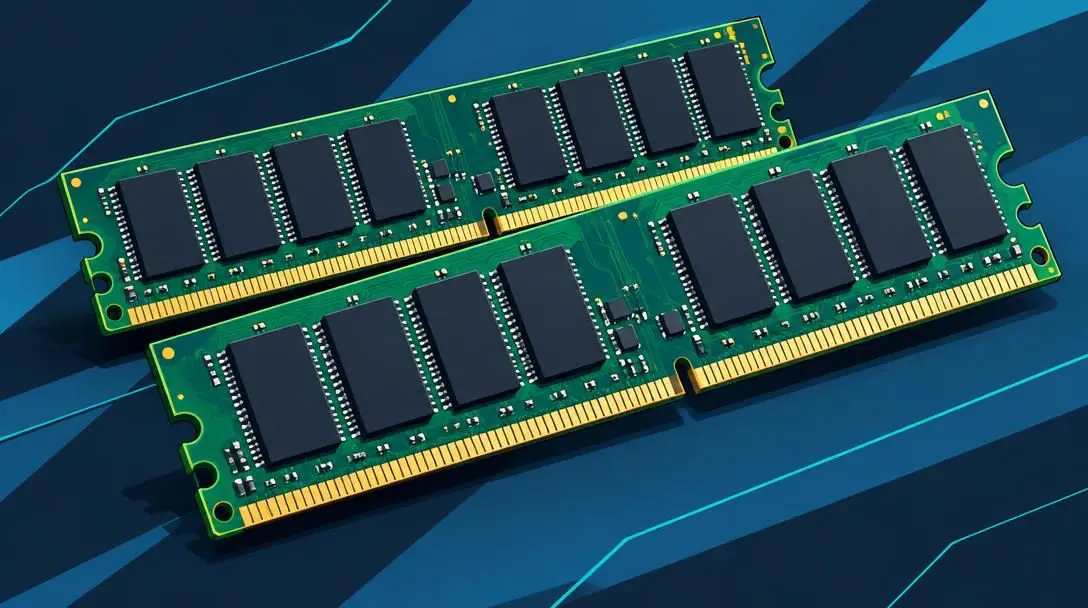
- Primary Role: High-speed temporary workspace
- Key Feature: Rapid dual in-line memory module slots
Random access memory modules serve as the short-term working memory of the desktop. The operating system and active applications load working data directly into these volatile memory sticks so the processor can read and write information instantly without waiting on slower storage drives. When the computer shuts down or restarts, all data held within system memory is completely cleared.
The Power Supply Unit
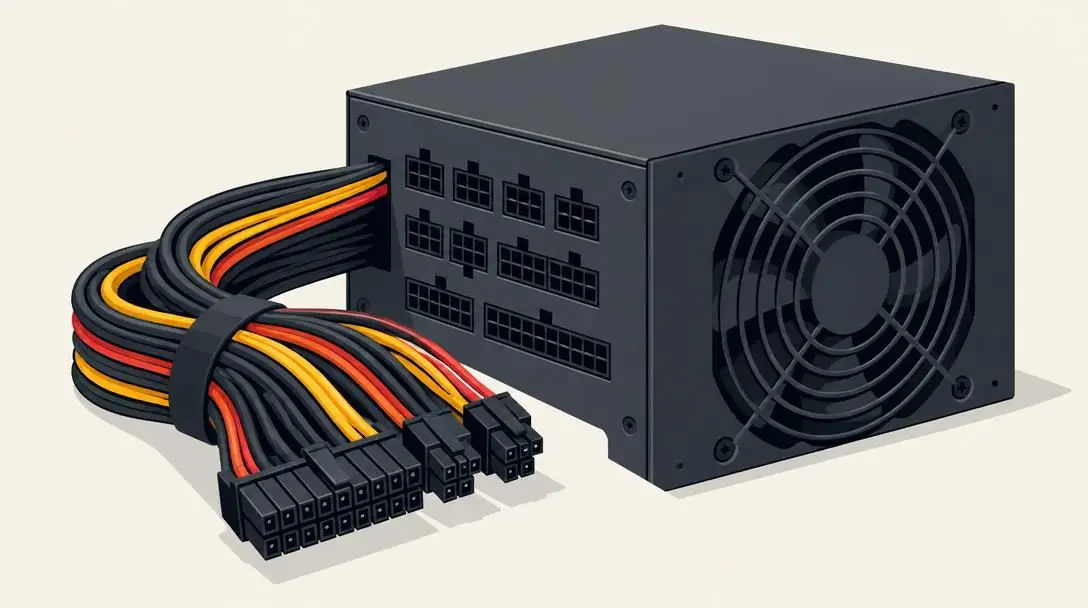
- Primary Role: Alternating current conversion and voltage regulation
- Key Feature: Dedicated direct current wiring harnesses
The power supply unit converts alternating current drawn from a standard household electrical outlet into low-voltage direct current. It features multiple isolated power cables configured to deliver consistent, regulated electrical currents to the motherboard, solid-state drives, cooling systems, and demanding expansion hardware. Ensuring adequate, stable wattage is crucial for long-term system stability.
Disk Storage Drives
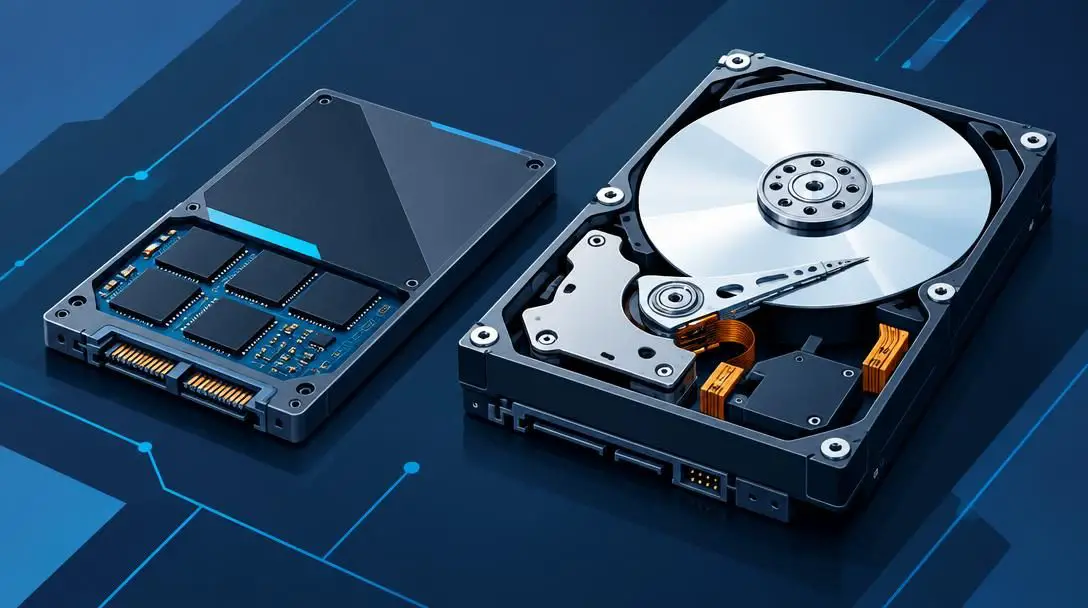
- Primary Role: Non-volatile long-term data repository
- Key Feature: Retains operating system files, media, and programs without power
Disk storage hardware houses your digital life permanently, retaining the operating system installation, downloaded applications, personal files, and saved settings even when the machine is switched off. Modern desktop builders rely on internal solid-state and mechanical storage drives securely fastened inside case mounting bays or installed directly onto dedicated motherboard interfaces.
The Graphics Card
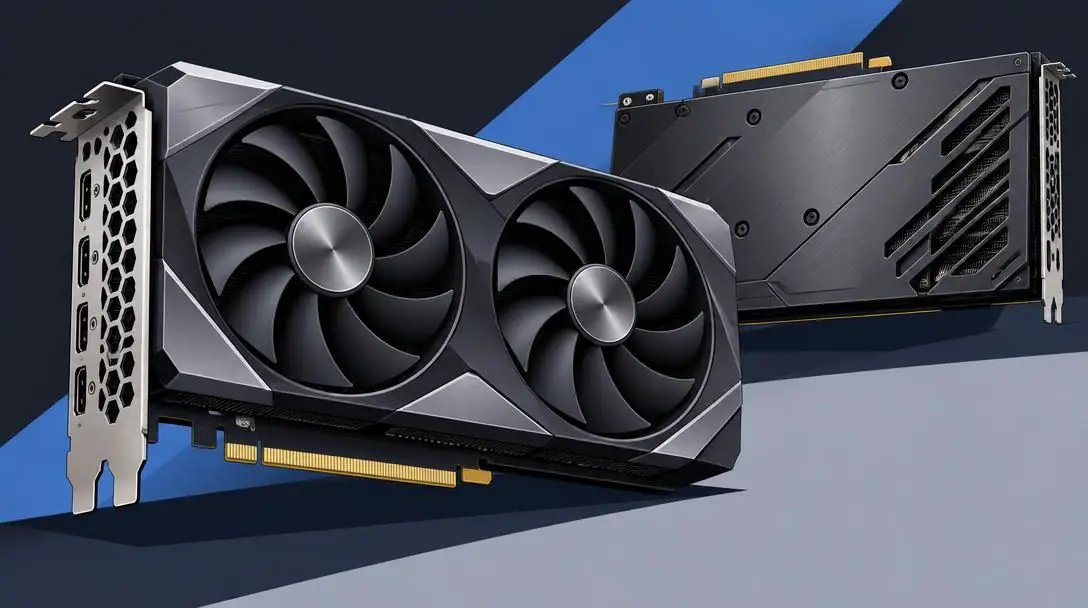
- Primary Role: Visual computation and monitor output
- Key Feature: High-bandwidth expansion card installed in primary PCIe slots
The graphics card, or dedicated video adapter, specializes in processing visual datasets, geometric calculations, and real-time image rendering. Rather than relying on basic display circuitry, a dedicated graphics expansion board takes full responsibility for driving high-resolution monitors, rendering three-dimensional environments, and outputting crisp video feeds.
Cooling Fans
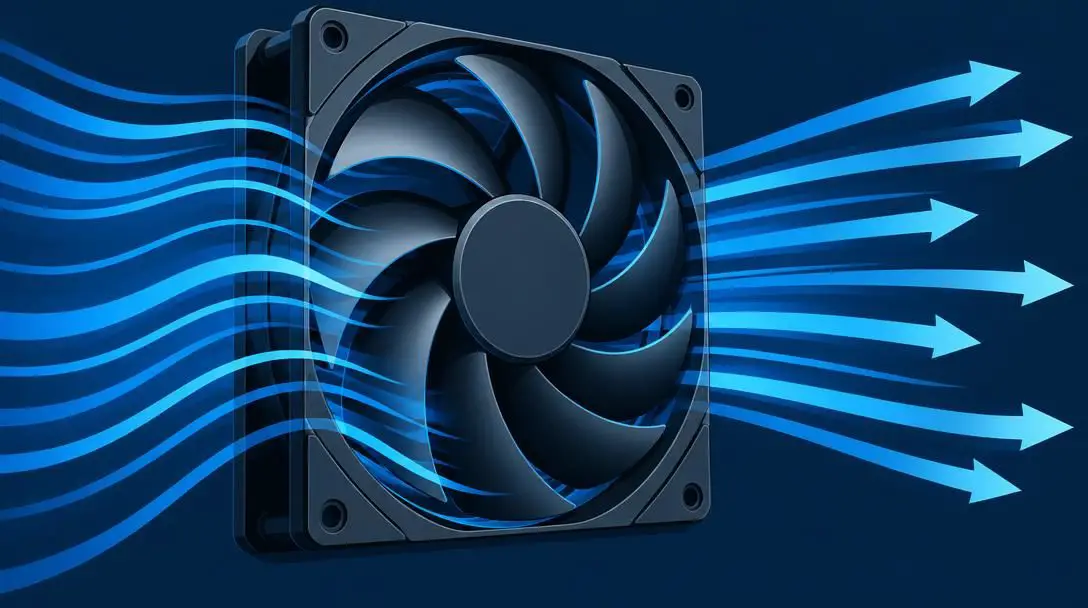
- Primary Role: Internal air displacement and thermal regulation
- Key Feature: Push-pull intake and exhaust configuration
Cooling fan assemblies create a persistent stream of airflow through the desktop chassis. By pulling cooler ambient room air in through the front or bottom vents and expelling accumulated thermal energy out through the top and rear ports, these fans ensure sensitive processors and circuit boards remain within safe operating temperatures.
| Component | System Responsibility | Connection Destination |
|---|---|---|
| Computer Case | Chassis protection and thermal airflow control | Houses all physical components |
| Motherboard | Data communication hub and power distribution | Fastens to case mounting standoffs |
| Central Processing Unit | Instruction execution and computational math | Locked into dedicated motherboard socket |
| Random Access Memory | High-speed volatile working data cache | Clips into motherboard memory slots |
| Power Supply Unit | AC to DC power transformation and delivery | Bolts into case bay; routes cables to hardware |
| Disk Storage Drives | Permanent non-volatile data and OS retention | Mounts to chassis bays or motherboard slots |
| Graphics Card | Visual data rendering and display transmission | Inserts into primary PCIe motherboard slot |
| Cooling Fans | Active heat extraction and fresh air intake | Mounts to chassis fan brackets |
The practical advantages of a self-assembled system
Deciding to build a machine rather than buying an off-the-shelf unit involves weighing several tangible benefits against the required time investment. Building your own computer offers advantages that retail pre-assembled systems simply cannot replicate.
Building a computer functions less like intricate electrical engineering and more like following a detailed blueprint or building an advanced model kit.
Complete System Customization
The foremost benefit of constructing your own machine is absolute control over component selection. When purchasing a commercial desktop from a retail store, the original equipment manufacturer chooses which parts to bundle together, frequently cutting corners on motherboard quality, power supply reliability, or memory speeds to maximize corporate margins. In contrast, building your own system lets you tailor every single piece of hardware to match your exact performance requirements. This level of precise specification is particularly critical if you are tailoring the machine for high-demand video games or cryptocurrency mining, both of which require dedicated hardware strengths.
The Flexibility to Reuse Spare Parts
A self-built computer rarely needs to be discarded wholesale when performance begins to lag. Instead, building your own machine gives you the flexibility to mix brand-new components with functional used parts. Many builds are incremental upgrades rather than systems constructed entirely from scratch. A thrifty builder can easily reuse an older computer case, an existing power supply, and working cooling fans from an outdated setup—provided they are functional and match required form factors—while replacing only the core motherboard, processor, and memory.
Potential Cost Reductions
Assembling your own machine can deliver meaningful financial savings under specific circumstances, particularly when sourcing used components. For example, buying a brand-new computer case, power supply, and cooling fan might cost $100 combined at retail prices, whereas an identical, fully functional set of used components can often be acquired for roughly $20 on eBay. Sourcing hardware this way allows builders operating on tight budgets to stretch their money substantially further.
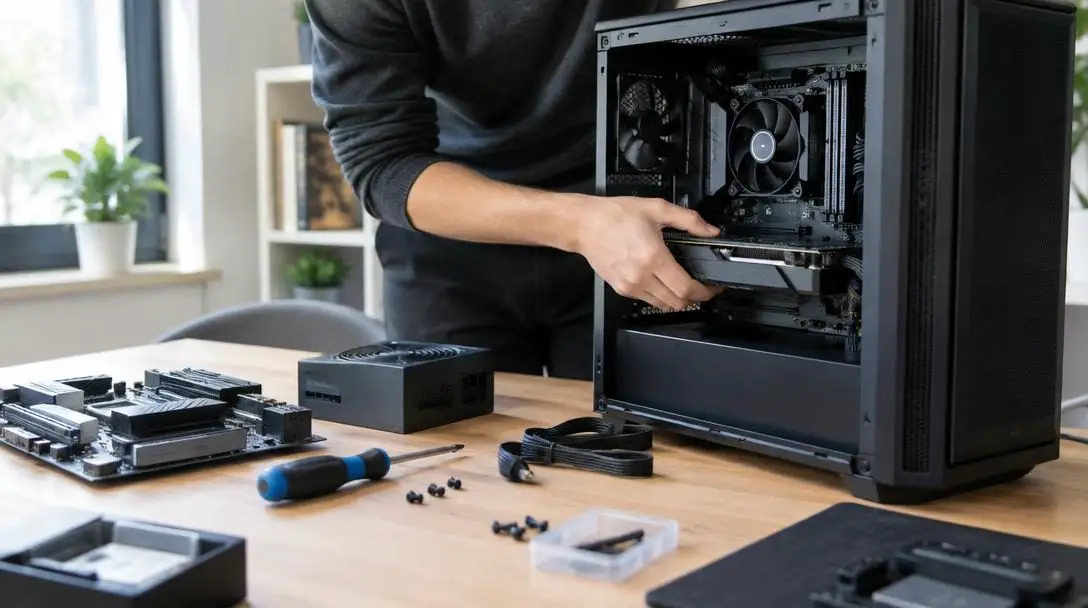
Step-by-step: how to assemble a personal computer
Approaching computer construction requires an orderly, systematic workflow. Rushing through the assembly or skipping preparatory checks can lead to mechanical misalignment or frustrating errors during the initial power-on phase. Following a sequence of structured steps will keep the build organized and stress-free.
- Gather all necessary components: Collect your computer case, motherboard, processor, memory modules, power supply, storage drives, graphics card, cooling hardware, and installation tools in a clean workspace before beginning.
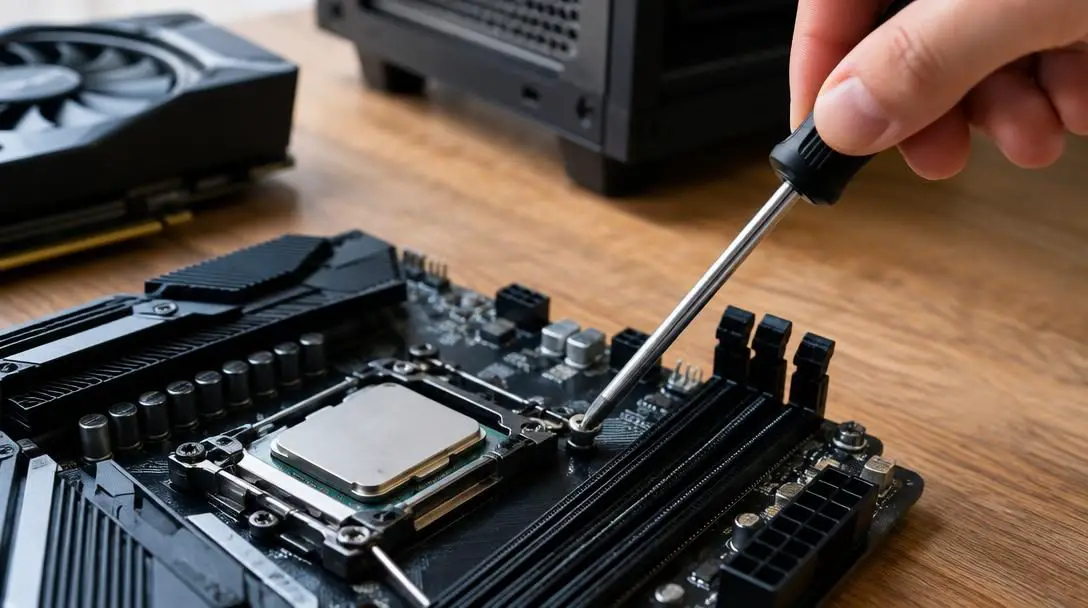
- Familiarize yourself with the motherboard layout: Set the motherboard on a flat, non-conductive surface outside the case and study its layout alongside the manufacturer manual. Locate the CPU socket, RAM slots, primary PCIe lane, storage connectors, and front-panel pin headers.
- Install the processor and memory outside the case: Gently seat the CPU chip into the motherboard socket without forcing the retention lever or bending delicate socket pins. Next, push the RAM modules into their designated slots until both retaining latches snap firmly into place.
- Mount the power supply and storage into the chassis: Fasten the power supply unit into its dedicated bay inside the computer case using the provided screws. Install your storage drives into the designated internal drive brackets or bays.
- Secure the motherboard and install remaining hardware: Carefully lower the populated motherboard into the chassis, aligning it with the mounting standoffs, and screw it into place. Seat the graphics card into the primary PCIe slot, and securely route all internal power, data, and case switch cables.
- Install the operating system and drivers: Connect your display, keyboard, and power cable, then turn on the system. Access the system setup screen, install your chosen operating system onto the primary storage drive, and complete the installation of all manufacturer-supplied component drivers.
- Test the system and troubleshoot errors: Run basic diagnostic tools to verify that all installed memory and storage components register correctly, monitor idle and load operating temperatures, and address any intermittent hardware conflicts.
The value of video guides and mentorship
While printed motherboard schematics and component manuals are essential for verifying electrical ratings and pin connections, they can feel abstract to a first-time builder. Static diagrams cannot effectively illustrate the mechanical tactile feedback of computer assembly, such as the exact amount of physical downward force required to seat a memory module or how firmly a power plug clicks into a socket.
Working alongside an experienced friend who can supervise your work in real time is one of the most effective ways to build your confidence and avoid beginner mistakes. If a personal mentor is not available, viewing modern YouTube build tutorials provides an exceptional alternative. High-definition video tutorials show the real-time angles, hand positions, and subtle techniques required to route wiring cleanly behind motherboard trays.
Common mistakes to avoid during assembly
Building a desktop is fundamentally straightforward, but overlooked details during the assembly process can lead to hardware malfunctions or prolonged troubleshooting sessions. Keeping these common pitfalls in mind will protect your investment and ensure a seamless first boot:
- Rushing the installation: Working too fast frequently results in forgotten steps, such as omitting the rear interface shield, misplacing motherboard standoffs, or dropping loose screws behind installed circuit boards.
- Forcing keyed components: Applying excessive physical force to cards, memory sticks, or data cables that are misaligned can crack circuit traces, snap retention latches, or permanently bend fragile socket pins.
- Neglecting internal cable management: Allowing loose power leads to bundle in the center of the chassis blocks vital air circulation paths, increases ambient internal heat, and risks physical contact with spinning cooling fan blades.
- Skipping official driver installations: Assuming assembly ends once the operating system boots to the desktop is a common mistake; omitting official graphics and motherboard chipset drivers results in unstable operation, sluggish rendering, and undetected peripherals.
- Improper thermal cooler mounting: Installing a processor heatsink without firm, even contact across the CPU surface leads to immediate heat spikes, causing severe thermal throttling or abrupt protective shutdowns.
Frequently asked questions
Can I ruin my computer parts if I make a mistake?
Modern hardware is quite resilient and engineered with keyed physical connectors to prevent incorrect assembly. However, applying excessive force to misaligned components, bending delicate CPU socket pins, or failing to seat a thermal cooler properly can cause physical damage or dangerous overheating.
Is building a PC always cheaper than buying a pre-built computer?
Not necessarily. While you can save substantial money by reusing older cases, fans, and power supplies or sourcing used parts on secondary marketplaces, purchasing all brand-new retail components can cost more than a pre-built machine due to wholesale commercial discounts and fluctuating retail supply chains.
Do I need specialized electrical engineering tools to build a PC?
No specialized engineering tools or soldering equipment are required. The vast majority of desktop computers can be completely assembled using standard household screwdrivers, as parts are modular and designed to fasten together with standard screws and integrated snap clips.
Why should I build a PC if I can just buy one?
Building gives you complete control over component quality, eliminates cheap manufacturer shortcuts, makes future repairs and upgrades straightforward, and lets you tailor the system specifically for heavy workloads like gaming or cryptocurrency mining.
What should I do if my newly built computer will not turn on?
If the system does not power on, systematically verify that the power supply rocker switch is active, confirm that the front-panel power button wires are seated on the correct motherboard pins, and ensure that all main motherboard and processor power cables are pushed firmly into their sockets.
The bottom line
Building your own personal computer is not an unattainable technical feat; it is a structured, practical skill that any patient beginner can master. By viewing the desktop as a collection of modular components rather than an intimidating black box, you strip away the mystery of computer hardware. The process rewards you with a deep, functional understanding of how your computer operates, straightforward upgrade paths for years to come, and the immense satisfaction of pressing the power button on a machine you assembled yourself.
To determine your next step, evaluate your budget and personal mechanical comfort. If you are willing to spend a few hours studying motherboard diagrams and watching comprehensive video tutorials, taking on the project yourself is well worth the effort. However, if handling bare circuit boards makes you uncomfortable or the cost of sourcing individual parts outweighs the advantages, asking an experienced friend to supervise your work or opting for a pre-assembled computer remains a sensible, stress-free path forward.