5 Beginner Woodwork Project Ideas
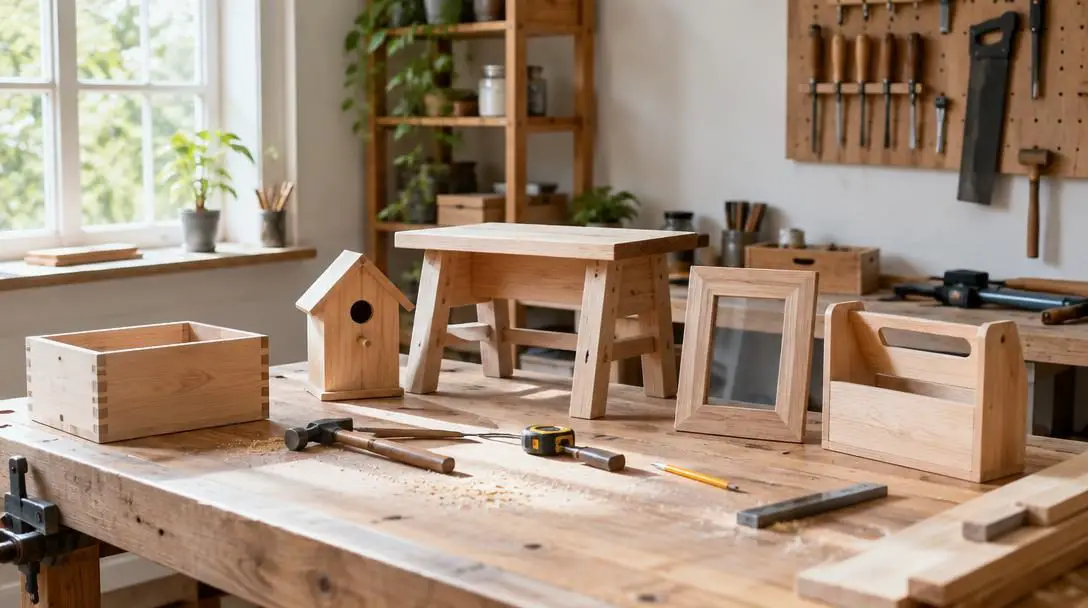
Woodworking remains one of humanity's most enduring crafts, grounded in the unmatched versatility of timber as a raw building material. While shaping wood was historically an everyday necessity for shelter, transport, and basic household utility, the rise of mass manufacturing led to a gradual decline in amateur shop craft. In recent years, however, hands-on building has enjoyed a widespread resurgence, fueled in part by popular culture touchstones such as the NBC sitcom Parks and Recreation. Modern hobbyists increasingly turn to the workbench seeking personal creative expression, practical home storage, and the deep satisfaction that comes from assembling functional, physical objects with their own hands.
Yet taking that initial step into a workshop can easily intimidate a novice. When setting out to learn woodworking, tackling an expansive structure like an entire house or an intricate dining table is a recipe for frustration. Complex builds require specialized machinery, seasoned technical judgment, and precision joinery that take years to master. The most sustainable way to develop lasting confidence is to start with compact, manageable projects that teach essential shop fundamentals while delivering quick, tangible results.
Key takeaways
- Novice woodworkers should bypass complex joinery and expensive stationary machinery in favor of standard dimensional lumber and simple screw-fastened joints.
- Introductory builds emphasize four repeatable production phases: careful planning and measuring, cutting, mechanical assembly, and surface finishing.
- Everyday utilitarian items like shoe racks, benches, coffee tables, document storage boxes, and picture frames build essential woodworking skills without high financial stakes.
- Patient surface preparation, including thorough sanding and neat fastener placement, is critical to ensuring finished furniture is durable and safe to use.
Core principles and fundamental phases of beginner woodwork
Before buying specialty tools or exotic lumber, beginners must understand the operational lifecycle of a basic build. You do not need a dedicated commercial workshop filled with stationary table saws or industrial planers to produce attractive, durable items. Instead, early projects rely heavily on standard dimensional lumber, basic mechanical fasteners, and everyday hand or cordless power tools.
A standard beginner project moves progressively through four distinct phases:
- Planning and measuring: Establish the exact functional dimensions needed for your space and determine how the individual components will meet to bear loads evenly.
- Cutting: Break down dimensional boards using hand saws, miter boxes, or simple power saws; certain starter projects can even be assembled straight from off-the-shelf board lengths without any cutting.
- Assembly: Secure the components together using reliable mechanical fasteners, such as common wood screws driven with cordless drills or hand screwdrivers, bypassing intricate mortise-and-tenon or dovetail joints.
- Finishing: Smooth away milling marks, sharp edges, and splinters with progressive sandpaper grits, then apply protective coats of paint or varnish to protect the timber against wear.
Beginner woodworking projects at a glance
Choosing the right starter build depends on your available workspace, tool access, and comfort level with cutting boards to size. The table below outlines how the top beginner builds compare across materials, cut requirements, and intended functions.
| Project | Primary Material | Cutting Required | Primary Utility |
|---|---|---|---|
| Shoe Organizer | 2x4 and 2x10 dimensional lumber | None (uses stock lengths) | Footwear and general home storage |
| Simple Bench | Sturdy structural dimensional lumber | Minimal straight cuts | Functional human seating |
| Coffee Table | Standard dimensional boards | Minimal straight cuts | Living room surface display |
| Magazine Storage | Smaller dimensional wood profiles | Moderate precision cuts | Document and folder organization |
| Photo Frames | Decorative or narrow wood strips | Precision corner angle cuts | Wall art and keepsake display |
5 beginner woodwork project ideas
Each of the following builds introduces vital hand skills while keeping technical hurdles to a minimum. By working through them, beginners can develop a comprehensive understanding of lumber behavior, structural stability, and surface finishing.
Shoe Organizer
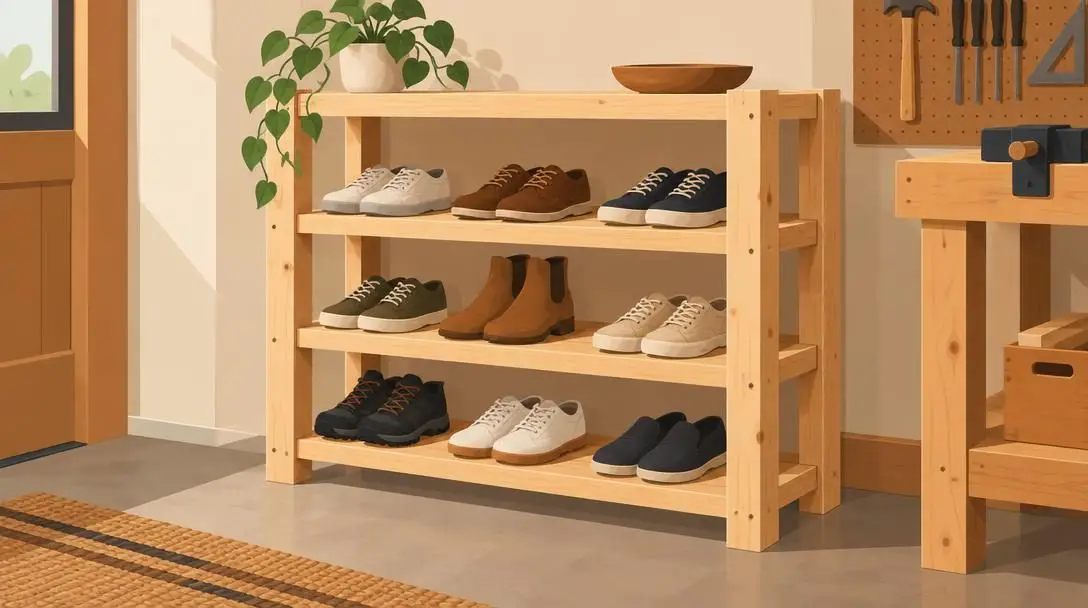
- Recommended lumber: Standard 2x4s and 2x10s
- Fastening style: Direct screw assembly
- Skill focus: Fastening without prior cutting
The shoe organizer is widely considered the ideal introductory woodworking project because it requires virtually no complex layout work. Newcomers often abandon their initial builds when faced with complicated rebates, compound angles, or delicate installation hardware. A simple shoe rack eliminates these obstacles. By purchasing standard lengths of 2x4 and 2x10 boards from a local home supply center, you can build tiered storage without having to cut the lumber down at all.
Assembly is as simple as positioning the horizontal shelf tiers between upright supports and securing them with mechanical screws. Once the framework is rigid, you can sand the surfaces smooth and apply a clear varnish or a colorful coat of paint. Beyond holding sneakers in an entryway, the same structural design works exceptionally well as a multi-tier utility rack for garage tools, pantry supplies, or decorative living room items.
Simple Bench
- Structural requirement: Heavy-duty weight-bearing lumber
- Hardware focus: High-rigidity mechanical fasteners
- Key task: Intensive surface sanding
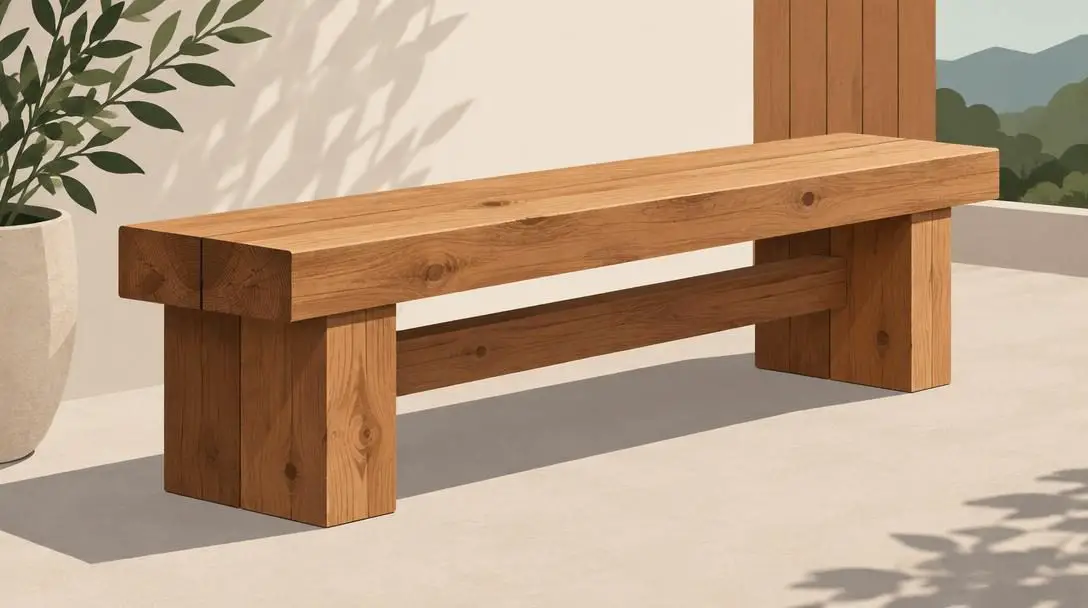
Constructing a functional seat represents a meaningful milestone for any emerging craftsperson. You do not need an expensive metal frame or high-priced hardwood slabs to build a durable, supportive seat. Instead, a wooden bench can be assembled using the same straightforward geometric layout found in utility shelving, relying on clean right angles and solid mechanical connections.
Because a bench must safely support the dynamic weight of human beings rather than lightweight footwear, you must use substantially sturdier dimensional boards. Fasteners must be driven deep and straight to resist racking and lateral forces when someone sits down. Surface preparation is particularly vital here: invest extra time in sanding the seating surface and easing sharp corners to prevent splinters from snagging clothing or skin.
Coffee Table
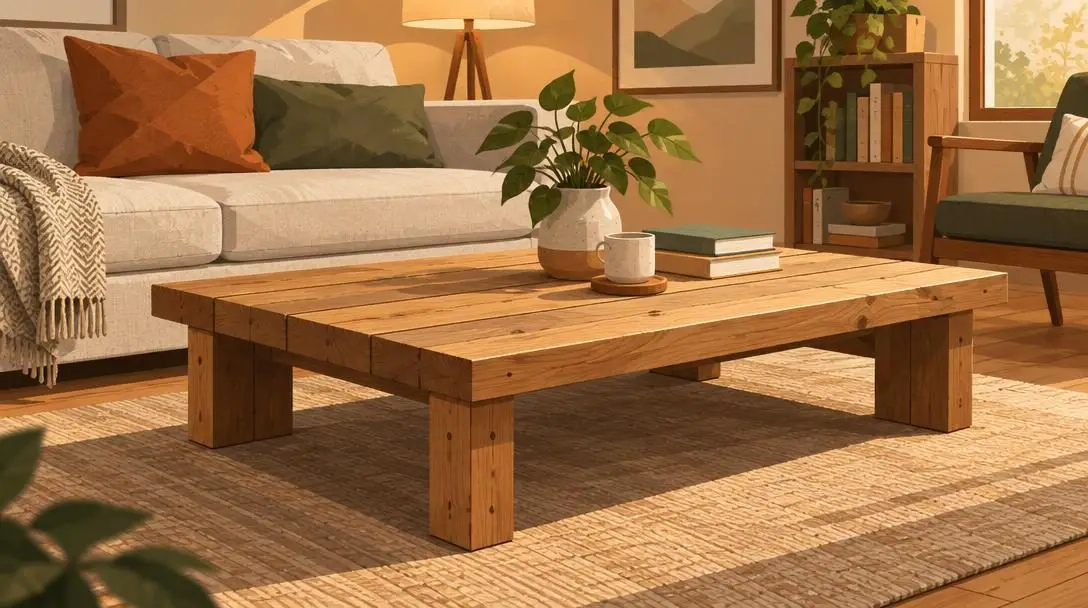
- Build timeframe: Single afternoon project
- Design basis: Modified low-profile bench geometry
- Primary utility: Holding drinks, books, and decor
A classic wooden coffee table shares almost identical construction logic with a simple bench, making it an intuitive follow-up project. The primary difference lies in the proportions. While a seating bench features a relatively narrow top surface to accommodate seated posture, a coffee table utilizes a wider top surface assembled from multiple boards to hold lamps, art books, and beverage coasters.
Assuming you have basic fastening tools on hand, a functional coffee table can be completed from start to finish in a single afternoon. Its reliance on inexpensive, off-the-shelf boards keeps material costs low, providing a fast and rewarding weekend build that instantly elevates your living room space.
Starting small with basic structural lumber transforms intimidating workshop theory into practical, satisfying household furniture.
Magazine Storage

- Workspace requirement: Compact desk or small benchtop
- Skill focus: Repetitive cutting and joint alignment
- Primary utility: Holding magazines, folders, and files
For makers working out of a small apartment, cramped utility room, or crowded garage, large furniture projects like benches and tables may prove unwieldy. A desktop magazine storage rack is an outstanding alternative. Sized to hold periodicals, file folders, and important household paperwork, this project shifts the focus toward lighter components and smaller joint tolerances.
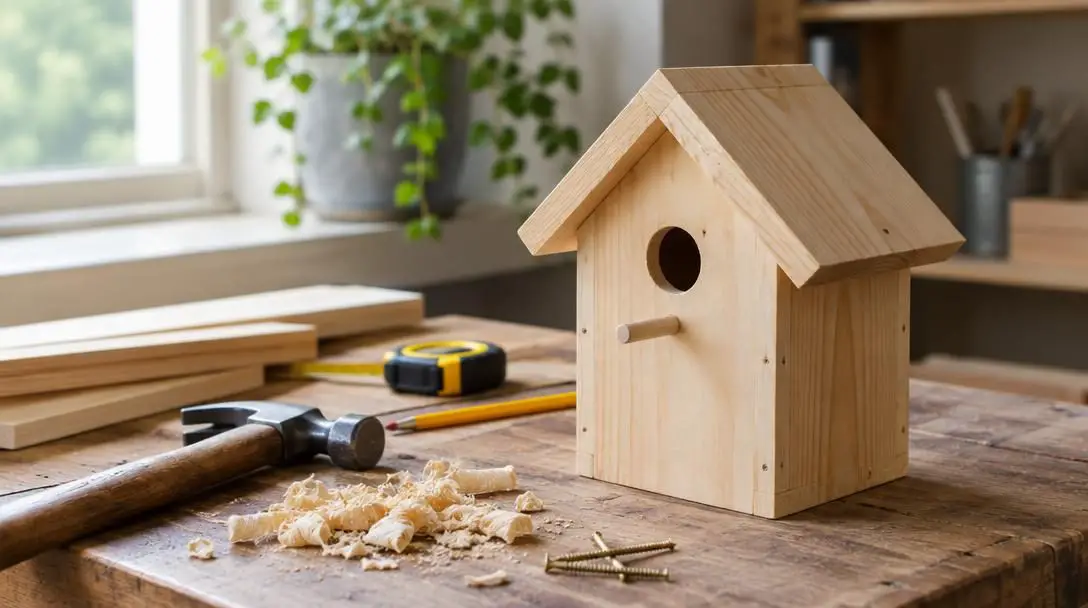
Although cutting smaller boards requires greater attentiveness to straight blade alignment, the low financial cost of small timber profiles keeps the stakes low. If you make an inaccurate cut, replacing a small strip of wood is fast and inexpensive. Building a desktop organizer provides the perfect low-pressure environment to develop clean saw habits and master neat fastener installation.
Photo Frames
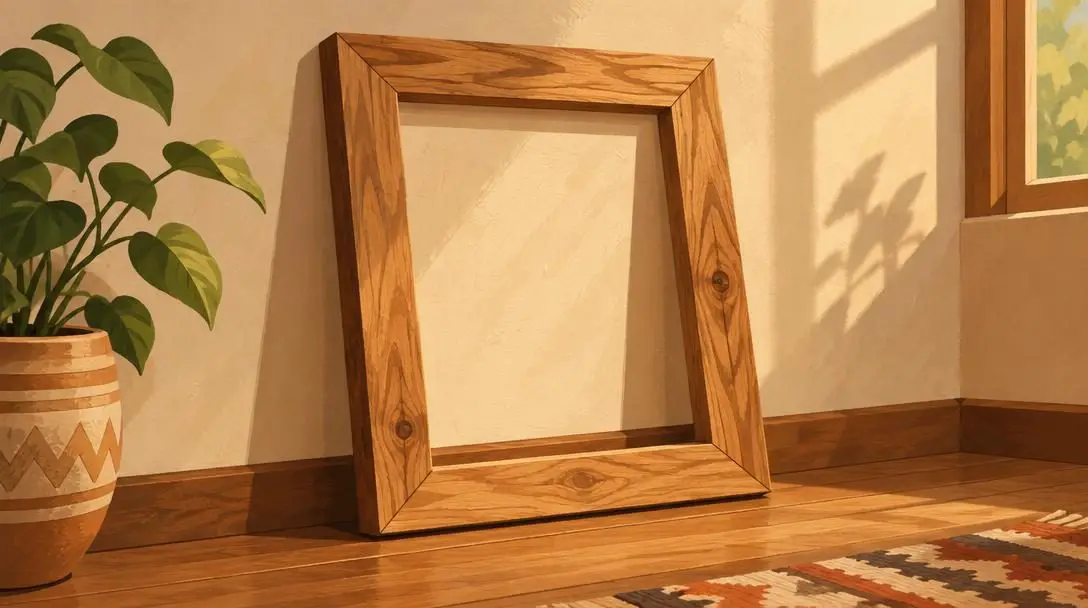
- Historical popularity: Classic shop and home economics project
- Skill focus: Miters, molding, and artistic finishing
- Primary utility: Displaying family pictures and wall art
The humble picture frame has long served as the quintessential gateway into decorative woodworking, familiar to generations of makers who built basic versions in school classes. Graduating beyond craft sticks, cutting real wood to frame a beloved photograph brings immense sentimental value alongside critical workshop lessons.
Frames offer nearly endless creative freedom: there is no single "correct" way to make one, provided it sits flush against the wall, holds together securely, and showcases the image within. This project allows you to experiment with custom moldings, decorative stains, and distinct paint combinations while learning how to measure, align, and fasten clean corner joints.
A beginner's checklist for successful project assembly
Approaching your first build with a clear, orderly routine prevents mistakes and protects your personal safety throughout the process. Keep this step-by-step checklist in mind whenever starting a new piece:
- Establish a dedicated workspace: Clear a flat, stable, well-lit surface with ample ventilation, such as a garage corner, portable workbench, or patio table.
- Inspect raw lumber prior to purchase: Sight down the length of every board at the home supply store, rejecting any timber with noticeable twists, bows, or deep structural splits.
- Dry-assemble your pieces: Position all cut boards in place without fasteners to verify that corners align flush and dimensions match your space.
- Drive fasteners straight: Keep your drill or screwdriver perpendicular to the board face to prevent screw shanks from wandering out through the sides of the lumber.
- Sand methodically: Work thoroughly over all flat faces, end cuts, and sharp corners to eliminate milling ridges and splinter hazards.
- Clean before applying finish: Vacuum or wipe away all lingering wood dust before opening cans of paint, stain, or protective varnish to preserve a pristine finish.
Common pitfalls to avoid in early builds
Beginner woodworkers frequently encounter avoidable setbacks simply by rushing through critical intermediate steps. Being mindful of these common traps will save you both time and material:
- Skipping thorough sanding: Failing to sand raw lumber leaves sharp splinters on high-contact furniture like benches and creates an uneven surface that prevents paints and protective varnishes from adhering cleanly.
- Rushing component fastening: Driving screws without verifying that your assembly is square and flat can introduce permanent twists, yielding wobbly coffee tables or uneven storage boxes.
- Using inadequate lumber for structural loads: Selecting lightweight boards suitable for a shoe rack or desk organizer and using them on human seating will lead to structural failure under lateral strain.
- Allowing dust to ruin finishes: Sanding in the immediate vicinity of drying varnish or wet paint traps airborne grit directly in the topcoat, ruining hours of careful surface prep.
Frequently asked questions
Do I need to buy expensive power tools to start woodworking?
No. Beginner builds rely primarily on accessible tools such as hand screwdrivers, cordless drills, standard hand saws, or simple miter boxes. Several introductory projects, such as a basic shoe organizer, can even be made using stock lumber lengths straight from the store without requiring cutting tools.
Can a beginner use screws instead of complex joints like dovetails?
Yes. Traditional joints like mortise-and-tenon or dovetails require specialized machinery, hand chisels, and advanced skills. Standard wood screws provide plenty of mechanical strength for starter builds and allow you to complete projects quickly using simple household tools.
What is the difference between building a bench and a coffee table?
Both pieces share nearly identical construction logic and right-angle fastening techniques. The key difference is proportions: a seating bench requires a narrower top and heavy-duty lumber to handle the dynamic lateral weight of people, while a coffee table features a wider top surface designed for decorative items and living room accessories.
Why is sanding so important for beginner projects?
Sanding smooths away manufacturing stamps, mill ridges, and rough fibers. On utility items like benches, it prevents painful splinters, while on decorative items like picture frames, it ensures stains, varnishes, and paints adhere cleanly without blotching.
What makes a picture frame such a popular project for beginners?
Picture frames require minimal timber, carry deep sentimental value, and offer unlimited artistic possibilities for painting, staining, and molding profiles. As long as the frame hangs securely and displays the photograph, there is no single rigid way to build it.
The bottom line
Entering the craft of woodworking does not require an industrial workshop, an expansive budget, or years of formal training. By focusing on accessible, high-utility items such as shoe organizers, benches, coffee tables, document racks, and picture frames, you learn how raw timber behaves, how mechanical fasteners perform under load, and how finishes protect surfaces. As each completed project reinforces your foundational hand skills, you can confidently invest in new tools, experiment with complex cutting angles, and advance toward larger, more intricate furniture builds.