5 Tips for Cooking a Turkey
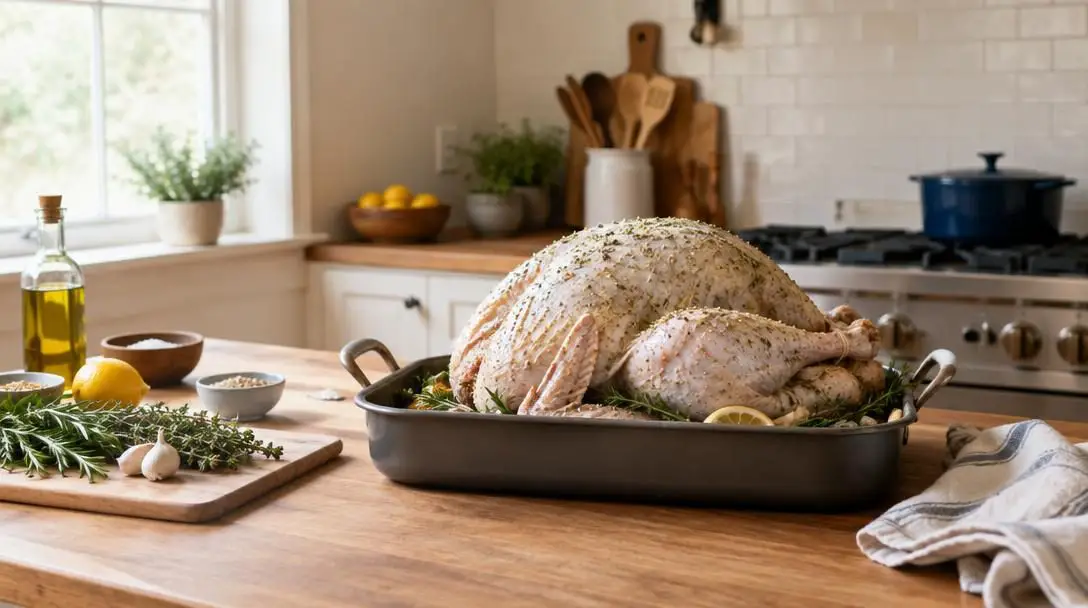
Roasting a whole turkey stands as the traditional centerpiece of holiday feasts and Thanksgiving dinners, yet it remains one of the most nerve-wracking culinary challenges for home cooks. The primary hurdle stems from poultry anatomy: a turkey consists of different muscle groups that react very differently to heat. The lean white meat of the breast contains minimal intramuscular fat, making it prone to drying out under extended cooking times, while the darker meat of the legs and thighs requires steady heat to become tender. Without the right balance, cooks often end up with meat that is tough, dry, and bland.
Achieving a golden-brown bird with exceptionally moist meat does not require professional training, but it does demand a deliberate strategy. By mastering the fundamentals of internal humidity, fat application, thoughtful seasoning, and anatomical carving, you can reliably produce juicy, flavorful turkey every single time you cook.
Key takeaways
- Enclosing the turkey in an electric roaster or a vented foil tent creates a self-basting steam cycle that protects delicate white meat.
- Adding two cups of water along with the turkey neck and gizzards to the bottom of the pan keeps drippings from scorching and establishes a rich base for homemade gravy.
- Coating the skin in softened butter seals in natural moisture while helping a savory spice rub adhere and crisp during cooking.
- Carving whole turkey breasts away from the carcass allows you to slice across the grain, guaranteeing tender portions instead of stringy cuts.
The Science of Moisture, Fat, and Heat in Poultry
Understanding why turkeys dry out is the first step toward preventing it. As heat penetrates raw poultry, proteins within the muscle fibers contract and squeeze out internal water. In an uncovered, dry oven environment, that released water evaporates into the open air, leaving the meat parched long before the center reaches a safe internal temperature. White breast meat suffers the most because it lacks the protective fat marbling found in beef or pork.
To counteract this rapid dehydration, successful cooks create an active micro-environment inside the roasting vessel. By enclosing the cooking space—either through a dedicated countertop roaster lid or a tightly crimped tent of heavy-duty aluminum foil—evaporating moisture is trapped. The moisture rises, contacts the cooler lid or foil ceiling, condenses into water droplets, and falls right back over the bird. This natural basting loop keeps the ambient humidity high, ensuring the outer breast tissue does not dehydrate while waiting for the thicker thigh joints to cook through.
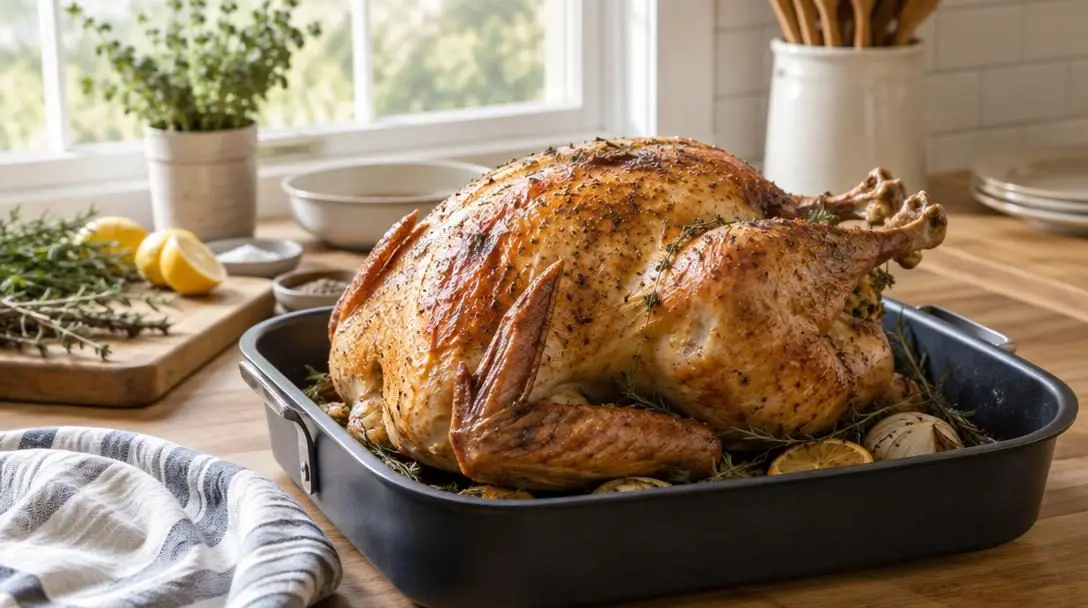
A sealed, vented roasting vessel transforms evaporating pan juices into a steady cycle of self-basting steam that shields lean breast meat from drying out.
Simultaneously, surface fat plays a crucial dual role. Butter spread across the poultry skin serves as a thermal barrier, slowing down the rate of surface evaporation. As the butter melts, its milk solids and fats promote heat transfer that crisps the skin, while acting as a binding agent that keeps herbs and dry seasonings locked firmly in place throughout roasting.
Essential Equipment for Roasting Success
Having the appropriate culinary gear assembled prior to roasting eliminates unnecessary stress and guarantees your setup maintains moisture properly. While high-end specialty cookware is unnecessary, choosing the correct base vessels and prep tools directly influences the final texture of the meat and the quality of your gravy.
- Electric turkey roaster or deep roasting pan: An electric countertop roaster provides superior moisture retention, but a heavy, deep roasting pan placed in a conventional oven functions well when properly covered.
- Elevated roasting rack: A sturdy metal rack designed to sit inside your pan keeps the turkey lifted above the accumulating liquid so the bottom meat roasts rather than boils.
- Heavy-duty aluminum foil: Essential for conventional oven roasting to fashion a tight, moisture-trapping tent equipped with a small steam release vent.
- Large cutting board: A spacious, slip-resistant board provides the flat working surface required to carve whole breasts cleanly without kitchen clutter.
- Sharp carving or chef's knife: A keen blade slices cleanly through crispy skin and dense poultry fibers without tearing or shredding the meat.
- Presentation platters: Having a staging tray for the whole bird and a separate serving platter for arranged slices keeps dinner service elegant and organized.
Five Essential Tips for Cooking a Moist, Flavorful Turkey
Executing a tender, flavorful roast relies on five sequential techniques, starting from pan preparation and continuing through the final knife strokes at the cutting board.
1. Optimize the Pan Setup with an Enclosed Steam Enclosure
While standard ovens are perfectly capable of roasting poultry, a dedicated countertop electric turkey roaster consistently delivers a noticeably moister result because of its compact, tightly sealed dome. If you roast inside a conventional oven, you can replicate this self-basting dynamic using a deep roasting pan and heavy-duty aluminum foil. Drape the foil completely over the pan and crimp the edges securely, leaving only a tiny vent near the top. This small opening lets just enough pressure escape while forcing the rising steam to collect on the foil ceiling and rain continuous moisture back onto the turkey.
2. Create a Rich Broth Base with Water, Gizzards, and Neck
Never place a turkey into an entirely dry pan. Before the bird goes into the heat, pour approximately two cups of water directly into the bottom of the pan beneath your elevated roasting rack. Retrieve the included neck and gizzards from the poultry cavity and rest them directly in this shallow pool. As the turkey roasts, the neck and gizzards simmer slowly in the water, releasing gelatin, aromatics, and rich savory notes. This pan pool serves two vital functions: it feeds steady steam into the enclosed cooking chamber, and it catches falling juices and melted butter to form an intensely flavorful foundation for pan gravy.
3. Slather the Exterior Generously with Softened Butter
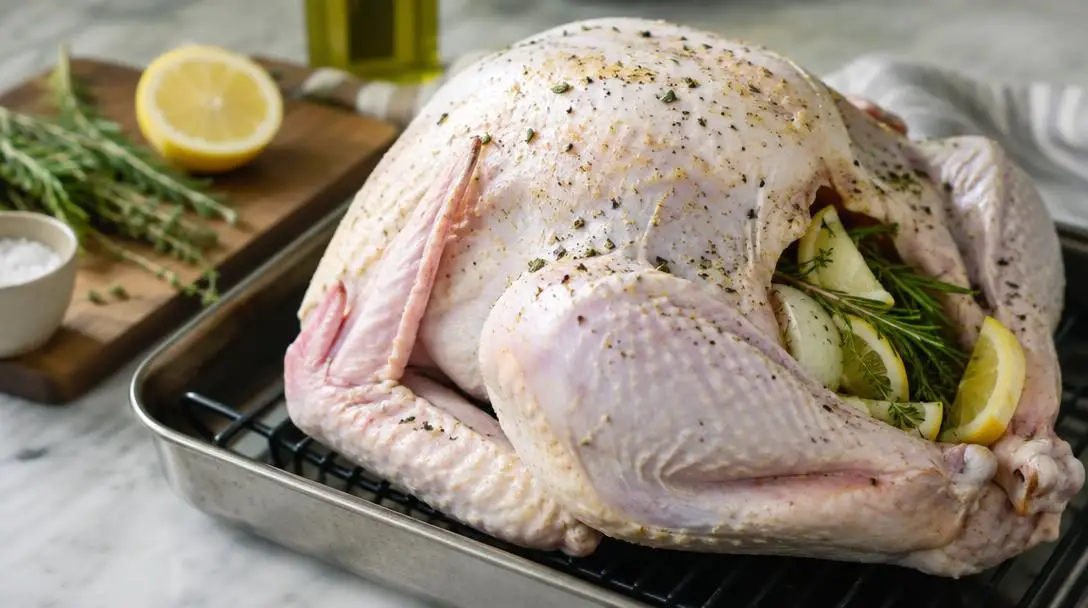
Moisture protection must happen on the exterior of the bird as well as in the air around it. Allow a full stick of butter to soften to room temperature until it spreads effortlessly without tearing delicate skin. Liberally massage this softened butter across every section of the turkey, paying close attention to the top of the breasts, the outer drumsticks, the wings, and hard-to-reach folds and crevices. This rich fat barrier traps subsurface moisture, promotes deep golden browning, and creates a tacky surface that holds your dry seasonings in place.
4. Coat Thoroughly with a Balanced, Multi-Layered Spice Rub
Many cooks limit dry rubs to barbecued ribs or pork shoulders, but applying a seasoned dry rub directly over the buttered skin transforms plain roast poultry. You can blend the dry ingredients beforehand in a small bowl or apply each component individually over the butter layer. A well-rounded poultry blend balances aromatic alliums, traditional herbal notes, and a lively accent spice for color and depth.
| Seasoning Component | Proportional Application | Primary Role in the Roast |
|---|---|---|
| Garlic powder | Heavy hand | Provides a robust, savory aromatic base across the skin. |
| Onion powder | Standard measure | Adds earthy sweetness and complements the garlic base. |
| Poultry seasoning | Standard measure | Supplies classic holiday herbal aroma (thyme, sage, marjoram). |
| Salt and black pepper | Even dusting | Enhances intrinsic poultry flavor and draws out surface moisture for crisping. |
| Badia redfish seasoning | Light touch | Delivers a distinct, vibrant kick; used sparingly to prevent overpowering herbs. |
5. Carve the Whole Breast Away and Slice Across the Grain
Even a flawlessly roasted turkey can turn stringy and tough if carved incorrectly. The most common error home cooks make is shaving thin slices directly off the bird while the breast remains attached to the rib cage. Cutting downward along the frame forces the knife to travel parallel to the muscle fibers—known as cutting with the grain. Instead, follow the contour of the breastbone with your knife to remove each breast lobe entirely in one intact piece. Transfer the whole breast to a stable cutting board and cut across the width of the muscle fibers. Slicing against the grain dramatically shortens the muscle strands, ensuring every slice stays tender, succulent, and easy to chew.
Complete Step-by-Step Roasting and Carving Workflow
Executing your holiday centerpiece smoothly requires a clear, methodical progression from raw prep through post-roast resting. Follow this chronological process to keep your kitchen organized on cooking day.
- Preheat your electric roaster or conventional oven to your target roasting temperature.
- Place an elevated roasting rack inside your deep roasting pan or electric roaster cavity.
- Pour approximately two cups of clean water into the bottom of the pan beneath the rack.
- Remove the neck and gizzards from the turkey cavity and place them directly into the pan water to simmer during cooking.
- Position the turkey securely onto the rack, breast side facing upward, ensuring it does not sit submerged in the bottom liquid.
- Massage a full stick of softened, room-temperature butter across the entire bird, coating every crevice thoroughly.
- Dust your spice blend—salt, black pepper, onion powder, a generous hand of garlic powder, poultry seasoning, and a lighter touch of Badia redfish seasoning—evenly over the buttered skin.
- Seal the electric roaster with its lid, or cover the roasting pan tightly with heavy-duty foil featuring a small venting opening near the top.
- Cook the turkey within the enclosed steam environment until the meat reaches a fully cooked internal temperature, preserving the tent to maintain moisture recycling.
- Carefully lift the fully cooked turkey onto a platter or resting board, leaving all flavorful pan drippings, melted butter, neck, and gizzards in the vessel for gravy making.
- Carve each whole breast off the carcass along the breastbone, place the breast lobes on a flat board, and slice cleanly across the grain into neat portions.
Serving, Presentation, and Table Photography
Presenting a Thanksgiving turkey involves both visual tradition and practical carving logistics. Many hosts want the classic tableside photograph of a majestic, fully intact roast, but attempting to carve the bird at the dining table often results in awkward, torn slices and cooled meat.
You can achieve the best of both worlds with a two-phase presentation plan:
- The whole-bird photo opportunity: When the turkey first emerges from the cooker, place it whole onto a decorative display platter. This allows you to capture photographs of the glistening, golden-brown roast at the height of its appearance right out of the cooker.
- The kitchen carving transfer: After photographs are complete, move the bird to a sturdy, flat cutting board. Here, you have the room and stability to remove the breasts cleanly, slice them against the grain, and disarticulate the drumsticks and thighs without spilling hot juices.
- The garnished serving platter: Arrange the sliced breast meat shingled neatly alongside the whole drumsticks and thighs on your primary serving tray. Tuck portions of warm stuffing and sprigs of fresh parsley or seasonal greens around the outer edges of the meat to add vibrant color contrast before bringing the platter to the table.
Common Roasting Mistakes to Avoid
Even seasoned home cooks occasionally overlook fundamental culinary details when managing multiple holiday dishes simultaneously. Avoiding these common mistakes will protect your centerpiece from drying out or losing its savory depth.
- Skipping the bottom liquid: Omitting the two cups of water allows rendering poultry fat to scorch against dry metal, ruining pan drippings and depriving the oven of essential ambient humidity.
- Roasting uncovered the entire time: Leaving the pan exposed to direct, dry oven heat evaporates surface moisture rapidly, drying out delicate breast meat long before the dark meat tenders.
- Discarding the neck and gizzards: Throwing away the giblets discards free, natural gelatin and deep flavor that would otherwise enrich your roasting steam and stock base.
- Slicing parallel to the breastbone: Carving downwards along the ribcage cuts directly with the grain, creating stringy slices that feel tough in the mouth regardless of how moist the meat is.
- Overdosing on strong accent spices: Treating bold blends like Badia redfish seasoning with the same heavy hand as garlic powder or salt risks masking the delicate taste of the poultry.
The Gravy Advantage: Utilizing Pan Drippings
One of the greatest benefits of roasting a turkey using a water bath, butter layer, and enclosed lid is the concentrated liquid that remains in the pan when the bird is done. Standard uncovered roasting often leaves behind blackened, burned fat splatters that taste bitter. In contrast, this enclosed method yields a rich, golden broth infused with melted butter, roasted poultry drippings, dissolved spice rub, and the simmered essence of the neck and gizzards.
While your carved meat rests on the serving platter, strain this liquid through a fine-mesh sieve directly into a saucepan. Because the pan liquid already holds gelatin from the giblets and rich fats from the butter layer, you can quickly whisk in a flour roux or cornstarch slurry to create an intensely savory homemade gravy without opening a single carton of store-bought chicken broth.
Frequently asked questions
Why should I use an electric roaster instead of a conventional oven?
An electric countertop roaster has a compact cooking chamber and a snug-fitting lid that traps steam much more efficiently than a standard oven. This concentrated moisture recirculates continuously over the bird, resulting in a noticeably juicier turkey and freeing up your main oven for side dishes.
Can I achieve the same moisture retention in a regular oven?
Yes. You can replicate the self-basting environment of an electric roaster by placing your turkey in a deep pan and sealing it securely with heavy-duty aluminum foil. Leaving a small vent near the top lets excess pressure escape while condensation gathers on the foil and rains back onto the poultry.
Why is softened butter preferred over melted butter or oil?
Softened, room-temperature butter creates a thick, spreadable coating that adheres securely to the skin without immediately dripping down into the pan. This physical barrier seals in subsurface moisture, browns beautifully under heat, and provides a tacky surface that keeps your dry spices in place.
What makes cutting against the grain so important when carving?
Meat is composed of long, parallel muscle fibers. If you slice parallel to those fibers (with the grain), your teeth must do the hard work of tearing them apart, making the meat feel chewy and stringy. Slicing across the grain shortens those fibers into tender, bite-sized cross-sections that melt in your mouth.
What role does Badia redfish seasoning play in the poultry rub?
Badia redfish seasoning provides a distinct, zesty kick and subtle complexity that traditional poultry seasonings lack. Because it features bold, punchy spices, it should be applied more sparingly than milder basics like garlic powder and onion powder to avoid overpowering the roast.
The Bottom Line
A showstopping holiday turkey does not rely on luck or expensive gourmet gadgets; it depends entirely on managing moisture, temperature, and muscle structure. By maintaining a two-cup water base enriched with giblets, trapping circulating steam beneath a vented lid or foil tent, insulating the skin with softened butter and savory spices, and slicing whole breasts against the grain, you eliminate every common cause of dry, stringy poultry. Approach the process with patience and proper prep, and your Thanksgiving centerpiece will deliver the crisp skin, tender texture, and rich flavor your gathering deserves.