How to Make Homemade Hummus: Tips and Recipes for Flavorful Dips
Hummus has evolved from a traditional regional specialty into a beloved global kitchen staple. Found in refrigerator cases, restaurant appetizer menus, and home kitchens across the world, this versatile dish owes its popularity to a combination of velvety texture, savory richness, and impressive nutritional value. Whether scooped up with warm flatbread, layered into an everyday lunch wrap, or served as the centerpiece of a colorful party platter, hummus fits effortlessly into modern meal planning.
While prepared tubs are widely accessible at the supermarket, making hummus from scratch provides unmatched freshness, vibrant flavor, and complete control over ingredients. Commercial spreads frequently rely on shelf-stabilizing additives and muted seasonings to maximize store longevity. In contrast, homemade hummus requires only an unpretentious handful of pantry staples and a standard kitchen blender or food processor. By mastering a few straightforward blending mechanics, any home cook can produce a dip that easily surpasses pre-packaged alternatives.
Key takeaways
- Making hummus at home eliminates commercial stabilizers while giving you full control over salt, acidity, and richness.
- Reserving and blending in the starchy chickpea canning liquid creates a stable, light, and velvety emulsion.
- Achieving true restaurant-style creaminess requires prolonged blending and periodic bowl scraping rather than a quick pulse.
- A solid foundational recipe easily transforms into distinctive variations such as roasted garlic, roasted red pepper, or creamy avocado.
- Proper refrigeration in an airtight container preserves homemade hummus for several days without artificial additives.
Essential Ingredients and Kitchen Tools
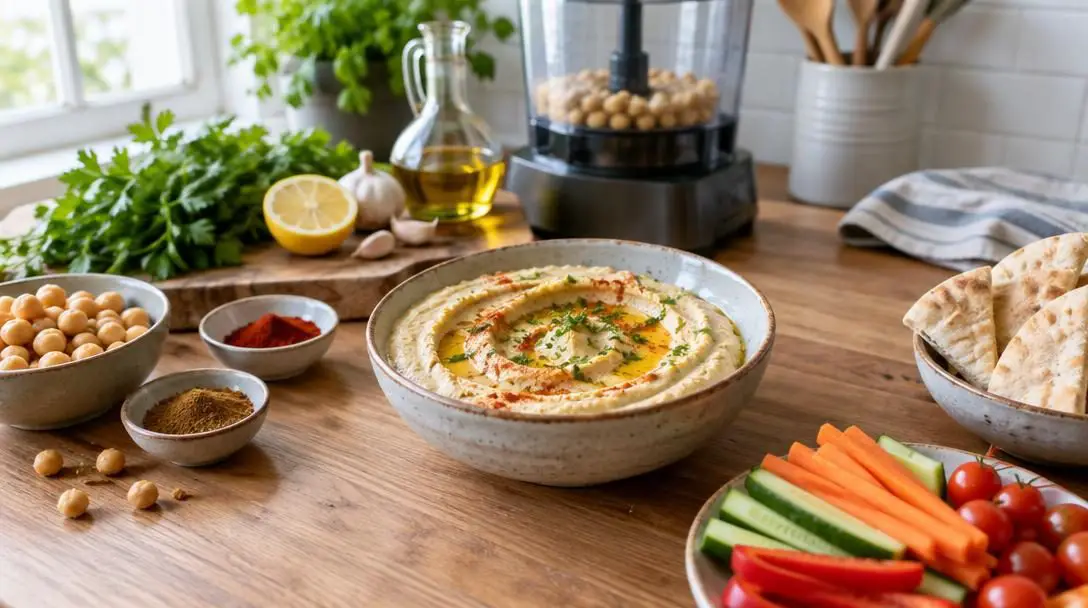
The magic of authentic hummus begins with simple, balanced ingredients. Because there are so few components in the recipe, each one plays an irreplaceable structural and culinary role:
- Chickpeas: Also known as garbanzo beans, these legumes provide the structural foundation of the dip. They impart a mild, nutty, and slightly sweet flavor alongside natural starches that create body. Standard canned chickpeas offer tremendous everyday convenience.
- Tahini: Made entirely from finely ground sesame seeds, tahini gives hummus its hallmark savory depth and unctuous, rich mouthfeel, rounding out the earthiness of the legumes.
- Lemon Juice: Freshly squeezed lemon juice contributes vital acidity. Its bright, citrusy punch slices cleanly through dense bean starches and rich sesame fats.
- Garlic: Fresh garlic cloves lend pungent aromatic intensity, complexity, and a sharp bite that anchors the savory profile.
- Salt: Essential for culinary harmony, salt magnifies the delicate nuttiness of the legumes and harmonizes the bright acid with the rich fats.
- Olive Oil: Incorporated during blending and poured over the finished surface, olive oil provides a fruity aroma and facilitates a luxurious, glossy texture.
Before beginning, assemble the proper kitchen equipment to ensure a seamless workflow. You will need a heavy-duty food processor or a high-powered blender capable of crushing dense legumes. Keep a standard colander or fine wire mesh strainer on hand to separate the chickpeas from their liquid, a standard can opener for canned beans, reliable measuring spoons and cups for portioning, and a flexible silicone spatula for scraping the sides of the appliance.
The Mechanics of Emulsion: How Texture Is Built
Creating velvety, restaurant-grade hummus is a scientific process of mechanical breakdown and emulsion. Chickpeas are packed with durable plant fibers and dense starches that naturally resist turning into a smooth paste. When the high-speed blade cuts through the legumes, it shatters these plant cells into microscopic fragments. Without sufficient moisture and fat, however, this mixture remains dry, stiff, and gritty.
This is where tahini and olive oil fulfill their essential roles. Tahini brings suspended sesame fats into the bowl, while olive oil introduces free-flowing liquid lipids. As the machine blade turns rapidly, these fats are sheared into microscopic droplets that suspend evenly throughout the water and bean solids. The reserved chickpea liquid, infused with dissolved starches, acts as an emulsifying agent that binds the fat and water molecules together. Running the appliance continuously introduces friction that warms the mixture, while the spinning blades whip tiny pockets of air into the paste, resulting in a light, pillowy consistency.
The reserved chickpea canning liquid acts as a natural binding agent, stabilizing the fat-and-water suspension for a noticeably lighter mouthfeel.
Step-by-Step Master Recipe
This reliable master recipe balances rich sesame paste, zesty lemon, and savory aromatics into a classic spread. Follow these steps to produce a flawless batch:
- Drain and reserve the chickpea liquid: Open one can of chickpeas with your can opener. Pour the beans into a colander or fine wire mesh strainer set securely over a bowl to collect the canning liquid. Rinse the chickpeas thoroughly under cool running tap water to remove excess canning liquid, then let them drain completely.
- Combine the foundational ingredients: Transfer the drained chickpeas into the bowl of your food processor or high-powered blender. Add 1/4 cup of tahini, 3 tablespoons of freshly squeezed lemon juice, 1 to 2 peeled garlic cloves, and 1/2 teaspoon of salt.
- Begin initial processing: Fasten the lid securely and turn on the motor. Puree the ingredients until the firm garbanzo beans, garlic, and tahini form a uniform, thick paste.
- Stream in liquids for emulsion: While keeping the motor running, slowly drizzle in 2 to 3 tablespoons of olive oil, followed by 1 to 2 tablespoons of your reserved chickpea canning liquid. Continue blending steadily until the mixture transforms into a creamy, pale, and spreadable consistency.
- Taste and adjust seasoning: Turn off the appliance and remove the lid. Sample a small spoonful of the spread. If needed, pulse in an extra pinch of salt, a fresh squeeze of lemon juice, or an additional garlic clove to tailor the dip to your personal preference.
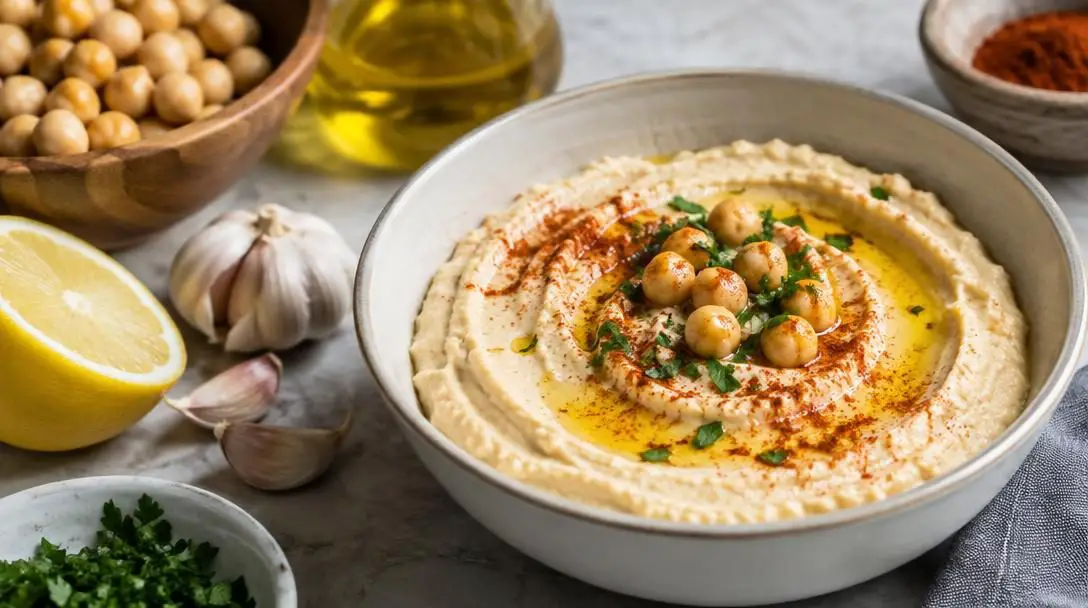
- Plate and garnish: Using your silicone spatula, scoop the hummus into a shallow serving bowl. Drizzle extra olive oil across the surface and finish with a dusting of paprika, chopped fresh herbs, or chopped nuts.
Techniques for Achieving Maximum Creaminess
The most frequent disappointment with homemade hummus is a coarse or heavy texture. You can easily prevent this by applying several basic culinary habits during blending.
The primary secret to achieving an airy, luxurious spread is extended blending time. Many home cooks switch off their food processors as soon as the chickpeas appear crushed. In reality, breaking down fibrous chickpea hulls takes several minutes of uninterrupted processing. Let the appliance run continuously, pausing every minute or two to run your silicone spatula down the walls and across the bottom of the container. This redistributes stray chickpea skins and garlic chunks back toward the blade path.
Carefully monitor the hydration balance while blending. If the hummus appears dense, clumpy, or sluggish around the spinning blade, slowly incorporate more liquid. Add reserved chickpea liquid or olive oil just one teaspoon at a time. This measured approach loosens the paste into a velvety texture without the danger of turning your dip thin or runny.
Three Flavorful Variations on the Classic Base
Once you are comfortable with the foundational recipe, you can customize the dip with bold, colorful mix-ins. These three distinct variations build directly upon the standard chickpea and tahini base.
Roasted Garlic Hummus
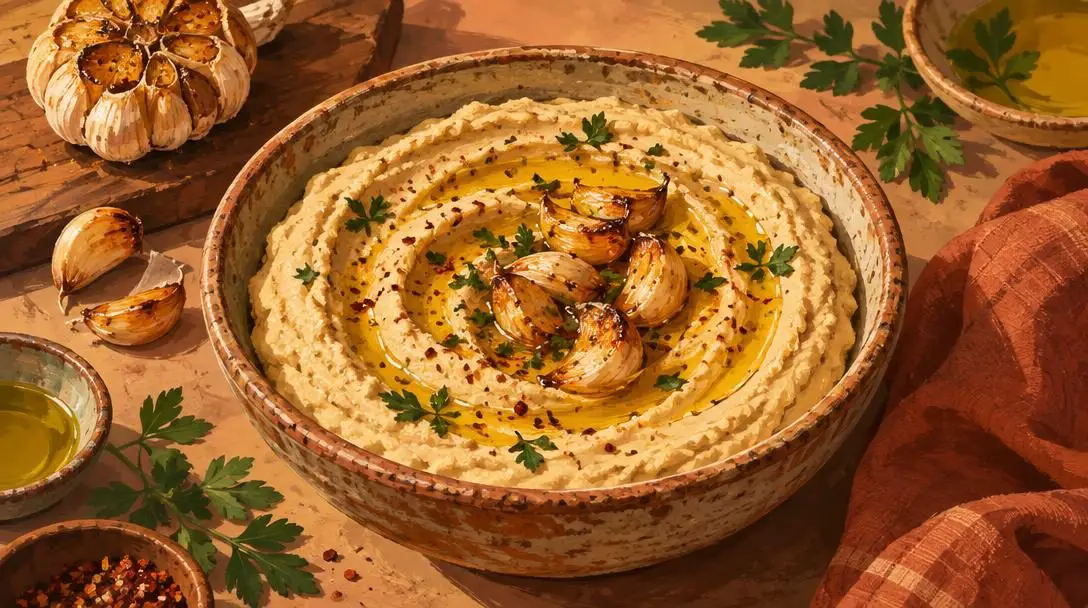
Roasting garlic transforms raw, biting cloves into sweet, mellow, and caramelized morsels. To prepare this variation, wrap an entire intact head of garlic securely in aluminum foil and roast it in an oven heated to 400°F for 30 to 40 minutes. Once the head is cool enough to handle, squeeze the soft, golden cloves out of their papery skins directly into the food processor bowl alongside the basic ingredients, replacing the raw garlic for an intensely aromatic and deeply savory spread.
Red Pepper Hummus
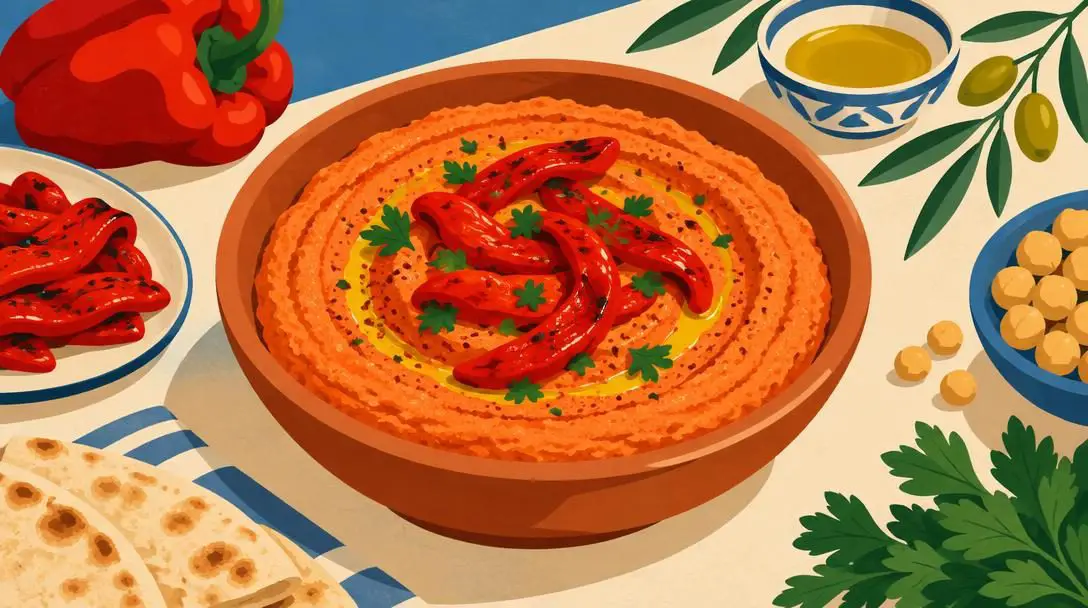
Adding roasted red peppers gives hummus a vibrant reddish hue accompanied by a sweet, slightly smoky, and tangy taste profile. Simply add one whole roasted red pepper directly into the appliance alongside the chickpeas, tahini, lemon juice, and seasonings before blending. You can roast and peel a fresh red bell pepper over an open flame or in the oven, or opt for convenience by measuring out drained jarred roasted red peppers from the supermarket.
Avocado Hummus
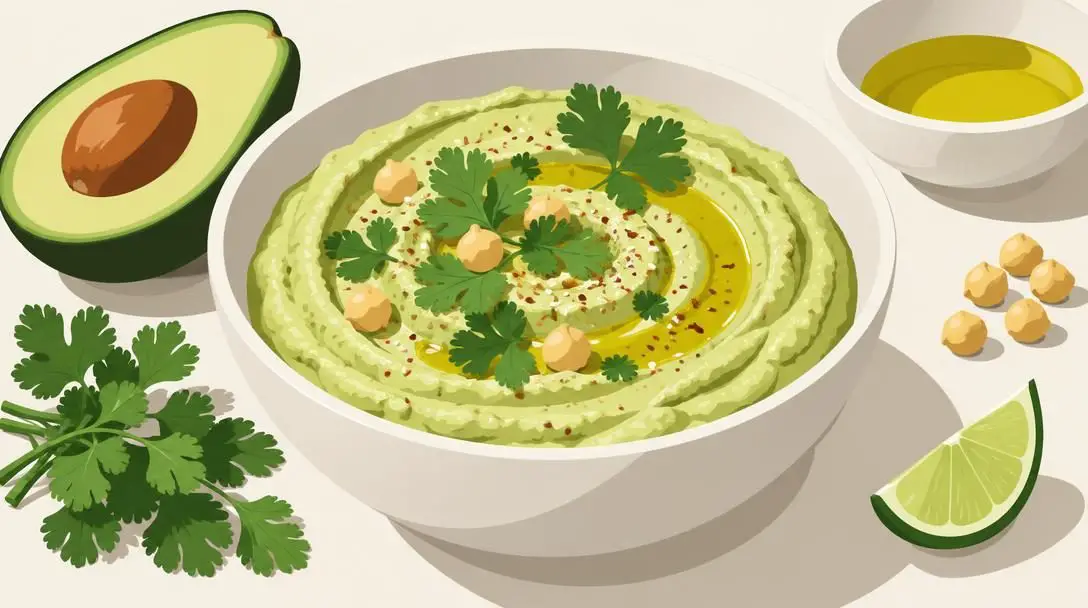
For an ultra-buttery, rich consistency and a pale green color, introduce one peeled and pitted ripe avocado into the classic recipe. The natural plant fats present in the avocado integrate smoothly with the tahini and olive oil, yielding a spread with an exceptionally decadent texture that makes incorporating healthy fats into your everyday meals effortless.
| Variation | Key Addition | Flavor Profile | Visual Appearance |
|---|---|---|---|
| Roasted Garlic Hummus | 1 whole roasted garlic head (400°F for 30–40 min) | Mellow, sweet, caramelized, and savory | Warm golden-beige |
| Red Pepper Hummus | 1 whole roasted red bell pepper (fresh or jarred) | Sweet, smoky, and gently tangy | Striking red to deep coral |
| Avocado Hummus | 1 peeled and pitted ripe avocado | Buttery, exceptionally rich, and mild | Pale pastel green |
Nutritional Profile and Dietary Advantages
Hummus is widely celebrated not only for its comforting flavor profile but also for its impressive balance of essential nutrients. Incorporating this dip into your routine provides a wholesome combination of macronutrients and micronutrients that naturally support sustained energy and digestion.
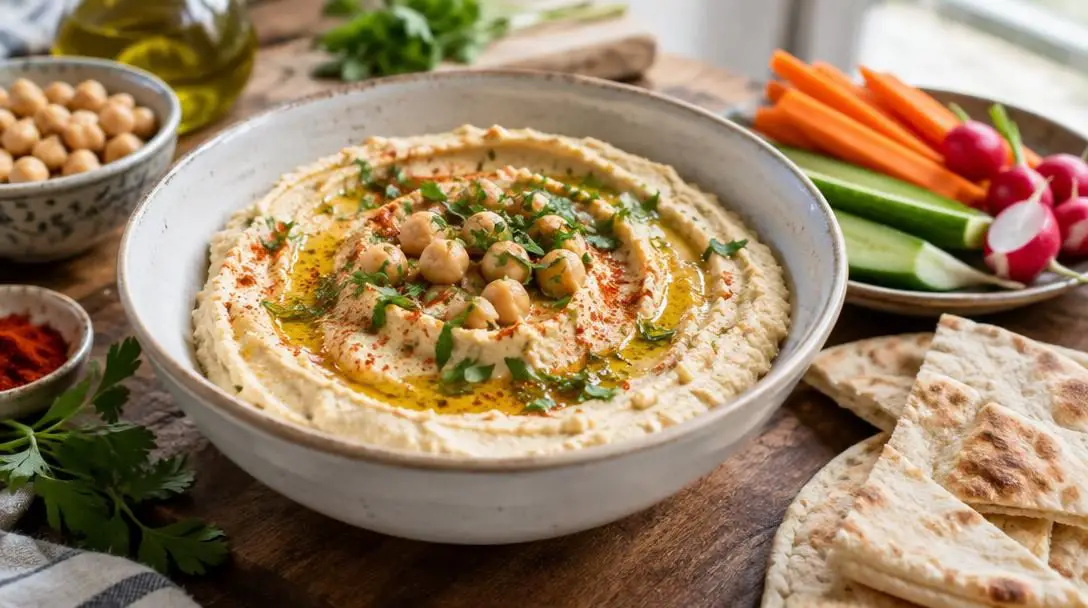
The garbanzo beans serve as a fantastic source of plant-based protein and dietary fiber, which work together to promote fullness and steady digestion. Chickpeas also deliver valuable micronutrients, including dietary iron and folate. Tahini reinforces these benefits by providing additional plant-based protein along with wholesome fats derived entirely from pure crushed sesame seeds. Because hummus brings together complex carbohydrates, dietary fats, and protein in a single spread, it helps prevent rapid blood sugar spikes and sustains energy throughout a busy day.
Versatile Ways to Serve and Pair Hummus
Because of its balanced savory notes and adaptable density, hummus matches well with numerous foods across breakfast, lunch, and dinner. Consider these versatile ways to incorporate it into your cooking:
- Bread and Crackers: Present a freshly prepared bowl alongside warm wedges of soft pita bread or crisp whole-grain crackers for an effortless, wholesome appetizer.
- Sandwiches and Lunch Wraps: Substitute traditional mayonnaise or heavy condiments with a generous spread of hummus on deli wraps, veggie pita sandwiches, or grain flatbreads to add instant moisture and savory depth.
- Raw Vegetable Platters: Surround the dip with crisp, raw vegetables such as sliced carrot batons, celery sticks, cucumber rounds, and sweet bell pepper strips for a nutrient-dense, crunchy snack.
- Salad Enhancer: Add a generous scoop directly over leafy green salads or grain bowls, where its rich body functions like a thick, creamy dressing to unify disparate ingredients.
- Hearty Entrees: Use seasoned hummus as a flavorful base or side accompaniment for hot grilled chicken, tender grilled fish, seasoned roasted vegetables, or plates of freshly cooked falafel.
Common Pitfalls and How to Avoid Them
Making homemade hummus is simple, but small oversights can compromise the final texture and flavor balance. Keep these frequent mistakes in mind to guarantee consistent success:
- Discarding all the chickpea liquid immediately: Pouring the entire can down the sink drain eliminates your primary thinning agent. Always position your strainer over a clean bowl so you capture several tablespoons of the liquid before rinsing the beans.
- Under-blending the mixture: Switching off your appliance prematurely leaves unblended garlic pieces and noticeable chickpea skins scattered throughout the dip. Let the motor run for several full minutes, stopping to scrape the walls of the bowl.
- Adding too much garlic too soon: Fresh, raw garlic cloves vary drastically in their sharpness and heat. Beginning with too much garlic can easily overpower the nutty nuances of sesame and legumes. Start modestly with one or two small cloves, test the puree, and add more only if you desire extra pungency.
- Skipping the final taste test: The acidity of fresh lemons and the sodium content of canned chickpeas vary widely between brands. Always sample the hummus on a spoon before transferring it to your serving bowl so you can calibrate the salt, lemon juice, or garlic levels.
Presentation and Storage Guidelines
Thoughtful presentation transforms a simple bowl of dip into an inviting centerpiece. When transferring hummus into a shallow serving bowl, use the back of a large spoon to press shallow, sweeping swirls into the surface. These indentations create decorative wells that collect a finishing pool of olive oil, ensuring that every pita wedge or vegetable stick captures oil alongside garnishes like vibrant paprika, chopped fresh herbs, or toasted nuts.
Because homemade hummus is prepared without commercial preservatives or chemical stabilizers, proper storage is critical. Transfer any leftover spread into an airtight container and refrigerate it promptly. For optimal freshness and flavor, enjoy the batch within a few days of preparation.
Over time in the refrigerator, the natural starches in the garbanzo beans will chill and firm up, while the garlic flavor continues to steep and deepen. If the spread seems too dense or stiff after refrigeration, simply stir in a few drops of water, a splash of olive oil, or a quick squeeze of fresh lemon juice to restore its original smooth consistency before serving.
Frequently asked questions
Can I make homemade hummus without a food processor?
Yes. A high-powered countertop blender works exceptionally well to pulverize the chickpeas, though you may need to stop more frequently to stir the contents with a spatula. If you do not own a blender or food processor, you can use a traditional potato masher or mortar and pestle, although the resulting dip will be substantially more rustic and chunky rather than silky smooth.
Why is my homemade hummus grainy instead of smooth?
Graininess is almost always caused by under-blending or insufficient liquid. Chickpea skins are fibrous and require several minutes of vigorous processing to break down completely. To fix a grainy texture, let your machine run longer, scrape the sides thoroughly, and stream in a tablespoon or two of reserved chickpea canning liquid or olive oil while the blade is spinning.
What can I use if I do not have tahini?
While authentic hummus relies on tahini for its distinctive sesame flavor and fat structure, you can substitute other nut or seed butters in a pinch, such as sunflower seed butter or smooth unsweetened cashew butter. Alternatively, you can omit it and increase the olive oil slightly, though the spread will taste more like a seasoned bean dip than classic hummus.
How long will homemade hummus stay fresh in the refrigerator?
Because it lacks commercial preservatives, homemade hummus should be kept in an airtight container in the refrigerator and consumed within a few days of blending. Always check for off odors or changes in appearance before serving refrigerated leftovers.
Can I freeze leftover hummus for later use?
You can freeze hummus in an airtight, freezer-safe container, leaving a small amount of headspace for expansion. When ready to eat, thaw the dip overnight in the refrigerator. Thawed hummus may separate slightly, but stirring in a few drops of warm water or olive oil quickly brings the creamy texture back.
The bottom line
Making fresh hummus at home is an easy, rewarding culinary project that yields superior flavor and texture compared to store-bought tubs. By stocking a few elemental pantry staples—canned chickpeas, rich tahini, fresh lemon juice, garlic, salt, and quality olive oil—you can create an endless variety of nutritious dips and meal components. Focus on allowing your food processor ample blending time, regulate the consistency using reserved chickpea liquid, and customize the base with roasted garlic, red peppers, or ripe avocado to elevate your daily meals.