Here’s Everything You Need to Do When You Bring Home a New Computer
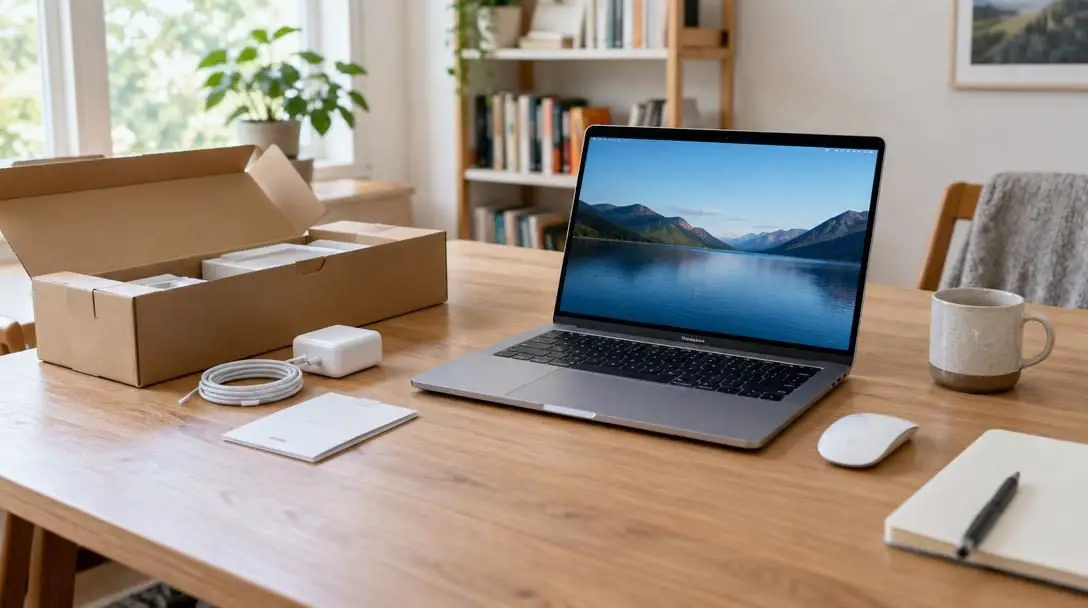
Bringing home a new personal computer is one of the most satisfying technology upgrades you can make. If you have spent recent years wrestling with a sluggish, aging system, the difference is apparent the moment you hit the power switch: boot times shrink to seconds, applications open without delay, and multitasking feels seamless. However, unboxing your new laptop or desktop is only the preliminary phase of ownership. While the machine might seem fully prepared for daily tasks straight from the retail box, factory configurations are rarely tuned for peak operating efficiency, long-term stability, or bulletproof security.
Every commercial computer journeys through a complex manufacturing and distribution pipeline long before landing on your desk. An operating system image installed at an assembly plant reflects the software landscape as it existed on the day the drive was written—not the day you peel away the protective plastic. Between factory-loaded promotional utilities and months of unpatched security patches accumulated on warehouse shelves, taking a methodical approach to system setup is critical. Performing a disciplined initial setup ensures you preserve raw hardware speed, reclaim valuable hard drive space, and protect your digital life from day one.
Key takeaways
- Factory-installed operating system images are often months out of date and loaded with unnecessary promotional software.
- Purging pre-installed bloatware immediately reclaims drive space and frees up processor cycles and memory.
- Installing all pending operating system patches and hardware drivers before adding personal files fixes known bugs and security flaws.
- Configuring an automated daily backup routine to an external hard drive protects essential data against sudden hardware failure or system errors.
The Factory Image Problem: Why New Computers Require Calibration
To understand why retail computers require deliberate initial maintenance, you must consider how commercial hardware is prepared. When a manufacturer builds a laptop or desktop, technicians flash a generalized disk image onto the system drive. This factory build contains the primary operating system, hardware-specific drivers for graphics and networking components, and various pre-loaded utilities. In many cases, it also includes software added as part of commercial distribution agreements between the computer manufacturer and third-party software developers.
These bundled packages—frequently described as bloatware—often consist of vendor-branded diagnostic utilities, trial productivity suites, casual gaming bundles, and third-party media players. While these utilities may seem harmless, many are configured to initialize automatically whenever the operating system boots up. As these background services accumulate, they quietly consume hardware resources. They claim slices of random access memory (RAM) and keep the central processor occupied with background tasks, gradually introducing hesitation into a machine that was built for high-speed responsiveness.
The time lag between factory production and unboxing creates another significant challenge: software aging. Operating system engineers publish continuous updates to patch discovered vulnerabilities, correct software conflicts, and improve everyday stability. When a system sits in a retail stockroom for weeks or months, its factory image remains static. Powering up the computer and immediately using it without applying updates leaves your network connection and personal documents exposed to known operational vulnerabilities.
Unboxing a factory-packaged computer is merely the beginning of ownership, as retail systems reflect the state of software when they left the assembly floor rather than the day they arrive on your desk.
At a Glance: Initial Setup Requirements by Platform
While the fundamental goals of breaking in a new computer remain identical regardless of the brand, the tools and interfaces you use differ between Windows and MacOS environments. Reviewing the core workflows side by side helps clarify the path forward.
| Setup Task | Windows Operating System | MacOS Operating System | Primary Objective |
|---|---|---|---|
| Bloatware Removal | Programs and Features tool in the Control Panel | Applications folder via Finder moved to Trash | Reclaim system drive capacity and eliminate idle background processes. |
| System Updating | System Settings or Control Panel update utility | System Preferences software update interface | Patch security vulnerabilities, fix software flaws, and update component drivers. |
| Automated Backup | Integrated backup and restore utilities in Control Panel | Native Time Machine tool via System Preferences | Ensure user libraries and files archive automatically to an external drive every day. |
Step 1: Removing Unwanted Programs and Bloatware
The first active task to undertake after finishing initial account creation is auditing your installed software. Eliminating software you never intended to use reduces background resource consumption and cleans up your primary drive before unnecessary temporary files accumulate.
Purging Unneeded Applications on Windows
Windows systems are historically prone to arriving with third-party software partnerships and manufacturer utility suites. Removing these packages requires navigating to the built-in application manager to guarantee that supporting files and registry entries are cleanly detached from the operating system.
- Open the traditional Control Panel using the search bar or system navigation menu.
- Locate and click on the section labeled Programs and Features to generate a complete inventory of installed software.
- Examine the software list to pinpoint non-essential applications, such as trial antivirus tools, vendor-branded support assistants, and pre-loaded games.
- Highlight the unwanted program and select the Uninstall option located at the top of the interface.
- Step through the uninstaller prompts, confirm the software removal, and reboot the system if prompted by the operating system.
Removing Extra Applications on MacOS
While Apple hardware generally features fewer promotional third-party software bundles, retail systems still arrive with miscellaneous utilities and bundled applications that you may find unnecessary for your daily routine. Cleaning up your Mac ensures your internal storage remains organized.
- Launch Finder directly from the desktop or the system dock.
- Select the Applications directory from the left-hand sidebar navigation list.
- Scroll through the stored applications to identify software you do not intend to use.
- Drag the target application icons directly into the Recycle Bin (Trash), or right-click the item and choose the move-to-trash option.
- Open the bin and select the option to empty it, permanently clearing the unwanted packages from storage.
Step 2: Checking and Installing Essential System Updates
After purging unwanted utilities, your next operational priority is bringing the operating system up to current factory standards. Because retail units spend extended periods in packaging, running software updates bridges the gap between the factory build date and current software releases.
Updating the Windows Operating System
Windows updates address low-level code vulnerabilities, provide improved device drivers for internal components, and fix operating system bugs that may have been resolved since the computer was assembled.
- Open the Control Panel or navigate into the core system settings window.
- Locate the designated update utility within the navigation pane and prompt the system to run an online scan.
- Allow the computer to locate, download, and stage all pending security patches, driver revisions, and system updates.
- Restart the device when instructed, and return to the update screen after booting to confirm no secondary updates remain.
Updating the MacOS Operating System
Apple periodically releases core system revisions that enhance built-in application functionality, resolve operating bugs, and apply necessary security enhancements to protect the internal architecture.
- Select the Apple icon situated in the upper-left corner of the primary display.
- Click on System Preferences from the drop-down menu.
- Locate the software update control panel to prompt the system to query Apple servers.
- Permit the operating system to download and install all detected software upgrades, restarting the machine as required until the system confirms it is entirely up to date.
Step 3: Establishing an Automated Daily Backup Routine
Hardware malfunctions, data corruption, and accidental file erasures can strike at any point during a computer's lifespan. Establishing a robust backup routine during your initial setup guarantees that your documents, configurations, and personal archives are safeguarded from the very first day of use.
Configuring Apple Time Machine on MacOS
MacOS contains a powerful integrated archiving framework known as Time Machine. When paired with dedicated external storage, it automatically compiles incremental backups without requiring regular user intervention.
- Attach a dedicated external hard drive to an open port on your Mac.
- Access System Preferences using the Apple menu in the top navigation bar.
- Click on the Time Machine preferences icon.
- Select your connected external drive as the official backup destination.
- Enable the automated backup schedule, ensuring the utility is configured to run at least once per day to preserve your ongoing workspace.
Setting Up Automated Backups on Windows
Windows provides native archiving instruments within its management console, allowing users to designate an external storage drive to protect user libraries, files, and operating environment assets.
- Connect an external storage drive with sufficient capacity to your Windows computer.
- Open the Control Panel and navigate to the backup and restore management menu.
- Configure the system to archive your primary user profiles, documents, and essential libraries to the external drive.
- Adjust the integrated scheduling utility so the backup engine executes automatically at least once daily.
- Confirm that the initial baseline backup finishes successfully before removing or disconnecting the storage drive.
Common Setup Mistakes to Avoid
When unboxing new technology, enthusiasm can often lead to rushed choices. Avoiding common initial configuration errors preserves system speed, keeps your hard drive organized, and prevents data vulnerabilities.
- Migrating unorganized data immediately: Connecting an old machine or external backup drive to transfer files before completing baseline maintenance often copies over ancient application debris, broken shortcuts, and cluttered temporary directories that slow down your clean system.
- Erasing critical component software: In an aggressive effort to wipe away bloatware, users sometimes uninstall proprietary display managers, audio drivers, or trackpad configuration software. Always verify that a title is an auxiliary consumer app before removing it.
- Postponing operating system updates: Dismissing update alerts to start browsing or working immediately leaves your operating system exposed to documented security gaps and may cause operational failures when installing modern applications later.
- Relying on sporadic manual file copies: Manually dragging files to a thumb drive whenever you remember is not a reliable data protection plan. Automated daily backups remove human error and guarantee your working documents remain protected.
Next Steps for Maintaining Peak Performance
Once your computer is clear of bloatware, fully patched, and protected by an automated backup schedule, you can safely tailor the system to your personal requirements. Taking a thoughtful approach to installing applications preserves the clean slate you have established.
Begin by sourcing your primary productivity tools, creative software, and web browsers exclusively from verified official developer websites or official software repositories. Avoid downloading repackaged utility bundles from aggregator websites, as these frequently introduce the very toolbars and background clutter you just worked to eliminate.
As you install your essential software, inspect each application's preference panel to assess its startup behavior. Many utilities configure themselves to launch automatically alongside the operating system, cluttering system memory and dragging down boot times. Restrict automatic startup privileges exclusively to programs you require from the moment the computer turns on.
Finally, establish a consistent hardware routine for your external backup device. Keeping your backup drive connected to a desktop or plugging it into your laptop on a daily schedule ensures that automated archiving jobs execute on time. By investing deliberate effort into proper setup and maintenance today, you protect your hardware investment and guarantee high-speed, reliable performance for years to come.
Frequently asked questions
Why does a brand-new computer need updates immediately after unboxing?
A new computer was assembled, packaged, and shipped weeks or months before you purchased it. During its time in warehouses and on store shelves, the operating system remains static while developers release critical security patches, bug fixes, and component driver improvements that must be applied to ensure system stability.
What is bloatware, and why should it be removed?
Bloatware refers to unwanted pre-installed software, including commercial utility trials, casual games, and vendor tools added through manufacturer partnerships. Removing these programs reclaims internal storage capacity and stops unnecessary background processes from consuming processor cycles and memory.
How frequently should an automated backup run?
Your automated backup routine should be configured to run at least once every day to an external hard drive. A daily schedule guarantees that recent changes to user libraries, documents, and system settings are safely preserved against hardware failure or data corruption.
Can I accidentally damage my system when removing pre-installed software?
Yes, if you mistakenly uninstall hardware-related utilities like graphics control panels, trackpad managers, or audio drivers. When clearing unwanted programs, only remove recognizable third-party entertainment bundles, commercial trials, and auxiliary software.
The bottom line
The speed and responsiveness of a modern personal computer represent a significant leap forward from legacy hardware, but preserving that speed requires deliberate upfront care. Taking the time to uninstall commercial bloatware, install critical operating system revisions, and activate an automated daily backup schedule transforms a standard retail unit into a secure, customized, and resilient computing environment built for the long haul.