5 Important Cooking Skills You Can Learn Quickly And Easily
Cooking is often perceived as an intimidating discipline requiring years of formal culinary schooling or endless trial and error. In reality, everyday home cooking relies on a concise foundation of reusable techniques that elevate simple ingredients into comforting, memorable meals. Mastering a few core kitchen practices removes the stress of dinner preparation and brings family members straight to the dining table before the food is even served.
Rather than memorizing dozens of disconnected recipes, focusing on foundational mechanics gives you the versatility to adapt dishes on the fly. By understanding five versatile skills—making milk gravy, preparing smooth cheese sauces, cooking homemade fruit pie fillings, flipping foods directly in a skillet, and using proper knife mechanics—you can build speed, safety, and confidence in every corner of your kitchen.
Key takeaways
- Building a roux from rendered pan drippings creates rich, lump-free milk gravy that adapts to whatever meat you cook.
- Combining a stable melting base like Velveeta with flavorful aged cheese prevents oily separation and grainy textures in homemade sauces.
- Pre-cooking fruit with sugar and a cornstarch slurry produces glossy, stable pie fillings that keep crusts crisp and freeze easily for out-of-season baking.
- Flipping ingredients with a crisp flick of the wrist uses the curved lip of the pan as a ramp and prevents delicate foods from breaking.
- Forming the non-knife hand into a protective claw and rocking the chef's blade keeps prep work fast, uniform, and entirely safe.
Overview of essential kitchen techniques
Each of these five techniques solves a specific challenge in meal preparation, from managing starch suspensions and emulsion temperatures to maximizing prep safety. The table below outlines how each skill operates, the foundational tools involved, and the primary mistakes to avoid while practicing.
| Skill name | Base ingredients or tools | Primary culinary mechanism | Key risk to avoid |
|---|---|---|---|
| Milk gravy | Pan drippings, flour, milk | Starch granule expansion via roux | Pouring cold milk in all at once |
| Cheese sauce | Butter, milk, Velveeta, cheddar | Emulsified melting with a stabilizing base | High heat that curdles milk proteins |
| Fruit pie filling | Fresh fruit, sugar, cornstarch slurry | Pre-gelatinizing fruit moisture | Pouring hot filling into raw dough |
| Pan flipping | Curved skillet, dry practice rice | Wrist momentum using the pan's curved rim | Swinging the entire arm or overfilling |
| Knife mechanics | Chef's knife, flat cutting board | Curved blade rocking with a claw grip | Extending fingers toward the sharp edge |
Five essential kitchen skills for home cooks
Developing confidence at the stove does not require expensive gadgets or complex chemistry degrees. Focusing on deliberate, repeatable methods allows you to control heat, manipulate textures, and handle equipment safely throughout meal preparation.
Making rich, smooth milk gravy
Milk gravy is a classic country-style skill that captures the flavor of whatever protein you prepare. Passed down through generations of home cooks, it forms the traditional crown for biscuits and gravy and serves as an exceptional sauce for pork, beef, or chicken. Instead of turning to artificial thickeners or packaged mixes, this method extracts the savory renderings left in your skillet and transforms pan grease into a thick, glossy topping.
At the center of every milk gravy is a roux, a cooked combination of warm fat and flour. When raw flour meets hot grease, the starches coat evenly in lipids and toast gently over the heat, neutralizing raw grain flavors. Milk gravy relies on a thinner roux than heavy brown gravies, ensuring the final sauce remains silky and free of lumps. Once milk is added, the coated starch granules absorb the liquid, swell, and burst, creating a stable, luxurious suspension that thickens cleanly as it bubbles.
- Remove large cuts of cooked meat from the skillet, leaving the seasoned grease behind; leave crumbles in the pan if you are making textured sausage or burger gravy.
- Ensure you have adequate fat in the skillet, and measure out about a quarter cup of flour for a standard batch.
- Sprinkle a tablespoon of the flour directly over the hot grease to begin incorporating the base, stirring constantly over medium heat.
- Cook the mixture until the raw flour smell dissipates completely and the roux turns a distinct shade darker.
- Pour in milk a little bit at a time once the roux has darkened, stirring vigorously to blend the liquid directly into the fat and flour.
- Add more milk in small increments as the sauce thickens, continuing until you reach your desired consistency.
- Allow the gravy to bubble gently to develop its full body, then remove the pan from the heat.
To avoid common gravy pitfalls, keep these critical points in mind:
- Adding milk too quickly: Emptying all the milk into the pan at once drops the temperature abruptly and causes flour to seize into stubborn clumps.
- Under-cooking the flour: Introducing liquid before the flour turns a shade darker locks in a raw, pasty starch flavor that simmering cannot hide.
- Leaving the skillet unattended: Starch particles settle rapidly and will scorch along the bottom of the pan if the gravy is not stirred constantly.
Crafting velvety cheese sauce
A balanced cheese sauce turns simple steamed broccoli, fresh vegetables, or boiled noodles into rich, comforting fare. However, home cooks frequently struggle with melted cheese separating into an oily liquid surrounded by stringy, rubbery curds. Understanding how dairy proteins interact with heat enables you to create a smooth, restaurant-quality cheese sauce reliably.
Cheese is a delicate emulsion of dairy fat, water, and milk proteins. When exposed to harsh, direct heat, the protein bonds contract tightly and squeeze out trapped moisture and liquid butterfat, causing the sauce to break. A foolproof sauce relies on gentle warmth and a combination of two distinct cheeses: an aged, flavorful cheese like cheddar for taste, and a soft, easily melted cheese like Velveeta to provide stability. Velveeta contains specialized melting characteristics that stabilize milk proteins and prevent curds from separating.
- Melt one tablespoon of butter in a saucepan over low to medium-low heat.
- Add a quarter cup of milk to the melted butter, allowing the liquids to warm and combine gently.
- Portion your cheeses according to a balanced ratio: approximately 60 percent Velveeta base and 40 percent flavoring cheese such as cheddar.
- Add the cheeses gradually into the warm liquid base in small batches.
- Stir continuously over low heat until the cheese melts thoroughly and forms an even sauce.
- If the sauce becomes too thick, thin it out by adding extra milk a single spoonful at a time until completely smooth.
Common cheese sauce mistakes include:
- Improper cheese ratios: Leaving out the soft base cheese or relying entirely on dry, aged cheeses creates a grainy, broken texture.
- Infrequent stirring: Dense cheeses sink quickly to the bottom of the saucepan and burn against the warm metal if neglected.
- Rushing the melt: Raising the burner temperature to melt the cheese faster will shock the dairy proteins and produce an oily surface.
Preparing homemade fruit pie filling
Canned pie fillings often contain excessive starches, artificial flavorings, and dull fruit. Pre-cooking your own filling on the stovetop is an easy skill that enhances natural fruit flavor, protects pie crusts from becoming soggy, and allows you to freeze batches of ripe produce when fruits are in season.
Fresh fruits carry abundant moisture inside their cell walls. When raw fruit goes straight into an unbaked pie shell, the heat of the oven breaks open those cells all at once, flooding the bottom crust with runaway liquid before the pastry can brown. Pre-cooking the fruit over low heat softens the cell walls early, releasing the fruit juices in the saucepan. Introducing a cornstarch slurry turns that liquid into a clear, glossy gel that coats the fruit slices evenly, preventing excess moisture from soaking the crust during baking.
- Select your fruit: use roughly 7 to 9 apples, peaches, or similar stone fruits, or about a couple of pints (around 1.5 pounds) of berries.
- Wash, peel, and slice the fruit, then place the prepared fruit into a saucepan over low heat.
- Add 1 cup of sugar, letting the fruit and sugar warm together as juices release; taste the mixture as it warms and add more sugar if you prefer a sweeter filling.
- Once the heating fruit produces a generous layer of liquid, mix 1.5 tablespoons of cornstarch with 1.5 tablespoons of cold water in a separate small bowl until fully dissolved.
- Increase the saucepan heat to medium-high and pour in the cornstarch slurry while stirring continuously to prevent lumping.
- Bring the liquid to a boil, then immediately drop the heat back down to medium-low.
- Simmer and stir for about 5 minutes to cook out the raw starch flavor and clarify the gel.
- Remove the pan from the heat and set the filling aside to cool completely before assembling your pie or packing it for the freezer.
Avoid these common pie filling errors:
- Adding dry cornstarch directly to warm juice: Dry cornstarch dropped into hot liquid clumps instantly into gummy lumps that cannot be stirred smooth. Always dissolve it thoroughly in cold water first.
- Pouring warm filling into raw dough: Hot filling melts the chilled butter or shortening in raw pastry, causing the crust to turn dense, soggy, and flat during baking.
- Under-cooking the slurry: Cornstarch must reach a brief boil and simmer for several minutes to activate its full thickening strength and lose its chalky opacity.
Pan flipping without utensils
While spatulas and tongs are standard cookware companions, learning to toss ingredients directly in the skillet speeds up cooking, promotes even browning, and protects fragile foods from being crushed or torn. This athletic-looking technique keeps sautés moving swiftly across the heat without scratching your cookware.
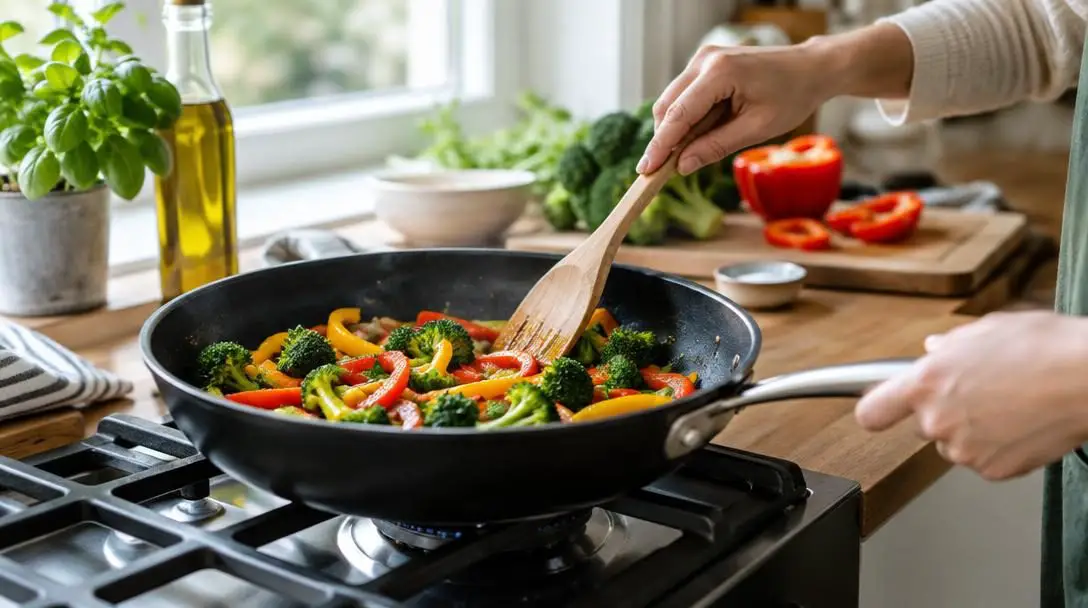
A proper pan flip does not depend on broad, sweeping arm movements. Instead, it relies on the upward curvature of the skillet's lip functioning as a ski jump. By shoving the pan forward slightly and applying a quick upward snap of the wrist, you project the food up the curved wall and into the air. Drawing the pan backward instantly catches the ingredients as gravity brings them down. Your wrist supplies all the energy, while your elbow and shoulder remain largely stationary.
- Pour a cup of dry rice into an unheated frying pan to practice the basic motion without heat or mess.
- Stand comfortably over a kitchen island or counter with your elbow tucked gently against your side.
- Push the pan forward smoothly, then snap your wrist upward in a single, decisive flick.
- Pull the pan backward slightly to catch the rice grains as they arc back toward the cooking surface.
- Flip the ingredients high enough to clear the bottom of the pan, but low enough that they land safely back inside the skillet rather than on your head.
- Once you are comfortable with rice, test your skill with real food by frying an egg and flipping it cleanly to brown the opposite side.
Key mistakes to watch for while tossing ingredients:
- Using the entire arm: Raising your shoulder or elbow throws off the pan's balance, sending food sailing past the rim of the skillet.
- Hesitating midway through the motion: A timid push simply pushes ingredients against the lip of the pan without imparting enough lift to turn them over.
- Overcrowding the skillet: Filling a pan to the brim leaves no clearance for ingredients to slide and catch, causing heavy spills over the edges.
- Practicing over an open floor: If you feel unsure while working with warm food, position your pan over the kitchen sink so accidental misses drop cleanly into the basin.
Fundamental knife mechanics
Chopping ingredients is often the most time-consuming part of dinner preparation. Mastering fundamental knife mechanics protects your hands from dangerous slips while allowing you to chop herbs, root vegetables, and aromatics with rapid, uniform precision.
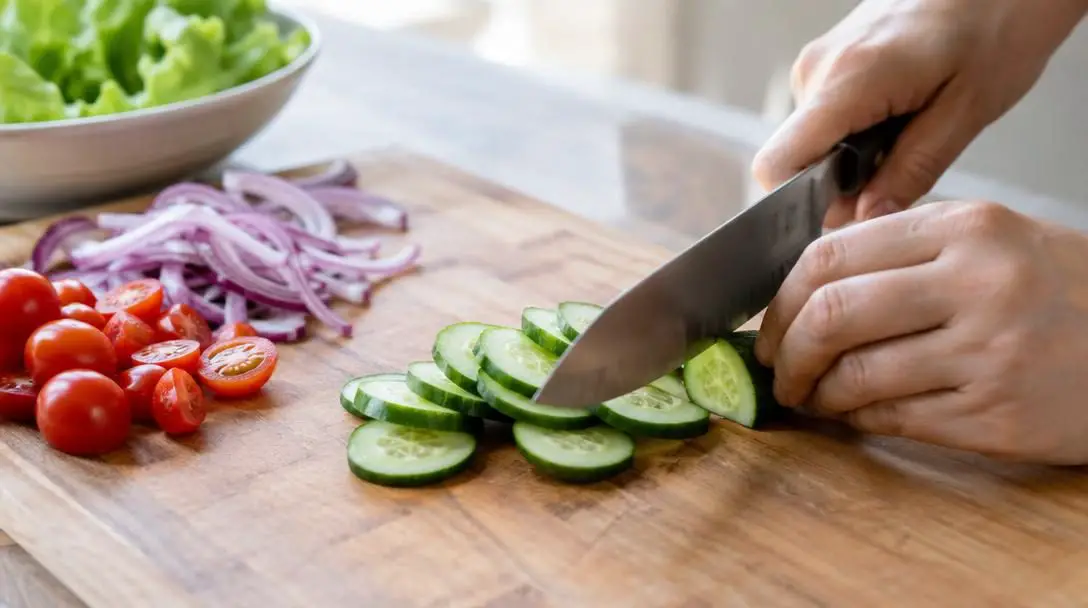
The first rule of knife handling is to never extend your fingers toward the blade, letting your tucked knuckles guide every slice instead.
Proper knife safety centers on the claw technique. Flattening your non-knife hand across an onion or carrot leaves tender fingers exposed directly in the blade's path. Instead, bend your fingers inward at the middle knuckle while keeping the top knuckles as straight as possible. Your curled fingertips grip the food firmly like a claw, while the broad, flat face of the chef's knife rests against the smooth flat of your middle knuckles. In this position, your knuckles act as a traveling guide rail, allowing you to advance through vegetables without any chance of the cutting edge contacting your skin.
- Place your ingredient firmly on a flat, stable cutting board.
- Shape your non-knife guiding hand into a claw, tucking fingertips inward and resting the middle knuckles against the flat side of the blade.
- Rest the front tip of your chef's knife on the cutting board just ahead of the food.
- Lift the heel of the knife while keeping the tip anchored firmly against the board surface.
- Push the blade forward and down through the ingredient in a rhythmic, rocking cut.
- Inch your clawed guiding hand backward down the vegetable after each cut to set the thickness for the next slice.
Common knife mechanic errors to avoid:
- Straightening guiding fingers: Allowing fingers to uncurl puts fingertips and fingernails directly under the falling blade.
- Lifting the tip off the cutting board: Raising the whole knife transforms an effortless rocking motion into an erratic chopping hack that dulls the blade and increases slip hazards.
- Prioritizing speed over rhythm: Quick chopping is the natural result of steady muscle memory. Moving too fast before perfecting the claw posture invites avoidable cuts.
Frequently asked questions
Can I use any kind of pan drippings to make milk gravy?
Yes. Milk gravy takes on the seasoned flavor of whatever meat you cook. It works exceptionally well with drippings from sausage, ground beef, pork chops, and fried chicken. If you use sausage or ground meat crumbles, you can leave the cooked meat directly in the pan for a classic country-style gravy.
Why is Velveeta recommended over using 100 percent cheddar in cheese sauce?
Natural cheeses like sharp cheddar are delicate emulsions of fat, water, and protein that readily break and turn oily when heated directly. Velveeta acts as a soft, stable melting base that holds dairy proteins together. A 60 percent Velveeta to 40 percent cheddar ratio gives you rich cheddar flavor with an unbreakable, silky texture.
Can I freeze homemade pie filling after cooking it?
Yes. Once your stovetop pie filling has simmered for 5 minutes and cooled down completely, you can transfer it into freezer-safe containers or bags. Pre-cooking the fruit and cornstarch slurry stabilizes the juices, allowing you to preserve seasonal fruit and bake pies months later without making the crust soggy.
What is the easiest food to use when learning how to flip a pan?
Uncooked dry rice in a cold frying pan is the best practice ingredient because it slides easily, mimics the weight of food, and will not burn you or make a mess if you spill. Once your wrist motion is consistent with rice, test your technique by flipping a fried egg over the kitchen sink.
Why must the tip of the chef's knife stay on the board during a rocking cut?
Keeping the tip of the blade anchored on the cutting board creates a stable pivot point. This allows the curved belly of the knife to roll smoothly forward and downward through ingredients, giving you greater cutting leverage, uniform slices, and much better control than lifting the entire blade.
The bottom line
Expanding your culinary repertoire does not require expensive culinary academies or elaborate specialty gadgets. Each of these five core techniques targets a fundamental reality of home cooking: managing starch gelatinization in gravies, maintaining dairy fat emulsions in sauces, binding excess fruit moisture in desserts, controlling cookware with wrist momentum, and wielding cutlery safely. By practicing these straightforward methods individually, you will work faster, prevent costly kitchen mishaps, and consistently deliver flavorful meals that bring everyone eagerly to the table.