5 Tips For Mountain Bike Beginners
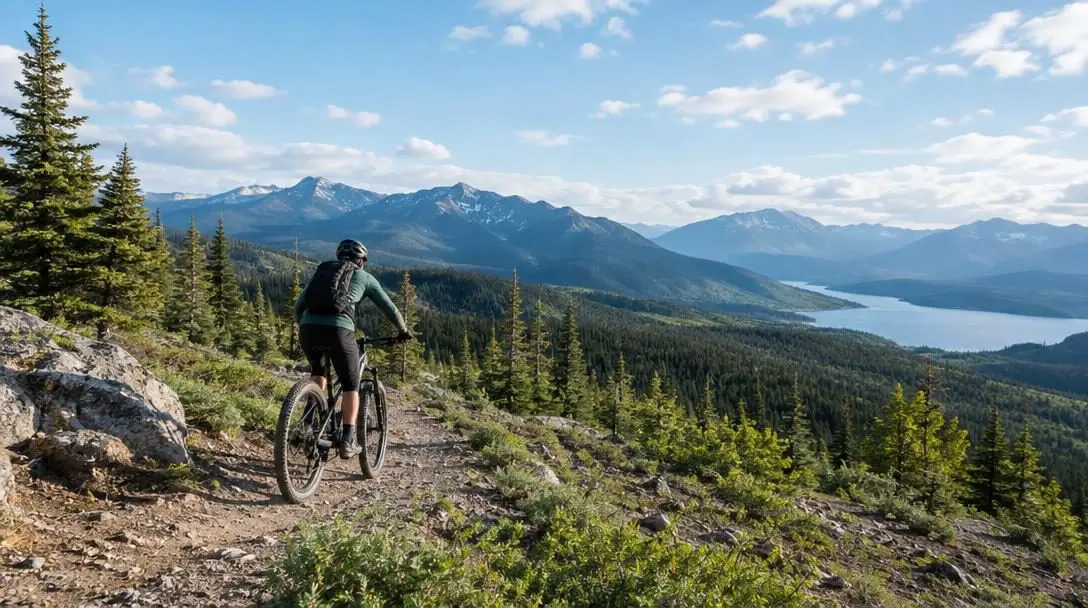
Mountain biking stands out as one of the most widely embraced outdoor sports today, drawing roughly 40 million people across the United States onto dirt paths, forest singletrack, and rugged backcountry corridors each year. The attraction is immediately clear: it delivers an invigorating cardiovascular workout, offers an escape from noisy urban sprawl, and grants access to scenic, secluded wild spaces that casual walking or standard road vehicles simply cannot reach. Each season, thousands of enthusiastic newcomers invest in knobby-tired bicycles and outdoor equipment, eager to experience the freedom of off-road exploration.
Despite its broad appeal, off-road riding presents an unexpectedly steep learning curve. Novices often assume that years of pedaling on flat neighborhood pavement will seamlessly translate to loose dirt, slick tree roots, and steep gradients. Without the right preparation, entering the sport too quickly often leads to acute physical fatigue, early frustration, or preventable spills. Treating mountain biking as a technical discipline that requires tailored hardware, specific body mechanics, and a patient progression ensures a safe, rewarding experience on the trail.
Key takeaways
- Fine-tuning your saddle height, suspension air pressure, and tire pressure before riding dramatically improves bike handling and comfort.
- Dedicated safety gear, including a certified helmet, eye protection, cycling gloves, and repair essentials, is mandatory for every off-road outing.
- Building confidence on wide, gentle, beginner-marked trails prevents early burnout and reduces the likelihood of crashes.
- Dynamic body movement, especially alternating between the neutral and ready positions, allows your arms and legs to act as natural shock absorbers.
- Following trail etiquette, such as yielding to faster riders, adhering to directional signs, and packing out waste, preserves trail access for the community.
How Mountain Biking Works: Core Fundamentals
Unlike cruising along uniform asphalt or concrete, off-road cycling demands an active, continuous engagement with an unpredictable surface. Dirt, gravel, loose stones, exposed root webs, and sudden changes in elevation mean that simply pedaling forward in a straight line is not enough to maintain momentum or balance. Success on off-road terrain requires a comprehensive understanding of four core fundamentals: bike mechanics, personal protection, foundational handling skills, and terrain management.
The mechanical core of a modern mountain bike involves multiple interdependent components: pneumatic tires, suspension dampers, multispeed gear sets, and frame geometry. When set up accurately to match a rider's physical dimensions and weight, these parts function as an integrated shock-absorption system that maintains surface traction across harsh impacts. In tandem, the rider's body acts as a secondary suspension system. By bending joints, shifting body weight, and looking ahead to anticipate disruptions, riders absorb impacts and navigate rough ground with fluid efficiency.
Off-road cycling demands an active, continuous dialogue between rider, machine, and ever-shifting natural terrain.
The Five Essential Pillars of Mountain Biking
To establish a solid foundation and enjoy steady progress without early setbacks, beginners should focus their energy on five fundamental pillars: dialed-in mechanical setup, appropriate riding gear, conservative trail choice, dynamic body positioning, and courteous trail etiquette.
| Pillar | Primary Focus | Key Beginner Benefit |
|---|---|---|
| Bike Setup | Saddle, suspension, and tire tuning | Optimal comfort, pedaling efficiency, and traction |
| Protective Gear | Certified helmet, gloves, eyewear, and spares | Injury prevention and self-sufficiency on remote trails |
| Trail Selection | Wide, flat, beginner-designated routes | Low-stress environment to learn shifting and braking |
| Body Positioning | Neutral and ready stances off the saddle | Improved balance and control over uneven obstacles |
| Trail Etiquette | Yielding, staying on open paths, leave-no-trace | Safe shared recreation and environmental conservation |
Five Essential Tips for Mountain Bike Beginners
1. Setting Up Your Bike Correctly
When bringing a new bicycle home from the shop, the immediate impulse is to hop on and pedal away. However, while a bicycle might be assembled well enough for a casual neighborhood roll, it is rarely configured out of the box for demanding singletrack. Proper mechanical tuning directly dictates handling precision, physical endurance, and riding comfort.
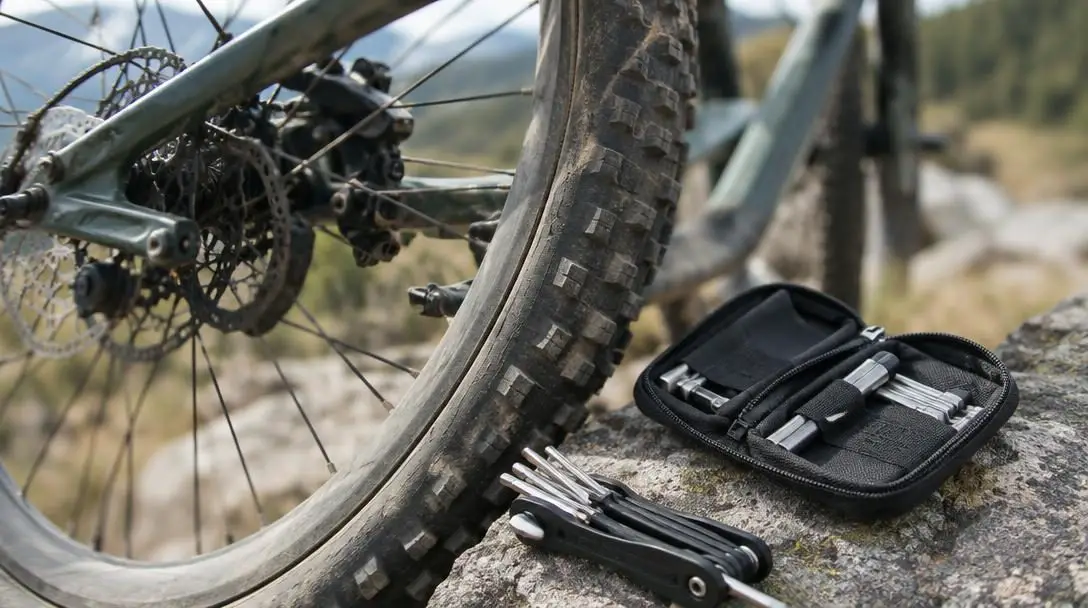
Every beginner should methodically adjust four specific mechanical areas before heading out:
- Saddle position and height: The saddle serves as your primary contact point during long pedal sections. Ensuring correct height and fore-aft alignment eliminates wasted pedal power and protects your knees and lower back from chronic strain.
- Suspension tuning: Front and rear suspension shocks require precise internal air pressure matched to your body weight. If your weight changes over time, re-adjusting this pressure keeps the suspension responsive rather than bottoming out or feeling rigid.
- Tire pressure: Over-inflating tires causes the rubber to ricochet erratically over rocks and trail chatter, whereas running pressures that are too low can pinch tubes or bend rims. Fine-tune your pressure to match the exact surface conditions of your local trails.
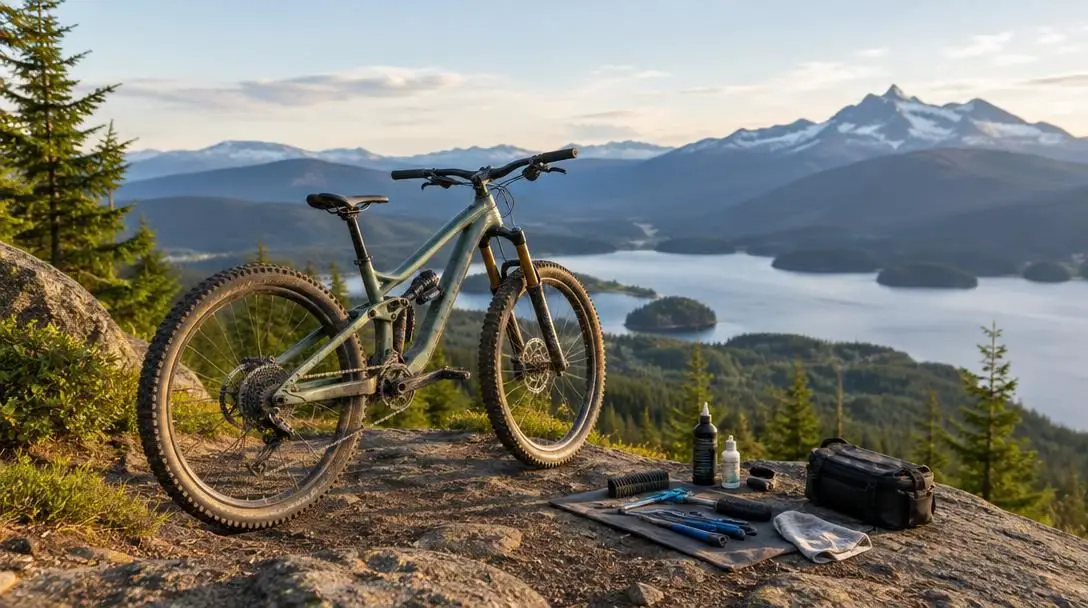
- Cleanliness and lubrication: Scrubbing grit off the frame and keeping the chain lightly oiled prevents shifting failures under load and significantly prolongs the lifespan of expensive drivetrain parts.
2. Equipping Yourself with the Right Gear
Under no circumstances should you venture onto mountain bike trails in casual gym sneakers, cotton street clothes, or sandals. Trail surfaces are abrasive, weather conditions can shift unexpectedly, and mechanical issues can occur miles away from the nearest roadway. Dedicated gear provides vital protection, comfort, and mechanical security.
A complete beginner gear setup includes the following essential items:
- Certified helmet: The most crucial piece of equipment you will purchase. Ensure an exact, snug fit with verified safety certifications to guard against head trauma during falls.
- Rider protection: Breathable cycling gloves preserve grip when hands get sweaty and shield palms from abrasive gravel. Specialized riding glasses keep dust, flying stones, and low tree limbs out of your eyes.
- Performance clothing: Choose moisture-wicking synthetic shirts, dedicated cycling socks, and padded shorts (chamois) that eliminate friction against the saddle and cushion sit bones.
- Hydration and safety: Carry adequate fluids using frame bottles or a hydration backpack, and keep a compact first-aid kit on hand to manage scrapes and minor emergencies.
- Trailside repair kit: Carry spare inner tubes, durable tire levers, a patch kit, a hand pump or CO2 inflator, and a cycling multi-tool so a minor mechanical issue does not leave you stranded.
3. Start Slow on Easy Trails
Even if you possess formidable cardiovascular fitness from long-distance running or hiking, operating a bicycle over uneven dirt involves entirely distinct motor skills and muscle memory. Charging directly onto technical, rock-strewn trails frequently results in immediate spills, broken components, and lost enthusiasm.
Instead, begin your journey on beginner-friendly routes that feature wide, flat, and hard-packed tread. If you are unsure where to go, seek recommendations on regional online forums such as Reddit or local cycling Facebook groups, or ask experienced riders at trailheads. Spending your first few weeks on gentle terrain allows you to practice gear shifting under mild resistance, get used to your brakes, and observe how the tires react to loose gravel and small tree roots. As your bike control and confidence grow, you can gradually progress to narrower singletrack and steeper slopes.
4. Master the Fundamentals of Body Positioning
Riding technical dirt successfully requires constant movement on the bicycle rather than remaining planted firmly on the saddle. Mastering two fundamental postures—along with dynamic adjustments for climbing, descending, and cornering—empowers you to tackle obstacles without losing stability.
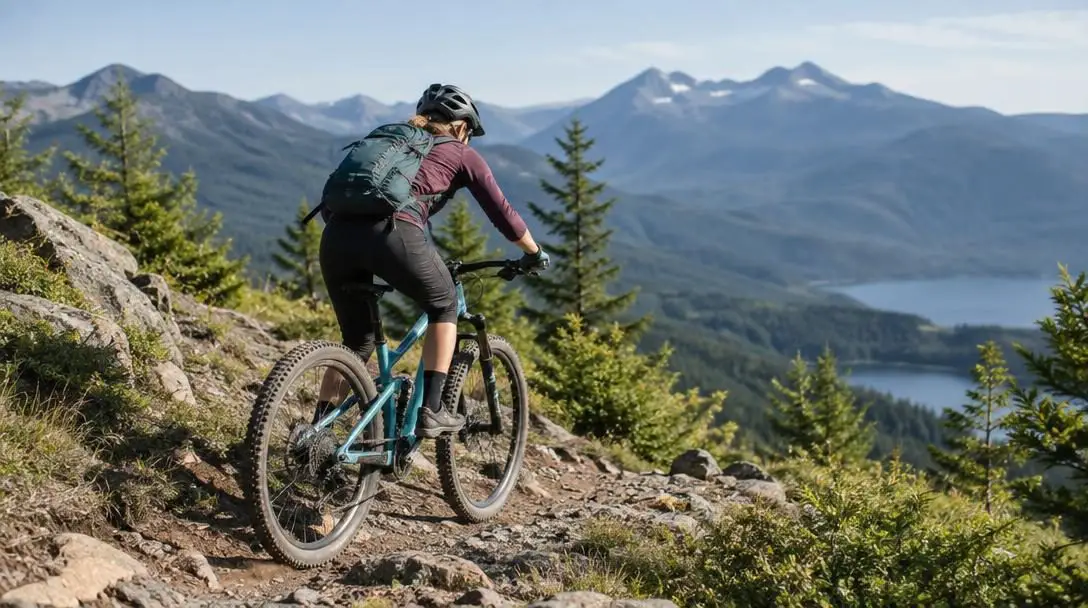
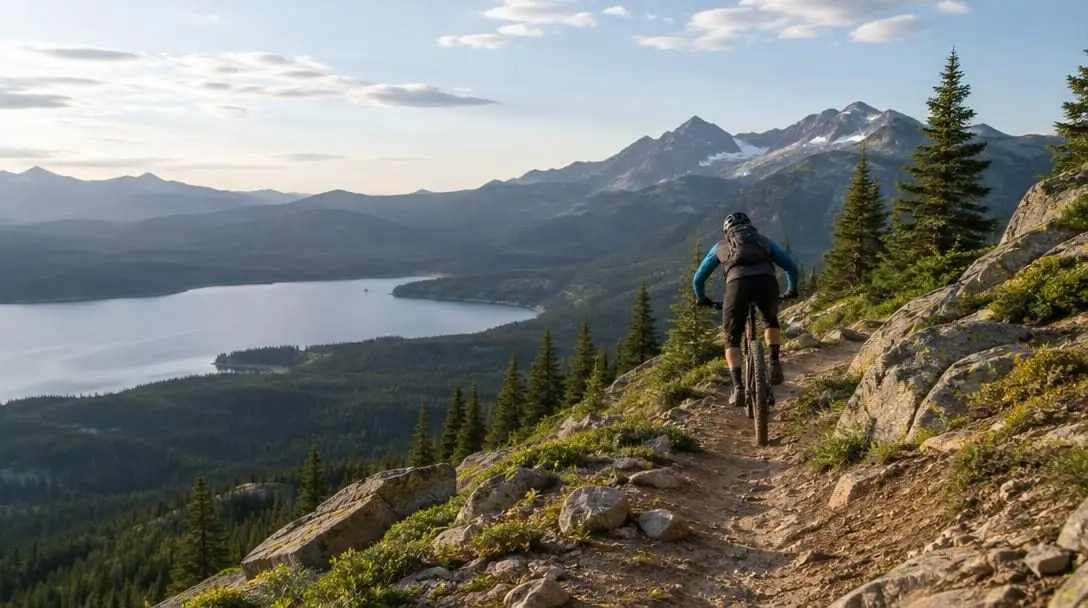
- The neutral position: Used on smooth, rolling flats. Keep a soft bend in your elbows and knees, relax your shoulders, and rest one or two index fingers gently over the brake levers to react instantly to hazards.
- The ready position: Used when approaching rocky sections, drops, or descents. Stand up off the saddle with level pedals, drop your torso so your back is nearly parallel to the top tube, and hinge at your hips. This gives the bicycle room to move freely beneath you.
- Climbing: Lower your chest toward the handlebars and lean forward to weigh the front wheel down, preventing it from wandering or lifting off the ground on steep inclines.
- Descending: Shift your hips back behind the saddle to counter downward momentum, preventing your weight from pitching forward over the front wheel.
- Cornering: Lean the frame into the turn while keeping your body weight centered over the outside pedal, pressing the tire treads firmly into the soil for maximum traction.
- Visual targeting: Keep your eyes raised, looking 15 to 20 feet down the trail rather than staring directly at the front tire. Scanning ahead gives you the reaction time needed to choose smooth lines around ruts and rocks.
5. Follow Basic Trail Etiquette
Because trail networks are shared public environments, observing trail etiquette protects the safety of all recreationists and preserves ongoing land access. Reckless riding can endanger others and cause lasting environmental damage that prompts land managers to close trails to bikes.
Always keep these trail rules in mind when sharing public paths:
- Ride only on legally designated, officially opened routes, and respect all seasonal or weather-related trail closures.
- Maintain total control of your speed at all times to prevent collisions with other trail users, hikers, equestrians, or wildlife.
- Adhere strictly to leave-no-trace ethics by packing out all energy bar wrappers, punctured tubes, and litter.
- Yield the trail to faster riders approaching from behind by finding a safe spot to pull aside without damaging vegetation.
- If you must dismount to rest or fix a mechanical issue, step completely off the trail corridor so passing riders have a clear, unblocked path.
A Step-by-Step Plan for Your First Month
A structured approach helps you build foundational skills progressively, ensuring that safe habits become second nature before you encounter challenging terrain.
- Perform a pre-ride garage inspection: Check that your saddle clamp is secure, inflate tires to recommended trail pressure, lubricate the drivetrain chain, test both brake levers, and confirm your repair kit is packed.
- Practice fundamentals in an open grassy park: Use an open field to practice lifting out of the saddle into the ready stance, shifting weight rearward during firm braking, and cornering without unclipping your feet.
- Embark on wide, introductory green trails: Ride gentle, marked beginner loops. Focus entirely on looking 15 to 20 feet ahead, shifting into an easy climbing gear before hitting hills, and keeping your elbows unlocked.
- Complete a post-ride clean down: Wash off accumulated mud and trail grit, wipe down your chain, inspect tire casings for cuts or embedded thorns, and resolve any loose hardware before your next ride.
Common Beginner Mistakes to Avoid
Recognizing frequent beginner pitfalls helps you conserve energy, protect your equipment, and maintain control on unpredictable surfaces.
- Staying glued to the saddle: Remaining seated over bumpy ground transfers every impact straight up into your spine, unweighting your tires and throwing off your balance. Stand up on the pedals whenever the trail gets rough.
- Over-inflating tires: Putting maximum pressure in your tires shrinks the contact patch of the rubber, causing the bike to skate unpredictably across loose gravel and chattery roots.
- Abrupt, heavy front braking: Grabbing the front brake lever aggressively while pointing downhill or turning can wash out the front wheel or send you over the handlebars. Modulate both front and rear brakes smoothly using single-finger pressure.
- Over-gearing on climbs: Waiting until you have already bogged down on a steep hill to shift gears puts tremendous torque on the chain and derailleur, often causing the chain to skip or drop. Anticipate climbs by shifting into an easier gear before the gradient steepens.
- Tackling advanced terrain prematurely: Skipping basic green trails to ride steep, technical black diamond paths creates anxiety and significantly elevates crash risks before core reflexes are developed.
Frequently asked questions
How much tire pressure should a beginner run?
Ideal tire pressure varies based on rider weight, tire width, and trail conditions, but off-road tires require far less air than road tires. Over-inflating makes the bike bounce unpredictably, while under-inflating risks rim strikes and flats. Consult your tire sidewalls for baseline minimums and adjust downward slightly for loose dirt.
Do I need to buy expensive clip-in shoes right away?
No. Beginners should start with flat pedals paired with flat-soled athletic shoes or mountain bike-specific flat pedal shoes. Flat pedals allow you to easily put a foot down to catch your balance on unfamiliar terrain without the fear of being locked into the bicycle.
Why is standing up on the pedals so important?
Standing up in the ready position separates your body weight from the bicycle. This allows your knees and elbows to act as natural shock absorbers, giving the bicycle space to move freely beneath you without jarring your spine or knocking you off balance.
What should I keep in my trailside repair kit?
Every rider should carry spare inner tubes, durable tire levers, a patch kit, a hand pump or CO2 inflator, and a cycling multi-tool. Having these tools ensures that a minor flat tire or loose bolt miles into a trail will not leave you stranded.
How can I stop fixing my eyes on trail obstacles I want to avoid?
Practice visual scanning by keeping your head raised and looking 15 to 20 feet ahead rather than down at your front tire. Staring at an obstacle causes target fixation, steering the bike directly into the hazard you wish to bypass.
The Bottom Line
Mountain biking is an exceptionally rewarding sport that combines full-body athletic conditioning with the unmatched thrill of exploring remote landscapes. While the physical demands and mechanical intricacies can seem daunting at first, breaking the sport down into clear fundamentals ensures a smooth transition from pavement to dirt. By prioritizing a proper bike setup, investing in certified protective equipment, mastering basic dynamic stances, and practicing patience on green beginner routes, you will build the technical competence needed to tackle more challenging terrain safely. Respect the trails, take your time, and enjoy every pedal stroke along the path.