DIY Home Décor: Crafting Your Own Personal Space
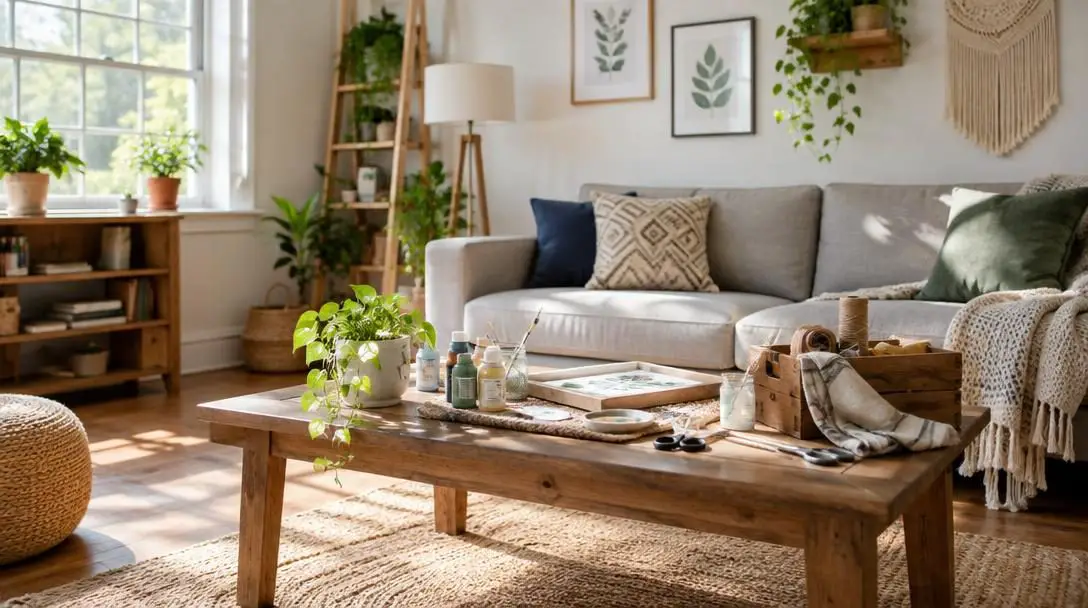
Your home is a sanctuary, serving as a personal retreat from the outside world and a space dedicated to rest and rejuvenation. Decorating living spaces allows individuals to express their personal style and aesthetic sensibilities, but traditional interior design has long been constrained by high commercial markups and mass-produced furnishings. Sourcing pre-made accessories from large retail outlets often leads to sterile, repetitive interiors that lack individuality, while hiring professional design firms can quickly strain a household budget.
Do-it-yourself (DIY) home décor provides an accessible, budget-conscious alternative that bridges the gap between functional design and personal identity. By learning how to work with raw supplies, repurposed items, and fundamental household tools, anyone can bypass boutique prices while crafting distinct furnishings tailored precisely to their daily lifestyle and spatial layout.
Key takeaways
- DIY home décor allows homeowners and renters to personalize their living spaces without incurring high design fees or retail markups.
- A successful project begins with assessing traffic flow, visual balance, storage needs, and aesthetic preferences before purchasing supplies.
- Fundamental tools like drills, screwdrivers, saws, and hot glue guns form the backbone of most beginner-friendly home crafts.
- Upcycling discarded household items into functional furniture or wall art minimizes environmental waste while adding historical charm to rooms.
- Careful surface preparation, strict adherence to tool safety, and respecting material drying times prevent costly rework.
The Anatomy of DIY Interior Design
Transforming raw or salvaged materials into functional home accents requires balancing structural integrity with aesthetic harmony. Every living environment demands practical performance—such as adequate work illumination, durable surfaces for storage, and textiles that dampen ambient noise—alongside visual focal points that make a room feel inviting. When taking the DIY route, a maker acts as both the interior designer who conceptualizes the aesthetic and the craftsperson responsible for physical fabrication.
Executing successful handmade décor involves manipulating several core material groups:
- Wood and Structural Components: Fastening wooden items such as salvaged shipping crates, raw lumber, or second-hand furniture relies on sound joinery, mechanical fasteners, and protective coatings to bear weight and resist daily wear.
- Textiles and Fibers: Incorporating fabrics introduces warmth, acoustic dampening, and color contrast. Fabrics can be assembled using traditional needle-and-thread methods or adhesive bonding techniques like iron-on hem tape.
- Lighting Elements: Constructing bespoke fixtures combines artistic outer enclosures with safe, certified electrical kits to cast targeted task lighting or soft ambient glows.
- Finishing Agents: Applying paints, stains, primers, and clear sealants protects base materials against indoor humidity while setting the visual and chromatic tone of the entire space.
Taking a hands-on approach transforms static living quarters into flexible spaces defined by personal intention rather than mass production.
Assessing Your Space: The Foundation of Smart Design
Before buying materials or disassembling existing furniture, an honest and thorough evaluation of the living space is essential. Starting without an analytical assessment often results in mismatched items, overcrowded layouts, and wasted funds. Spatial planning can be broken down into three primary diagnostic areas:
Evaluating Layout and Functionality: Walk through each room during peak hours of daily activity. Observe the flow of foot traffic between doorways, seating zones, and storage areas. Consider whether a living room lacks adequate seating for social gatherings, or if a bedroom suffers from persistent clutter due to insufficient surface storage. Pinpointing these functional shortfalls ensures that your DIY additions improve everyday comfort rather than merely occupying space.
Targeting Visual Dead Zones: Look critically for areas that appear cold, underutilized, or neglected. An expansive blank wall, an unadorned hallway corner, or a dark, disorganized entryway that leaves guests without a place to set bags are prime targets for custom interventions. Ranking these areas by importance and visual prominence helps establish a logical order for your projects.
Defining Style Preferences: Selecting colors and profiles in isolation often leads to a disjointed interior. Determine early on whether the space favors modern aesthetics—characterized by crisp geometric lines and minimalist surfaces—or traditional design featuring ornate silhouettes and rich wood finishes. Deciding between a vibrant, energetic color palette and a calm, neutral scheme ensures that every handcrafted item complements the room's cohesive atmosphere.
Step-by-Step Guide to Launching Your First Project
Approaching DIY home décor in structured phases prevents makers from feeling overwhelmed by complex builds. Follow this methodical sequence to turn initial concepts into completed home features:
- Select a Single Starting Project: Resist the urge to redesign an entire home simultaneously. Choose one small, highly focused item from your prioritized assessment list that resolves an immediate aesthetic or storage problem.
- Assemble the Requisite Tools and Materials: Review the project's construction plan and make an exhaustive supply inventory before starting. Typical items include paints, fabrics, timber, screws, adhesives, sandpaper, and protective drop cloths. Verify that you have access to a basic toolkit containing a hammer, screwdrivers, a drill, a handsaw, and a hot glue gun.
- Establish a Strict Budget: Calculate the anticipated expense for all raw materials, replacement hardware, and any tools you must purchase. Creating a realistic spending ceiling ensures your handmade project remains a cost-effective alternative to retail furnishings.
- Map Out a Practical Timeline: Account for each phase of production, including surface cleaning, assembly, and adequate curing intervals for adhesives, stains, or paints. Splitting tasks across multiple afternoons keeps the project manageable.
- Prepare a Safe Workspace: Establish a dedicated, well-lit workspace with ample ventilation. Cover floors and furniture with drop cloths to shield them from dust and paint splatters, and position all necessary tools within arm's reach.
- Implement Safety Precautions: Wear appropriate personal protective gear, such as safety goggles, work gloves, and dust masks, whenever cutting wood, operating power equipment, or applying chemical finishes.
Ten Accessible DIY Décor Projects to Transform Your Home
These project ideas illustrate how everyday materials, vintage castaways, and basic crafting techniques can yield distinctive accents across every room of the home.
Canvas Painting

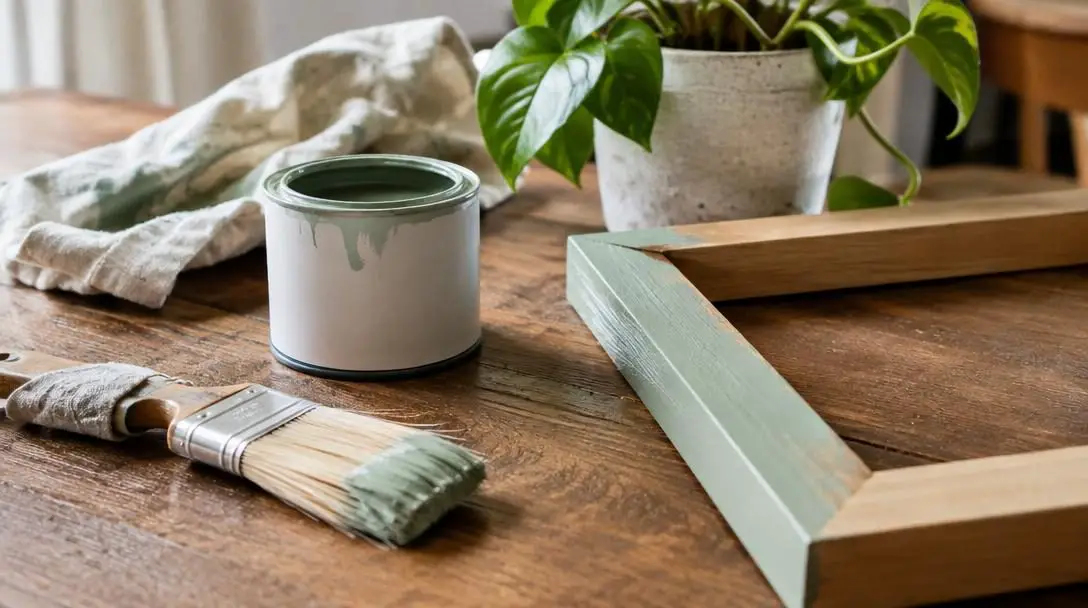
Blank stretched canvas provides an approachable medium for introducing large-scale color into rooms with bare walls. Beginners can utilize masking tape to create crisp geometric color blocks, experiment with abstract fluid forms, or apply textured joint compound before painting to produce high-end sculptural wall art that matches the home's broader color story.
Curated Gallery Wall

Assembling a gallery wall using thrifted picture frames creates visual interest without requiring expensive custom framing. Collecting frames of various shapes, textures, and profiles from secondhand shops lets you curate an eclectic display. Spray-painting the frames in a single unified shade creates a modern, cohesive look, while leaving their original finishes intact highlights vintage charm.
Modular Crate Shelving
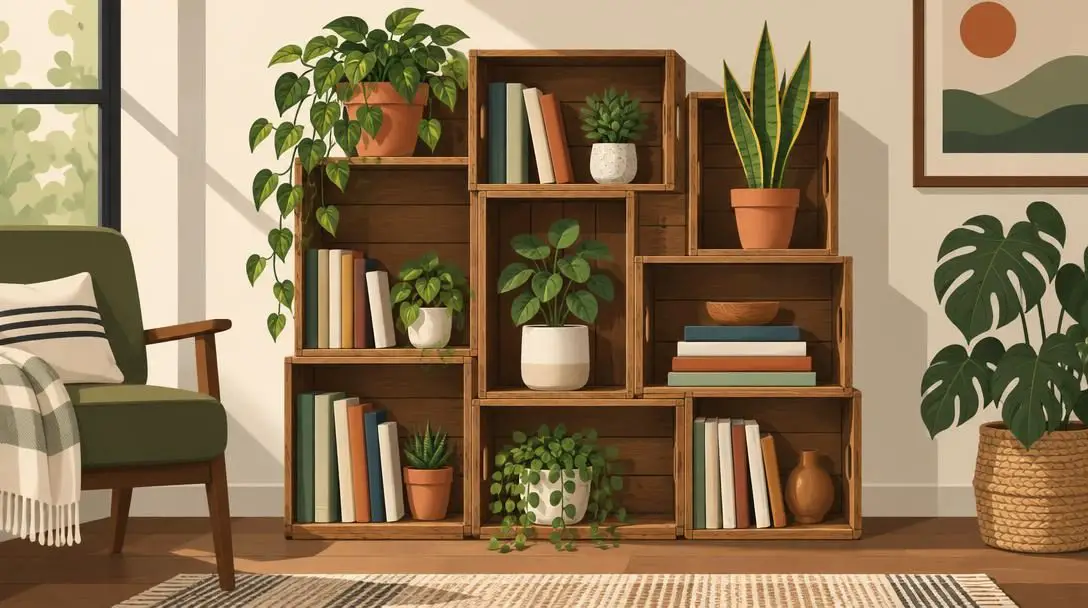
Wooden crates can be transformed into modular shelving units suited for awkward alcoves, home offices, or media centers. By sanding down rough edges, staining or painting the timber, and securing the individual units together using mechanical fasteners, makers can construct custom configurations for book collections, decorative ceramics, and indoor plants.
Refinished Dresser TV Stand
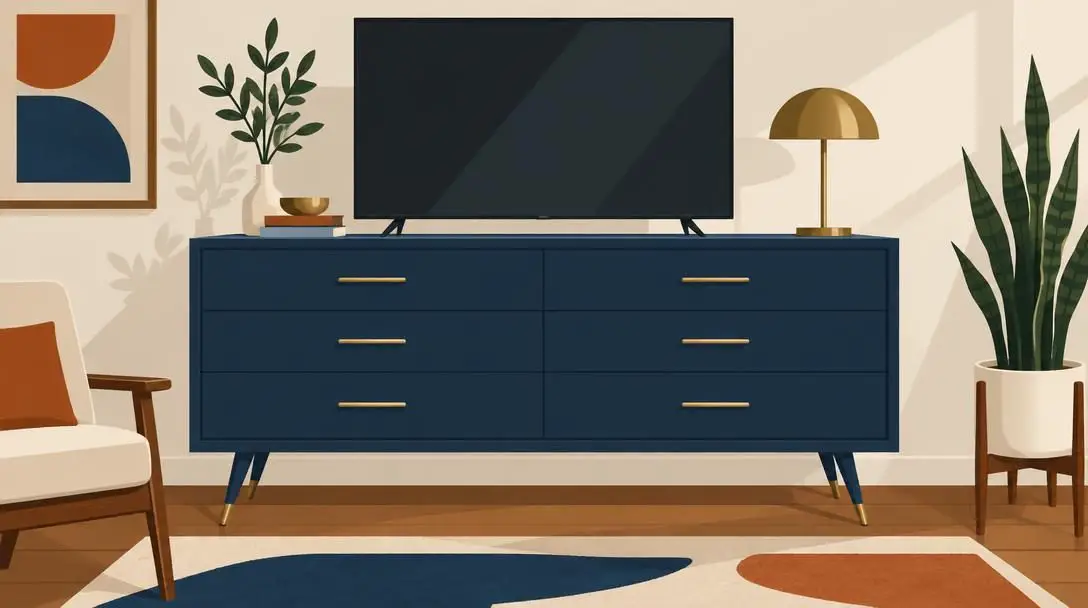
Older wooden dressers often boast sturdier joinery and more durable construction than modern flat-pack entertainment centers. Stripping away worn varnish, sanding the wood, applying fresh paint or rich stain, and installing modern metallic pull handles converts a forgotten bedroom staple into a statement media console with ample concealed storage.
Wire Basket Pendant Light
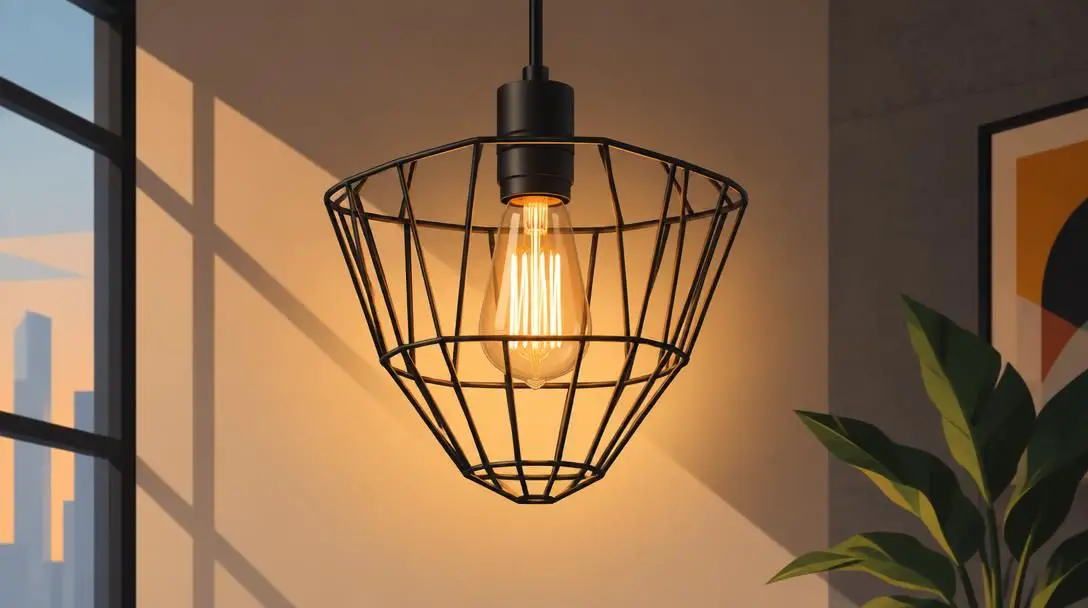
Overhead illumination can be refreshed on a modest budget by repurposing a decorative wire or metal storage basket. By drilling or cutting a central mounting hole in the basket's base, makers can thread an approved pendant lamp cord kit through the top, creating an industrial, open-cage fixture that casts bold shadows across dining tables or kitchen islands.
Wine Bottle Table Lamp
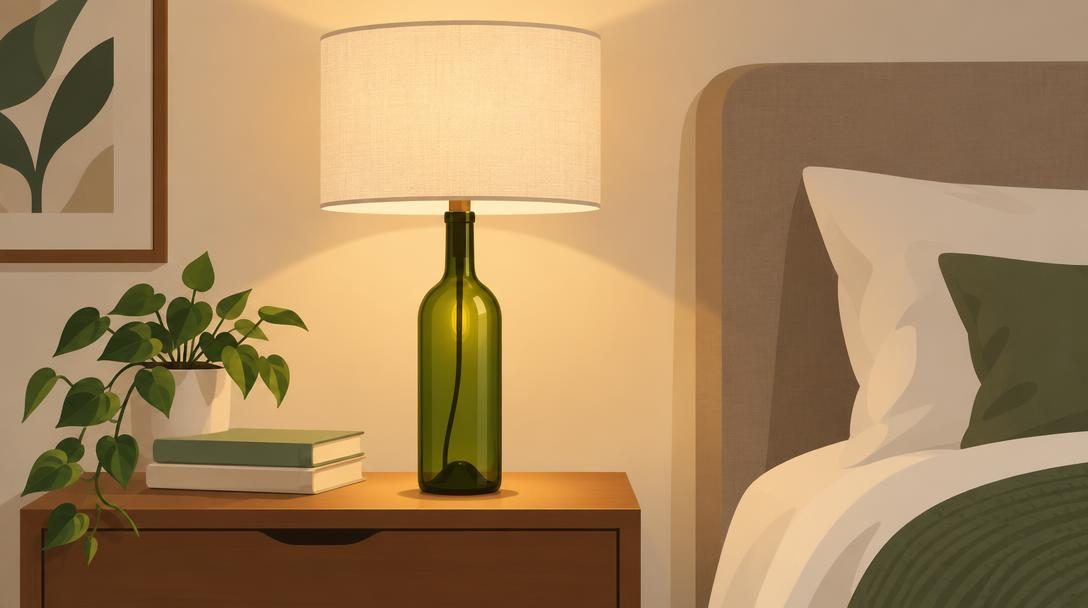
Empty glass bottles offer structural stability and attractive silhouettes for accent lighting. Using a specialized diamond-tipped glass drill bit to bore an exit hole near the bottle base allows electrical wiring to pass through safely. Affixing a bottle-adapter lamp socket kit to the neck and topping it with a drum shade produces a bespoke desk lamp.
Throw Pillow Covers
Textiles provide an effortless route for refreshing tired sofas and bedding sets. Sewing custom throw pillow covers requires only basic straight-line stitching and yardage tailored to the room's color scheme. Removable envelope-style backing makes the covers simple to wash or swap out as personal tastes change across different seasons.
No-Sew Window Valance

Dressing bare window casings does not always require access to a sewing machine. By cutting drapery fabric to size and folding edges using heat-activated, iron-on hem tape, you can create clean, crisp fabric borders. Creating an upper rod pocket with the same adhesive tape allows the valance to slip onto standard curtain rods in minutes.
Wine Cork Bulletin Board
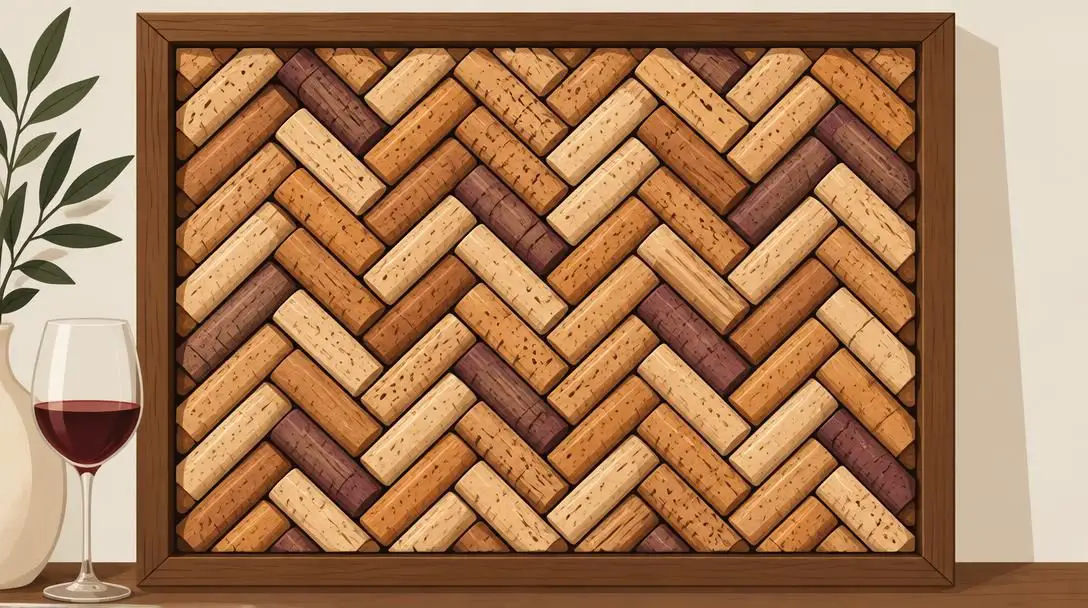
Natural cork is a resilient, shock-absorbing material well-suited for home office organization. Collecting discarded wine corks and adhering them in vertical, herringbone, or concentric patterns inside a painted picture frame or wooden tray creates a durable, tactile memo board for pinning reminders, photographs, and daily schedules.
Window Frame Picture Display
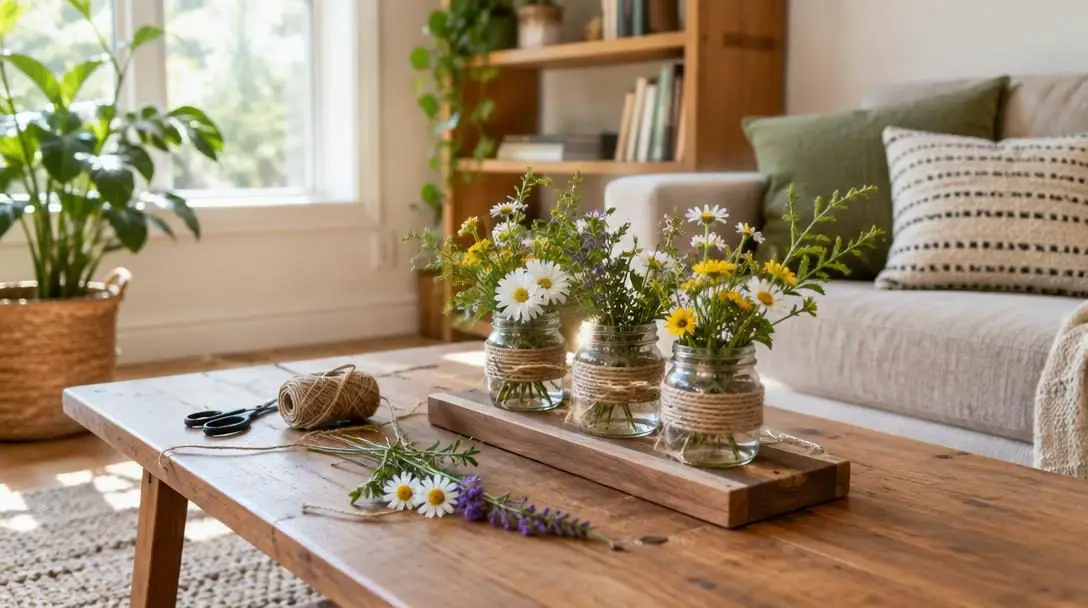
Salvaged multi-pane window frames salvaged from home renovations possess built-in architectural character. Once cleaned, lightly distressed, and sealed, the individual glass sections act as natural framing grids. Affixing family portraits, vintage postcards, or botanical prints behind each pane turns architectural salvage into a rustic focal point.
Project Comparison: Tools, Materials, and Practical Applications
The table below provides a quick side-by-side comparison of accessible DIY home décor projects, outlining the primary materials, essential tools, and functional advantages associated with each.
| Project Name | Primary Material | Essential Tools | Primary Benefit |
|---|---|---|---|
| Canvas Painting | Stretched canvas, acrylic paint | Brushes, painter's tape, palette knife | Affordable large-scale visual impact |
| Modular Crate Shelving | Wooden crates, wood stain | Drill, screws, sandpaper | Customizable, modular room storage |
| Wire Basket Pendant | Wire storage basket, pendant kit | Wire cutters, screwdriver, drill | Industrial overhead ambient lighting |
| Wine Bottle Lamp | Glass wine bottle, lamp kit, shade | Glass drill bit, drill, screwdriver | Compact, sculptural accent lighting |
| No-Sew Window Valance | Drapery fabric, iron-on hem tape | Iron, fabric scissors, measuring tape | Softens window edges without sewing |
| Wine Cork Bulletin Board | Natural wine corks, shallow frame | Hot glue gun, utility knife | Functional organization and pinboard surface |
Common DIY Mistakes and How to Avoid Them
While making home décor offers immense creative satisfaction, simple oversights during the build phase can lead to frustrating structural flaws or disappointing aesthetic results. Being mindful of these frequent errors keeps projects running efficiently:
- Skipping Surface Preparation: Rushing to paint or stain without first cleaning off oils, sanding down rough splinters, or applying primer leads directly to flaking paint, patchy stains, and weak glue joints. Proper surface preparation accounts for half the work of a durable finish.
- Using the Incorrect Tool: Driving screws with an improper bit, cutting thick wood using dull blades, or relying on hot glue where heavy-duty mechanical screws are needed compromises structural stability and elevates the risk of injury.
- Ignoring Spatial Scale: Constructing furnishings or mounting artwork without measuring the surrounding wall area often yields pieces that overwhelm compact rooms or look lost across expansive walls. Always map dimensions directly on surfaces with painter's tape before assembly.
- Rushing Drying and Curing Times: Handling pieces before adhesives, paints, and clear topcoats have fully cured creates surface fingerprints, indentations, and compromised joints. Follow the manufacturer's specified drying guidelines rigorously.
- Disregarding Workshop Safety: Using power tools or toxic chemical finishes without proper eyewear, gloves, and adequate air circulation causes preventable accidents. Safety preparation must always precede assembly work.
Habits for Long-Term Crafting Success
Developing proficiency in DIY interior decoration is an ongoing process that builds with every completed task. Integrating structured habits into your crafting routine ensures that your creative journey remains enjoyable, safe, and productive.
Maintain Order in Your Workspace: Keep tools sorted and materials cataloged within dedicated toolboxes or storage bins. Designating fixed spaces for fasteners, blades, and adhesives eliminates wasted time searching for missing supplies and prevents accidental damage to fragile ongoing projects.
Practice Patience During Assembly: Crafting quality home goods takes time. Rushing through critical steps like sanding, aligning joints, or applying multiple thin paint coats usually results in errors that take twice as long to correct. Treat each phase of the build as a learning opportunity.
Embrace Mistakes as Skill Builders: Imperfect cuts, mismatched stain tones, and slightly uneven seams are normal elements of hands-on fabrication. Instead of viewing missteps as failures, analyze where the process slipped, adapt your techniques, and apply that practical knowledge to your next build.
Celebrate Your Finished Projects: Once a project is finished, installed, and fully cured, take a moment to appreciate the new addition to your living space. Living alongside functional furnishings that you planned, assembled, and refined with your own hands brings a distinct sense of pride and ownership that commercial retail simply cannot replicate.
Frequently asked questions
How do I choose which DIY project to start with?
Begin by walking through your home and identifying areas with clear functional or visual deficiencies, such as a lack of surface storage or an unadorned wall. Pick a single, small project that addresses an immediate need, requires only basic hand tools, and fits easily within your available free time and budget.
What fundamental tools do I need for basic home décor crafting?
A reliable starter toolkit should include a hammer, a set of screwdrivers, a standard power drill, a handsaw, a hot glue gun, a tape measure, and assorted sandpaper grits. These basic tools are sufficient for handling most beginner-level furniture updates, lighting builds, and wall art assemblies.
Why is surface preparation so critical when refinishing furniture?
Applying finishes over surfaces that have not been thoroughly cleaned, sanded, or primed prevents paints and stains from bonding properly to the wood. Skipping these steps frequently causes finishes to peel, bubble, or display uneven, patchy color within a short period.
Can I create custom window treatments without knowing how to sew?
Yes. You can fabricate clean, polished window valances or drapery panels by cutting fabric to size and securing the hems and rod pockets using heat-activated, iron-on hem tape, entirely eliminating the need for a sewing machine.
How do I ensure safety when drilling into glass for bottle lamps?
Drilling glass requires a specialized diamond-tipped or carbide glass drill bit operated at slow drill speeds. Always wear safety goggles and protective gloves, keep the drill site constantly lubricated with water to prevent heat-induced glass cracking, and avoid applying excessive downward force.
The bottom line
DIY home décor offers an empowering, practical path toward shaping a living space that feels intentional, expressive, and distinct. Rather than relying on generic mass-market decor, adopting a hands-on approach allows you to solve real spatial problems while honing practical skills. By approaching each project with thorough planning, proper tools, and patient craftsmanship, you can steadily build an interior environment that reflects your creativity, balances your budget, and stands the test of time.