Garden Photography: Tips for Capturing the Beauty of Your Garden
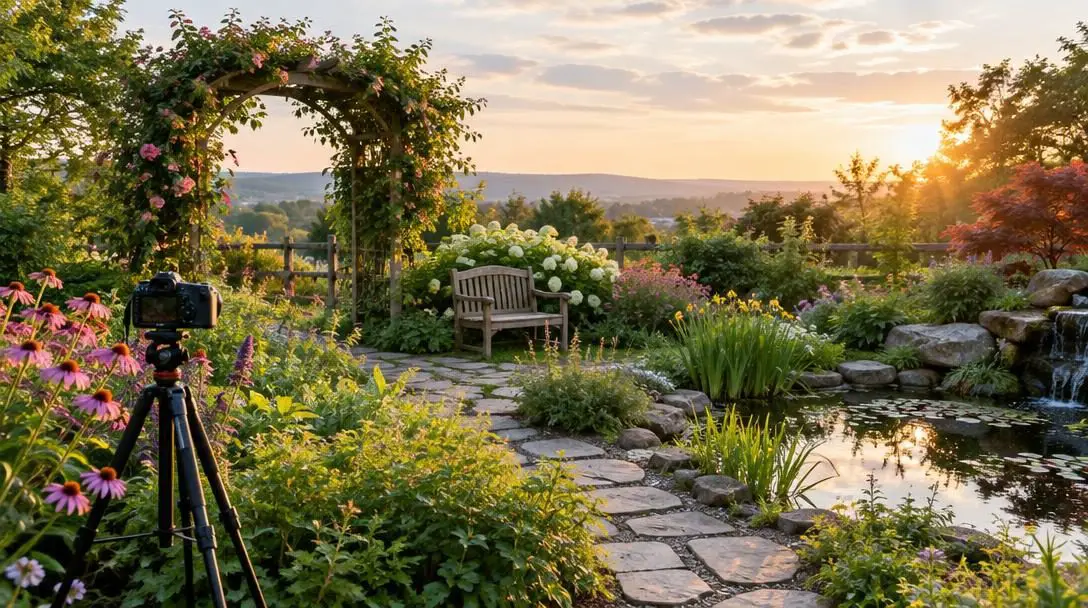
Gardens are among the most visually captivating spaces on earth, brimming with vibrant blooms, towering trees, and flourishing foliage. For dedicated gardeners and shutterbugs alike, turning a living garden into a collection of striking photographs is both a joyful craft and a meaningful way to document the ongoing cycle of botanical care. A garden is never a static subject; it shifts under fluctuating weather conditions, sways with the passing breeze, and undergoes complete transformations as the seasons cycle through the calendar.
Mastering garden photography demands far more than casually pointing a camera at a flowerbed. To elevate snapshots into genuine botanical art, photographers must learn to navigate changing natural illumination, balance color palettes, explore uncommon perspectives, and embrace both stillness and movement. By refining technical camera settings and developing an observant eye for subtle natural structures, you can capture the fleeting splendor of your garden at the absolute height of its beauty.
Key takeaways
- Photograph during early morning or late afternoon to capitalize on softer illumination, extended shadows, and rich color saturation.
- Use a shallow depth of field with wide apertures such as f/2.8 or f/4 to isolate delicate blossoms against smoothly blurred backgrounds.
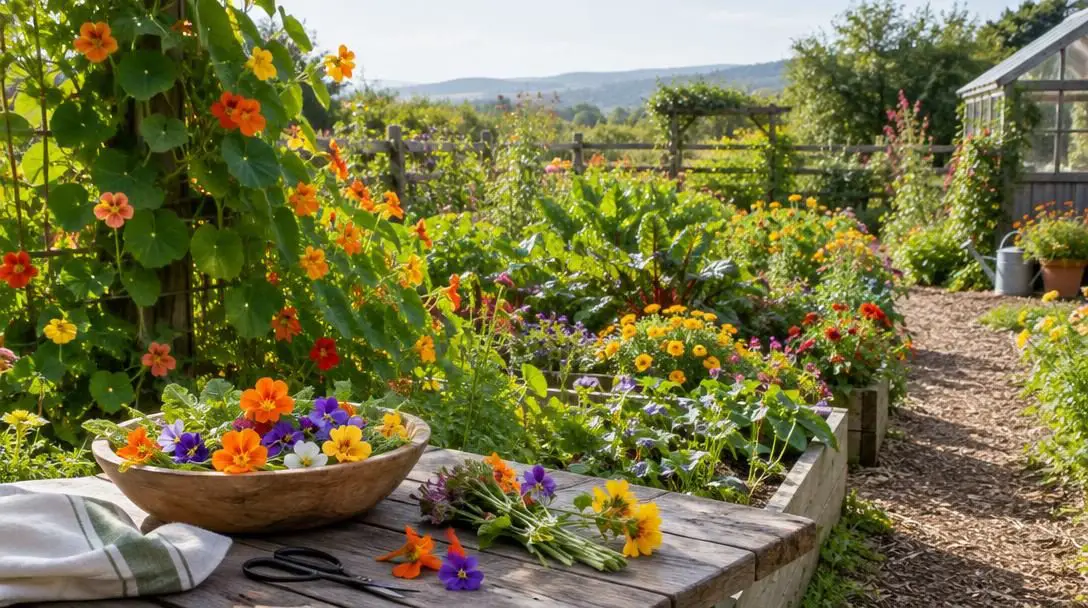
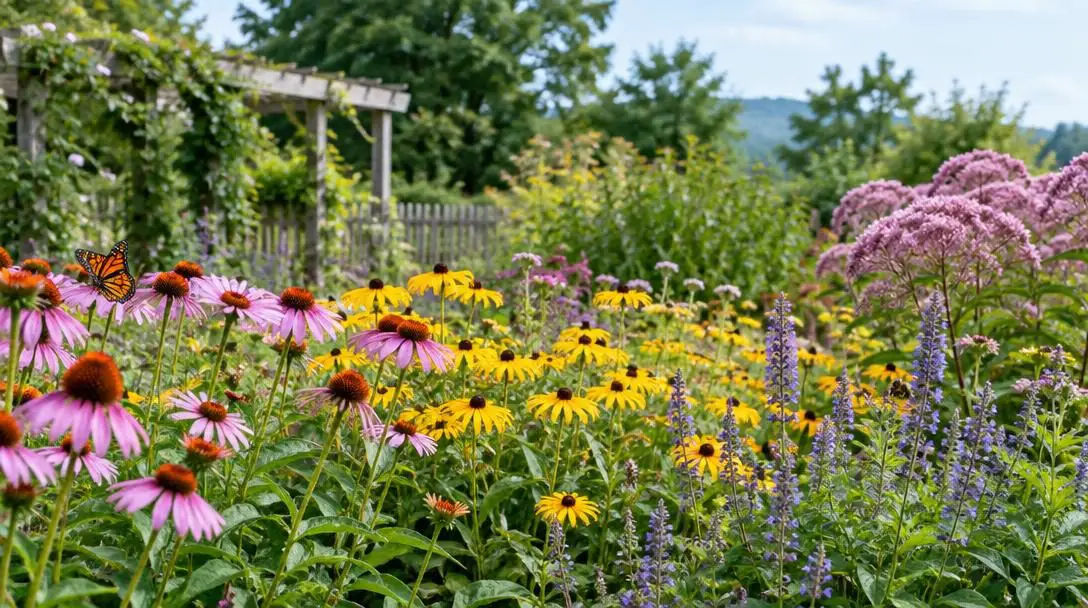
- Counterbalance dominant green foliage by actively incorporating contrasting accent tones like warm yellows, vivid oranges, and soft blues.
- Experiment with low camera positions and slow shutter speeds to convey plant scale, texture, and the graceful motion of the breeze.
- Scout your outdoor space ahead of time to capture short-lived blooming windows before delicate petals and vibrant leaves drop.
Core technical and artistic principles
Transforming a three-dimensional outdoor landscape into a compelling flat image requires a thoughtful blend of creative vision and camera control. Because outdoor environments present unpredictable conditions, understanding how lighting, color, and optical depth interact enables you to adapt instantly to your surroundings.
A garden is an ever-shifting canvas where shifting illumination, seasonal rhythms, and subtle winds transform ordinary foliage into living art.
Timing and natural illumination
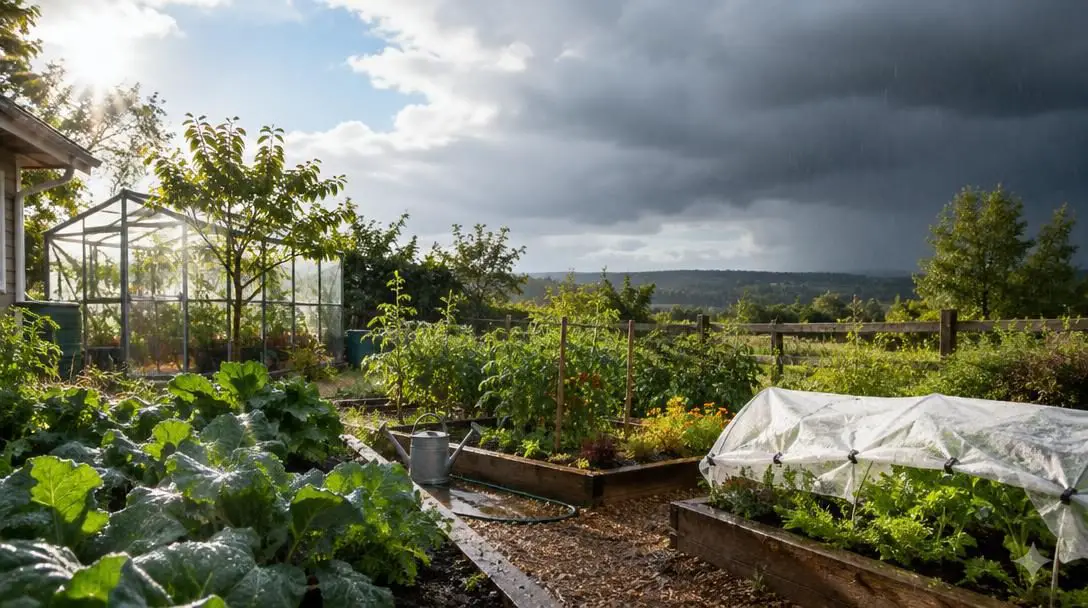
Natural light determines the mood, clarity, and chromatic depth of outdoor photographs. Midday sun tends to wash out delicate petals and create harsh, dark shadows that obscure intricate botanical features. The most rewarding times to photograph plant life are early morning and late afternoon. When the sun hangs lower on the horizon, light travels through more of the atmosphere, producing a soft, diffused glow that enriches natural pigmentation. This angled sunlight also produces elongated shadows, which emphasize the natural contours of borders and garden beds.
Proximity and low-angle perspectives
Standing upright at eye level produces standard snapshots that mirror the ordinary human gaze. To make botanical imagery compelling, you must alter your physical distance and elevation. Moving close to a subject brings attention to micro-textures, such as the veins traversing a leaf or the delicate ruffles along a petal. Shooting from below establishes a powerful perspective that accentuates the height and architectural silhouette of tall perennials and flowering shrubs, turning modest backyard plants into majestic, sculptural subjects.
Color harmony and contrast
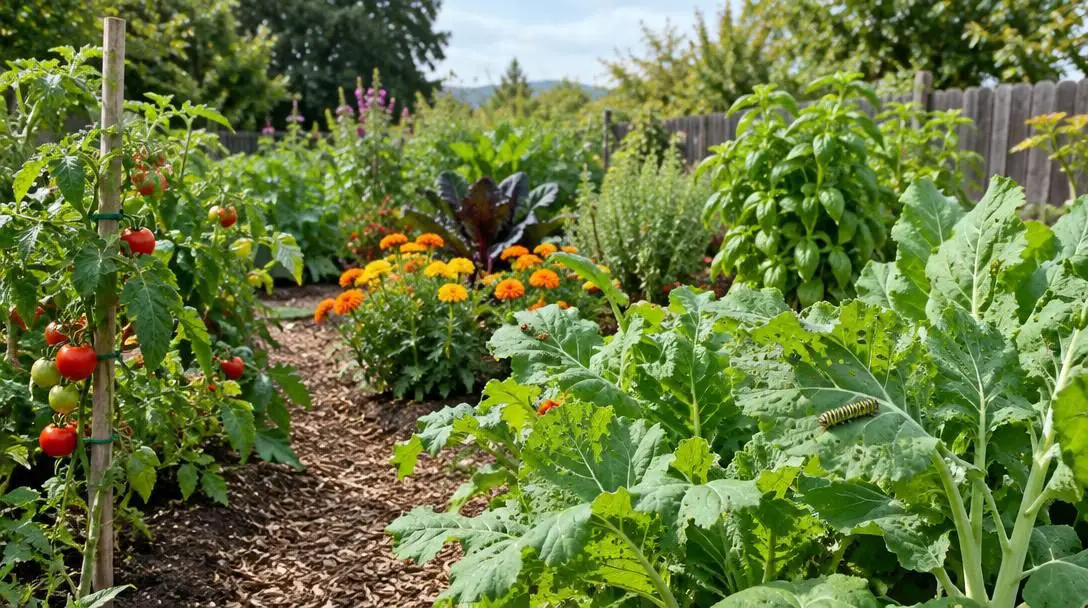
Color dictates the visual flow of an outdoor image. While green serves as the foundational hue that links distinct sections of a landscape together, an image saturated exclusively with emerald tones can appear visually flat and monotonous. To create vibrant depth, look for warm accent blossoms in yellow or orange, or cool contrast in soft blue. Positioning complementary colors side by side introduces energy, while harmonizing shades of similar intensity creates an atmosphere of serene balance.
Depth of field and subject isolation
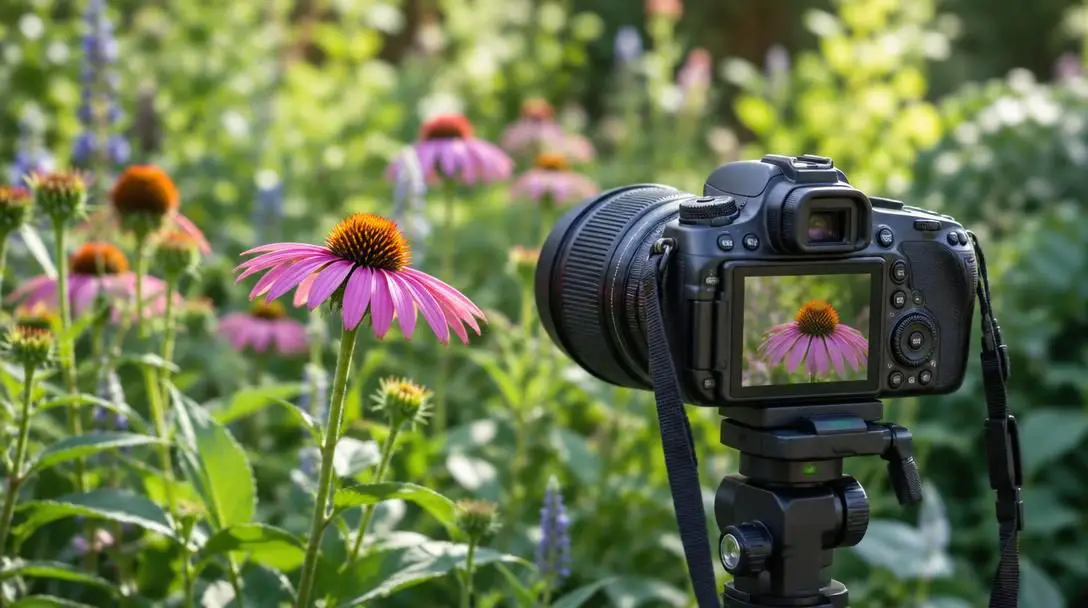
Depth of field governs how much of your frame remains in sharp focus from foreground to background. In lush, crowded flowerbeds, surrounding stems, branches, and mulch can create visual chaos that distracts from your focal subject. Selecting a wide aperture, such as f/2.8 or f/4, creates a narrow plane of focus. This isolates a single flowerhead with razor-sharp clarity while transforming the surrounding vegetation into a creamy, non-distracting background wash.
Macro exploration of microscopic details
Much of a garden’s true artistry exists on a scale invisible to casual strollers. True macro photography utilizes specialized close-focusing lenses that permit extreme proximity to subjects. Through a macro lens, the powdery texture of pollen grains, the geometric patterns of opening leaf buds, and the rough, aged crevices of tree bark become captivating, abstract works of art that draw viewers into an intimate natural world.
Dynamic motion and intentional blur
Outdoor photography is not strictly about freezing time. Plants are in perpetual conversation with the atmosphere, swaying as the wind sweeps through the garden. Rather than waiting exclusively for total stillness, you can deliberately convey energy by using a slow shutter speed. Allowing flower stems or ornamental grasses to blur slightly during a gust of wind evokes the feeling of a breezy afternoon, adding life and a sense of passing time to your frame.
Balancing camera settings for botanical scenes
Every creative goal in garden photography requires a tailored combination of aperture, shutter speed, and optical gear. Selecting your settings deliberately ensures that the technical execution supports your artistic vision.
| Photographic objective | Recommended aperture | Shutter speed strategy | Optimal lens type | Primary artistic effect |
|---|---|---|---|---|
| Individual blossom portrait | Wide (f/2.8 to f/4) | Fast (1/250s or quicker) | Standard prime or telephoto | Sharp subject with soft, dreamy background |
| Intimate botanical texture | Moderate (f/4 to f/8) | Tripod-stabilized speed | Dedicated macro lens | Crisp rendering of pollen, veins, and bark |
| Breeze and dynamic movement | Narrow (f/8 to f/16) | Slow (1/4s to 2s) | Wide-angle or mid-range zoom | Intentional motion blur conveying wind and vitality |
| Expansive border landscape | Narrow (f/8 to f/11) | Standard daylight speed | Wide-angle lens | Corner-to-corner clarity across beds and pathways |
A practical workflow for garden photography sessions
Approaching your garden with a structured plan prevents you from becoming overwhelmed by the sheer volume of plants, colors, and shifting conditions. Follow this sequence to organize your time and capture pristine results.
- Scout the garden without your camera: Stroll through the grounds first to evaluate which perennials are at their blooming peak, inspect where moisture has accumulated, and observe how shadows fall across your favorite beds.
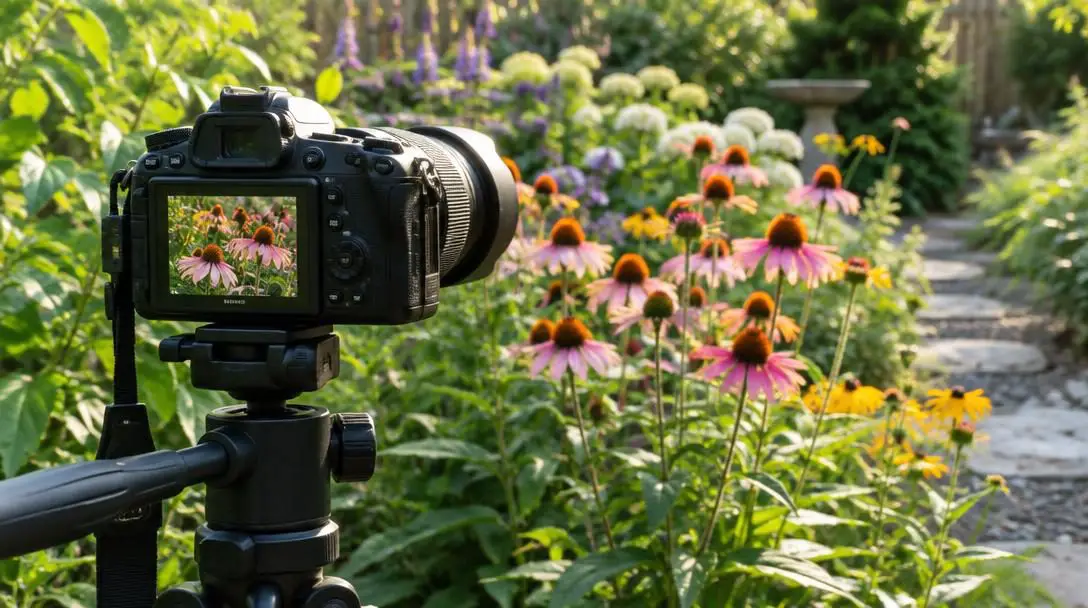
- Select your optical equipment: Choose a dedicated macro lens if your goal is to highlight small textures and pollen, pack a wide-angle lens for broad sweeps of the garden, and mount your setup onto a tripod if you plan to utilize slow shutter speeds.
- Dial in your creative camera settings: Determine whether the scene calls for a wide aperture like f/2.8 to blur distracting background foliage or a slow shutter speed to capture the wind swaying through ornamental grasses.
- Adjust your shooting angle and physical stance: Lower yourself to the ground, kneel on pathways, or point the lens upward from soil level to reveal dramatic structural perspectives that eye-level standing shots miss.
- Balance the colors across your viewfinder: Recompose your frame to break up solid swaths of green with warm yellow, orange, or soft blue accents, ensuring visual depth and tonal harmony.
- Exercise patience before releasing the shutter: Watch the interaction between light and air, waiting for the wind to drop for tack-sharp petals or waiting for a gentle gust if you want dynamic motion blur.
Common mistakes to avoid in the garden
Even seasoned photographers encounter technical hurdles when working in open natural environments. Being conscious of these frequent pitfalls will save time and improve your keeper rate.
- Shooting during peak midday hours: Direct, high-overhead sunlight creates blown-out white highlights on petals and casts harsh, unflattering black shadows beneath stems and leaves.
- Allowing monotone green to dominate: Framing scenes that contain only green leaves without contrasting warm or cool flower tones makes photographs look flat and uninspired.
- Neglecting distracting background clutter: Failing to check behind your subject can introduce stray garden hoses, plastic plant labels, or dead branches into the frame; blur them away with wide apertures or shift your angle.
- Missing short seasonal blooming windows: Many prized garden specimens flower for only a few days or weeks; delaying a shoot can mean losing the opportunity until the following year.
- Relying exclusively on standing eye level: Capturing every plant from a standard standing posture yields predictable results that fail to showcase the texture, height, and underside of petals.
- Dismissing subject motion as an outright error: Automatically discarding every photo with movement robs you of creative motion-blur opportunities that convey the energy of outdoor weather.
Expanding your vision: long-term projects and wildlife
Once you master foundational exposure settings and framing techniques, look toward larger conceptual projects that capture your outdoor space as a living, evolving ecosystem over time.
Tracking seasonal life cycles
A garden never stands still. Committing to a year-long documentation project gives narrative depth to your photography. Return to the exact same border or specimen tree across all four seasons. Capture the pale green tips of spring shoots piercing the soil, the lush riot of summer blooms, the burnished copper and gold foliage of autumn, and the stark, sculptural silhouettes of dormant branches framed against winter frost.
Incorporating garden wildlife and pollinators
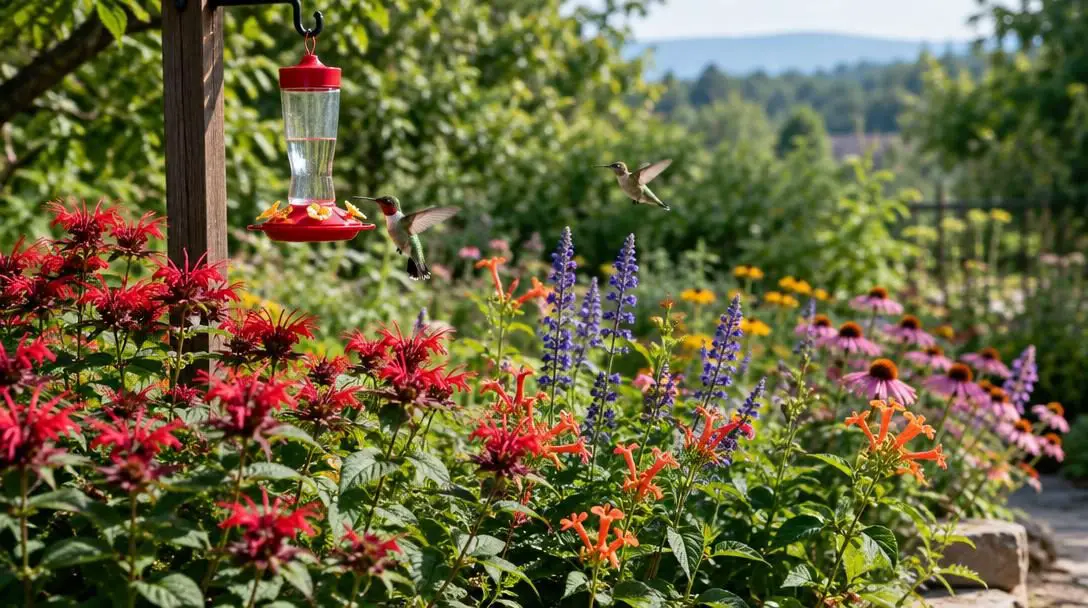
Flowers and vegetation do not exist in isolation; they support a bustling community of animal life. Including active pollinators like bees and butterflies, or resident songbirds perched on garden stakes, introduces narrative scale and vitality to botanical images. Photographing active wildlife requires fast shutter speeds, sharp reflexes, and the same patience you develop while waiting for the breeze to settle.
Curating thematic photo portfolios
Consider organizing your finished photographs into tightly curated thematic collections rather than loose albums. You might assemble a collection centered exclusively on contrasting color relationships, an abstract gallery focused on macro bark textures and dew drops, or a dynamic series that captures stems bending under fierce seasonal winds. Structuring your photography around specific motifs trains your eye to look deeper every time you step outside.
Frequently asked questions
What is the best time of day to photograph a garden?
The optimal times for garden photography are early morning and late afternoon. During these hours, the sun is low on the horizon, creating softer, diffused illumination, longer shadows, and richer color saturation, while avoiding the harsh contrast of midday sun.
Which aperture setting works best for isolating a single flower?
A wide aperture setting such as f/2.8 or f/4 produces a shallow depth of field. This keeps your chosen bloom sharply in focus while throwing cluttered background leaves, soil, and garden stakes into an attractive, soft blur.
How can I prevent my garden photos from looking like a flat wall of green?
Green naturally links garden elements together, but it can easily look monotone. To break up uniform green frames, compose your shots to include contrasting accent colors, such as warm yellows, fiery oranges, or cool, soft blues.
Do I always need a dedicated macro lens for close-up plant details?
While standard lenses can get reasonably close, a dedicated macro lens is necessary if you want true extreme close-ups of tiny features like individual grains of pollen, leaf vein architecture, or detailed bark textures.
Is wind always a disadvantage when photographing plants?
Wind can make sharp close-ups challenging, but it can also be used creatively. By selecting a slow shutter speed, you can intentionally capture the motion blur of swaying stems and leaves, adding dynamic energy and a sense of life to your images.
The bottom line
Garden photography bridges the careful labor of horticulture with the creative possibilities of visual art. By paying close attention to natural lighting conditions, experimenting with low angles, selecting strategic apertures, and embracing the organic movement of the outdoors, you can produce images that do justice to the living beauty of your garden. Approach your outdoor space with curiosity and patience, and you will find captivating botanical stories waiting to be framed in every bed, border, and blossom.