How to Build Your Own Raised Garden Bed: A Step-by-Step Guide
Raised garden beds have fundamentally changed how home growers approach backyard cultivation. By enclosing nutrient-rich growing media within a framed perimeter set above the native terrain, gardeners circumvent the frustration of poor native ground while creating an organized, ergonomic workspace. Whether dealing with dense suburban clay, rocky soil, or compacted urban dirt, an elevated frame gives you direct control over the growing environment from the ground up.
Building your own bed is an accessible do-it-yourself project requiring only standard carpentry tools, durable timber, and a clear plan. With thoughtful site selection, naturally rot-resistant wood, and proper layering, you can construct a resilient raised bed that yields thriving vegetables, fragrant culinary herbs, and vibrant flowering plants for many seasons to come.
Key takeaways
- Elevated beds bypass dense, compacted native soils and rocky ground by establishing a completely controlled growing environment.
- Naturally rot-resistant lumber like cedar or redwood, fastened with corrosion-resistant galvanized screws, ensures long-term structural durability.
- Proper site preparation requires at least six hours of direct daily sunlight, thorough ground loosening, and precise leveling to prevent uneven watering.
- Layering straw or leaves beneath a balanced blend of soil and compost optimizes drainage and prevents underlying weeds from invading the bed.
The Mechanics of Raised Bed Gardening
To get the most out of your growing area, it helps to understand the underlying mechanics that make raised beds so effective. Elevating the planting zone changes how water, air, ambient temperature, and plant roots interact compared to traditional flat ground plots.
The primary mechanical benefit is superior drainage. When heavy rain falls on a conventional garden, moisture must slowly percolate through whatever native soil profile exists beneath it. In residential areas where dense clay or hardpan layers predominate, water easily collects and stagnates around root systems, displacing necessary oxygen and causing root rot. In an elevated bed, gravity naturally pulls excess moisture downward through loose soil, allowing water to escape out the bottom and open sides while retaining balanced hydration and air pockets for root development.
Because the soil inside a raised bed is never stepped on, it remains loose, friable, and well-aerated throughout the growing season.
Soil structure is another critical advantage. In standard ground gardens, gardeners regularly walk between rows to tend crops, pull weeds, and harvest produce. Every step packs soil particles together, eliminating the tiny subterranean channels that roots need to breathe and spread. Raised beds, especially when built to standard widths like four feet, allow you to reach every plant from the outside perimeter without setting foot inside the frame.
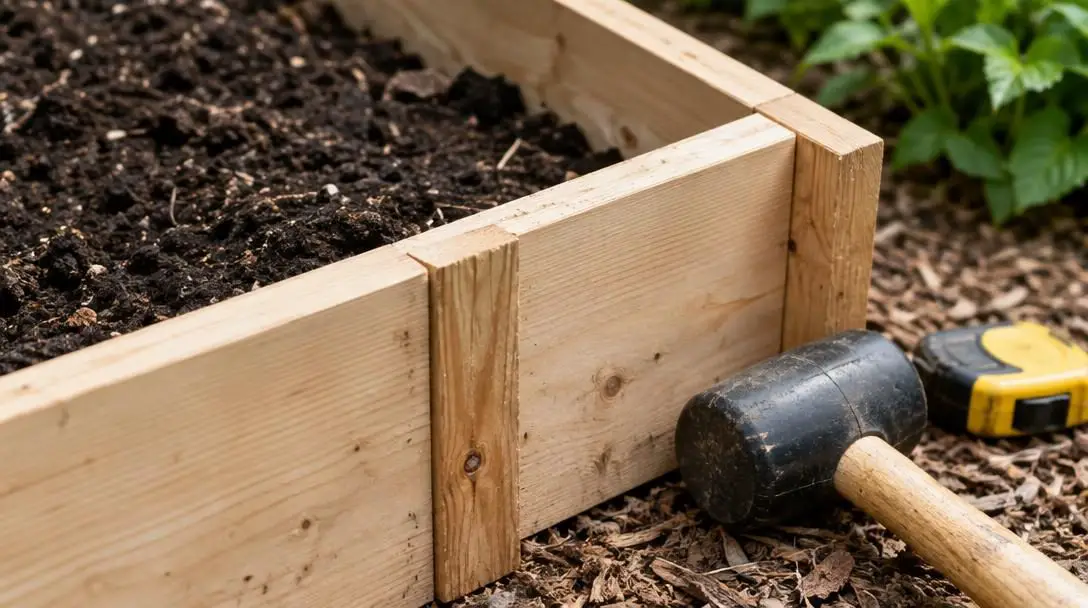
Furthermore, raised beds enhance temperature regulation. Because the planting medium is elevated above the surrounding yard and exposed to ambient air and sunlight along the wooden sidewalls, the soil warms up faster in the spring than the deep, dense ground beneath the lawn. This earlier warming stimulates soil microbes, speeds up seed germination, and gives young seedlings an early start in the growing cycle.
Essential Materials and Tools for Construction
Gathering the proper materials beforehand ensures that the build progresses smoothly and that the bed withstands years of outdoor exposure. Opting for resilient, rot-resistant wood and rust-proof fasteners prevents early structural failure.
| Component or Tool | Recommended Type | Primary Purpose in Build |
|---|---|---|
| Lumber | Cedar or redwood (2x6 or 2x8) | Naturally resists rot and decay without chemical treatments |
| Fasteners | Galvanized screws | Prevents rust and holds corner joints tight under soil pressure |
| Drill and Bits | Standard electric or cordless drill | Pre-drills pilot holes to keep wood from splitting at the corners |
| Level and Tape | Carpentry level and measuring tape | Ensures accurate board cuts and an even, balanced installation |
| Base Layer | Dry straw or fallen leaves | Suppresses weeds and promotes drainage at the base of the frame |
| Growing Medium | Even blend of soil and compost | Supplies root support, moisture retention, and organic nutrients |
Step-by-Step Construction Guide
Building your own raised garden bed is a straightforward project that can be completed with standard tools and basic materials. By following an organized, step-by-step process, you can construct a sturdy bed that provides years of productive growing.
- Choose and evaluate your location: Select a site in your yard that receives at least six hours of direct sunlight each day, which is essential for the healthy growth of most vegetables, herbs, and flowering plants. Ensure the spot has good natural drainage. Avoid low-lying areas or depressions where runoff collects after rainfall, as standing water under the frame can saturate the soil and lead to root rot.
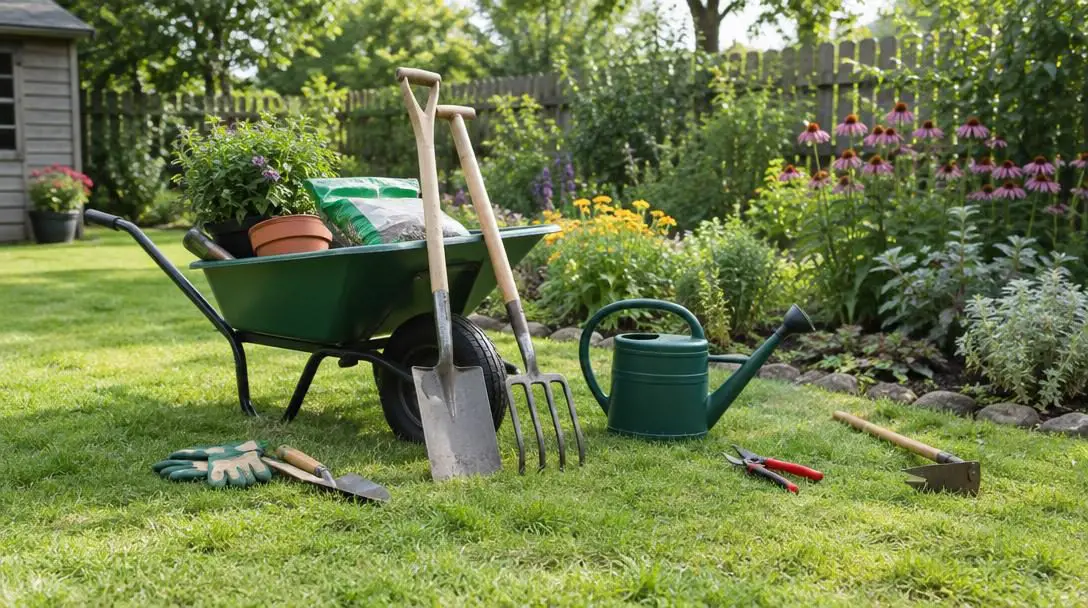
- Clear and prepare the ground: Use a shovel to dig up and remove any turf grass, sod, and established weeds from the selected site. Clearing this surface vegetation ensures hardy lawn grasses do not immediately compete with your new plants. After removing the sod, take a garden fork and press it deep into the exposed native earth, rocking it back and forth to loosen compacted soil. This step improves downward drainage and allows deep-rooting plants to extend beyond the wooden frame if needed.
- Cut your lumber to size: Measure your cedar or redwood boards carefully using your measuring tape. A popular and practical size is 4 feet wide by 8 feet long, though you can adjust the dimensions to suit your available yard space. Use a circular saw or hand saw to make clean, square cuts across the 2x6 or 2x8 boards.
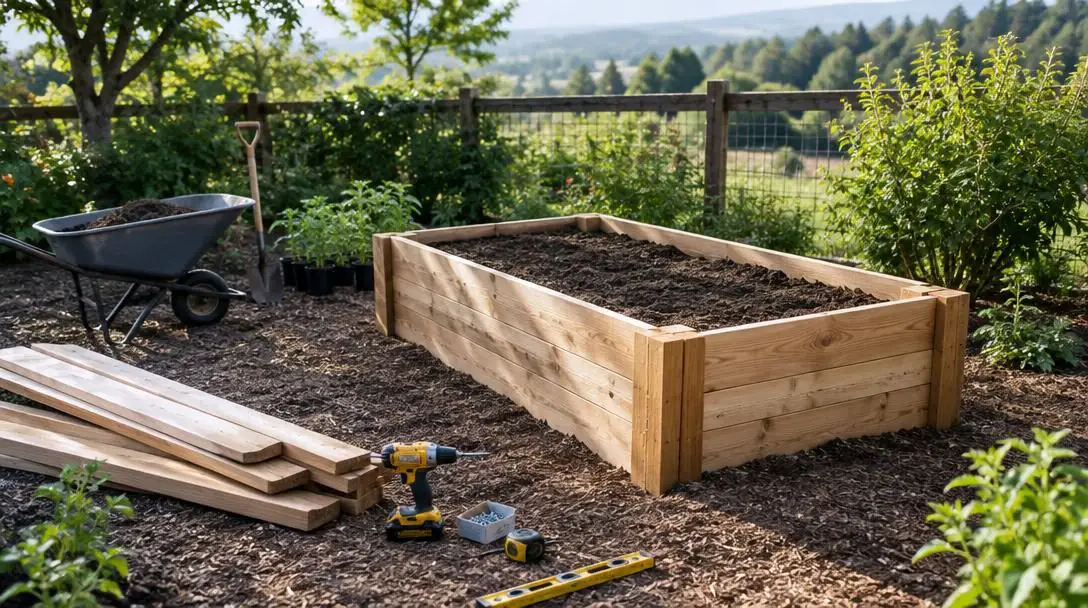
- Assemble the frame: Stand your cut boards on edge to create your rectangular or square perimeter. Align the corners so the ends meet squarely. Before driving any fasteners, use your drill to pre-drill pilot holes through the outer face of one board into the end of the adjoining board. Secure the corners firmly using galvanized screws, which resist rust and corrosion caused by outdoor moisture.
- Position and level the bed: Place the assembled frame directly over the cleared and loosened ground. Place your level across the top edges of the boards, checking both from side to side and from front to back. If the frame is uneven, use your shovel to shave away soil on the high side or backfill shallow spots until the frame rests completely level. A level frame prevents irrigation water from flowing to one side and creating uneven moisture zones.
- Create the base layer: Before adding your main growing medium, spread an even bottom layer of straw or leaves inside the frame. This organic base aids in water drainage and creates a physical barrier that helps suppress persistent weeds trying to push up from the subsoil.
- Fill the bed with soil and compost: Fill the interior of the frame with a balanced mixture of quality soil and compost. The compost supplies rich organic nutrients and aids moisture retention, while the soil provides structural anchoring for developing plant roots. Fill the bed until the material sits within a few inches of the top edge of the boards, leaving enough headroom so water and mulch do not spill over the sides during watering.
- Select your plants: Choose what you want to grow based on the amount of light your chosen site receives and your personal preferences. Raised beds accommodate a wide variety of crops, including warm-season vegetables, culinary herbs, and ornamental flowers.
- Plant seeds or seedlings: Consult the instructions on your seed packets or nursery plant tags to determine correct planting depths and spacing. Carefully dig small holes, set your seeds or seedlings into the soil, backfill gently, and give the entire bed a thorough, gentle watering to settle the soil around the roots.
- Maintain and support the bed: Water your plants on a regular basis, paying close attention to the moisture levels of the loose soil blend. Fertilize your plants as needed by applying liquid fertilizer or by incorporating fresh compost into the soil surface. Monitor the bed for weed seeds that blow in and remove pests promptly. If you are growing tall or top-heavy plants, install stakes or supports to keep them upright as they mature.
Common Pitfalls and How to Avoid Them
While the construction process is simple, certain oversights can compromise the longevity of your bed or hinder plant development. Being aware of these common mistakes will save you time and effort.
- Using non-durable building lumber: Selecting inexpensive scrap wood or untreated pine often leads to rapid decay. Because garden beds remain in continuous contact with wet earth and weather, choosing naturally rot-resistant cedar or redwood is critical for long-term durability.
- Installing on an unlevel surface: Failing to use a level during installation leads to chronic moisture imbalances. In a tilted bed, water runs down to the lowest corner, creating a waterlogged zone that suffocates roots while leaving the higher side dry.
- Neglecting sunlight requirements: Locating a bed in heavy shade or under tree canopies prevents sun-loving vegetables from performing well. Plants placed in areas with fewer than six hours of sunlight often grow weak, leggy, and unproductive.
- Compacting the soil mix: Tamping or pressing down the soil mixture during the filling stage ruins the light, aerated soil structure that raised beds are meant to provide. Soil should always settle naturally through gentle watering rather than mechanical force.
- Omitting the bottom barrier: Skipping the base layer of straw or leaves leaves the bottom of the bed unprotected, allowing hardy lawn grasses and deep-rooted weeds to emerge through your pristine soil blend.
Ongoing Care and Future Garden Expansion
Once your raised bed is assembled, filled, and planted, you can turn your attention to maintaining the bed through its initial season and planning for the long-term development of your outdoor space.
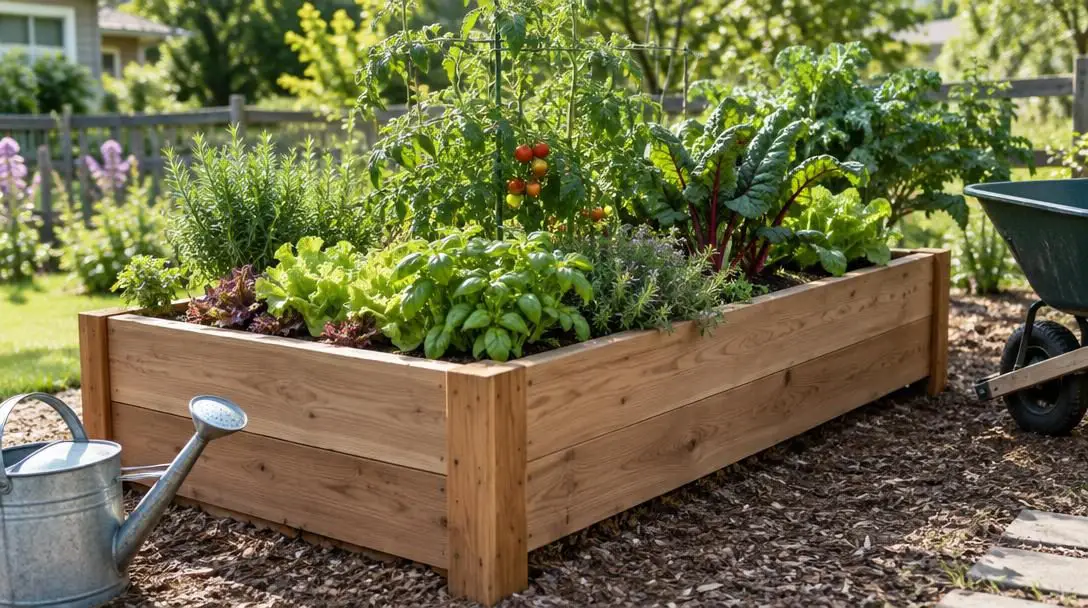
In the weeks following installation, keep an eye on how your soil settles. It is entirely normal for the soil and compost mixture to sink slightly as water works out air pockets and the bottom layer of straw or leaves begins to compress under the weight. You may need to add an extra layer of compost to bring the soil back up to the desired level, a few inches below the rim. Keeping extra compost on hand is a good habit for topping off the bed at the beginning of each planting cycle.
Water management also requires periodic adjustment. Because raised beds drain so efficiently and warm up quickly in the sun, the soil can dry out faster than the surrounding lawn during intense summer heat. Check soil moisture by feeling an inch or two beneath the surface. Providing consistent watering, alongside periodic applications of liquid fertilizer or compost dressings, keeps plants vigorous through the warmest parts of the year.
Finally, consider how your initial bed fits into a broader garden layout. A single four-foot by eight-foot frame is often just the beginning. Many gardeners find that maintaining one bed gives them the confidence to add a second or third frame nearby. Adding frames allows you to expand your crop variety, separate perennial herbs from annual vegetables, or set up crop rotation routines to keep the soil healthy over time.
Frequently asked questions
How much sunlight does a raised garden bed require?
A raised garden bed should be located where it receives at least six hours of direct sunlight each day. This amount of light is necessary for most common vegetables, culinary herbs, and flowering plants to produce vigorous growth and good yields.
Why are cedar and redwood preferred for building raised beds?
Cedar and redwood are naturally resistant to moisture, rot, and decay without the need for chemical preservatives. Using these durable woods ensures the frame withstands continuous contact with wet soil and outdoor elements for many years.
What should be placed at the bottom of the bed before adding soil?
A base layer of dry straw or fallen leaves should be spread across the bottom. This organic layer serves two purposes: it promotes healthy drainage beneath the soil and acts as a barrier that prevents aggressive yard weeds from growing up into the bed.
Why is it critical to ensure the wooden frame is level?
If the bed rests on an uneven tilt, water will naturally flow toward the lower end, saturating the plants there and causing potential root rot while leaving the plants at the higher end dry. A level frame guarantees even water distribution.
How do you fix soil that has settled below the desired height?
Soil naturally settles as water removes air pockets and organic materials compress. When this happens, simply top off the bed with an extra layer of compost until the growing medium reaches within a few inches of the top edge of the frame.
The Bottom Line
Constructing a raised garden bed is one of the most effective and rewarding improvements you can make to your yard. By isolating your crops from compacted, poorly draining native ground, you gain full control over soil fertility, moisture management, and plant spacing. With rot-resistant lumber, basic fasteners, and an organic layering strategy, you create an ideal growing environment that minimizes physical strain and maximizes garden productivity year after year.