How to Cook Perfectly Roasted Chicken Every Time
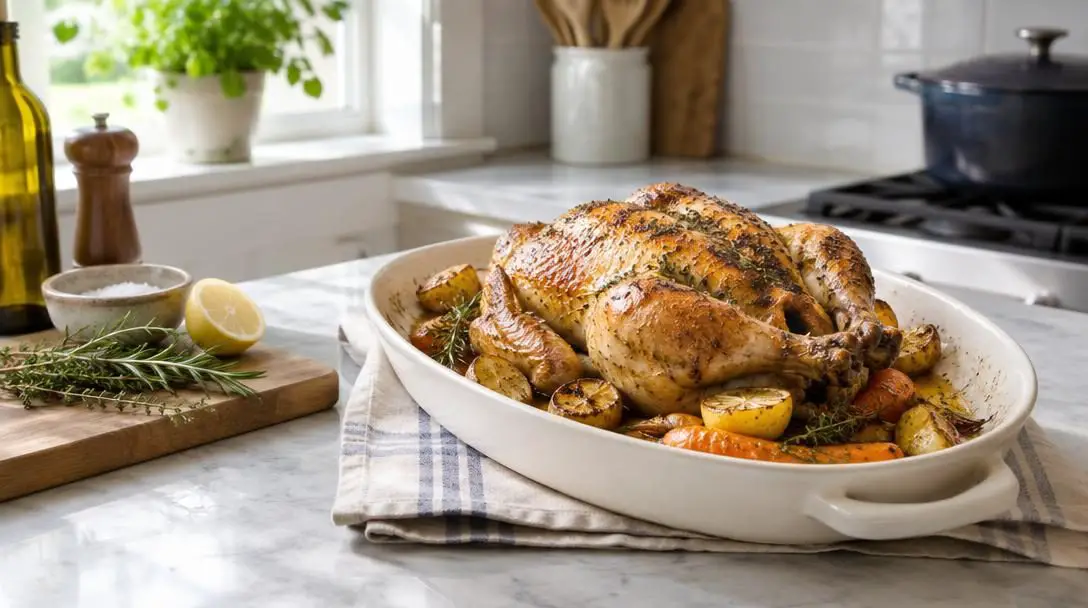
Roasting a whole chicken is widely regarded as one of the fundamental benchmarks of home cooking. It represents an enduring centerpiece meal that transitions effortlessly from a casual weeknight family dinner to an elegant weekend gathering. The sight of a whole bird resting in a roasting pan, surrounded by fragrant steam and coated in a golden finish, has sustained culinary traditions across many cultures for generations.
Despite its classic reputation, home cooks frequently feel intimidated by the prospect of preparing an entire bird. Because poultry consists of different types of meat—delicate white breast meat alongside richer, denser dark leg and thigh meat—cooking the entire bird evenly in a single cooking environment presents real challenges. Learning the balance between managing moisture, applying high convective heat, and pacing cooking time transforms an unpredictable kitchen project into a reliable, low-stress method for producing tender meat and crisp skin on demand.
Key takeaways
- High convective heat at 425°F (220°C) triggers essential surface browning while rendering subcutaneous fat to fry the skin.
- Eliminating surface moisture with paper towels prevents steam from acting as an insulating barrier against crisping.
- Trussing the legs and tucking the wingtips ensures uniform cooking and protects delicate white meat from drying out prematurely.
- Verifying that internal temperatures reach 165°F (75°C) in the thickest muscle tissue guarantees food safety and optimal juiciness.
The Culinary Science of Heat, Moisture, and Crisp Skin
Roasting relies on dry, ambient convective heat inside an enclosed oven to cook food thoroughly while simultaneously evaporating surface moisture. In poultry preparation, the cook must satisfy two opposing thermal objectives: bringing interior muscle proteins to safe, palatable tenderness while rapidly driving water away from the exterior so the skin can brown and crisp.
A primary driver of this culinary transformation is the browning reaction that occurs between amino acids and reducing sugars when exposed to intense heat. When an oven is preheated to 425°F (220°C), this high temperature quickly draws out residual surface moisture and initiates the chemical reaction that yields deep flavor and color. If surface water remains trapped on the skin, the oven heat expends its thermal energy converting that water into steam rather than crisping the exterior tissue. Steam acts as a physical insulator against browning, leaving the poultry skin pale, limp, and rubbery.
Fat plays an equally vital role in roasting success. Applying melted butter or cooking oil acts as a conductive medium, transferring the dry heat of the oven evenly across the uneven contours of the chicken. As roasting progresses, subcutaneous fat deposits render downward. This process effectively fries the outer skin from the inside out while continually basting the lean breast meat underneath.
When surface water remains trapped on the skin, the oven expends its energy generating steam rather than creating a crisp, golden crust.
Airflow manipulation also dictates the rate of heat absorption. By trussing the bird—pulling the legs tightly together and securing the wingtips underneath the torso—you eliminate thin, protruding extremities that would otherwise cook far too quickly and scorch before the thickest portions of dark meat reach safe internal temperatures.
Selecting the Best Poultry at the Meat Counter
Achieving an exceptional roasted chicken starts well before turning on the oven. The physical quality, moisture content, and handling of the raw poultry establish the ceiling for finished flavor and texture. Paying attention to specific physical cues at the meat counter ensures a superior foundation for the meal.
- Plump and rounded silhouette: Look for a bird with a well-developed, symmetrical breast. Avoid packages that appear deflated or show excessive liquid pooling in the bottom of the tray, which suggests cellular breakdown or prolonged storage.
- Firm muscle texture: The raw flesh should feel resilient and firm when pressed lightly through packaging, indicating healthy moisture retention rather than mushiness.
- Unblemished skin condition: Inspect the outer surface to confirm the skin is smooth, intact, and free from tears, bruising, or gray discoloration.
- Rearing method: When possible, opt for a free-range or organic bird. These chickens typically offer superior flavor and firmer, more pleasing muscle texture compared to conventionally raised alternatives.
Step-by-Step Practical Preparation and Roasting Method
Following an organized sequence guarantees that no critical step is overlooked. From initial preparation to the carving board, every action contributes directly to texture, moisture retention, and food safety.
- Prep the raw bird: Reach inside the main cavity to remove the giblets and pull away any noticeable chunks of excess fat around the tail opening. Rinse the bird under cold water, taking care to minimize splashing around your sink, and immediately dry every surface thoroughly with paper towels.
- Truss and secure: Position the chicken breast-side up on a clean cutting board. Tuck the tips of the wings neatly underneath the upper body so they do not scorch under high heat. Use clean kitchen twine to tie the ends of the drumsticks tightly together, creating a compact, uniform shape.
- Season generously: Distribute seasonings over every surface. Rub seasoning across the outer skin, gently separate the skin over the breast to work seasonings directly onto the raw meat, and sprinkle an ample amount into the internal cavity.
- Add cavity aromatics: Tuck fresh aromatics—such as crushed garlic cloves, leafy herbs, and halved lemons—firmly into the seasoned cavity to release fragrant steam from the interior as the meat cooks.
- Apply the fat layer: Lightly coat the entire exterior of the bird with melted butter or oil. This conductive barrier locks in surface seasoning and primes the skin for browning.
- Position in the cooking vessel: Place the trussed chicken into a sturdy roasting pan or a heavy cast-iron skillet, ideally resting the bird on an elevated wire rack to lift it above pooling drippings.
- Roast at high heat: Slide the pan into an oven preheated to 425°F (220°C). Roast based on a guideline of 15 minutes per pound.
- Baste periodically: Open the oven roughly every 20 minutes to spoon or brush rendered pan juices over the top of the chicken, conditioning the skin and promoting even coloration.
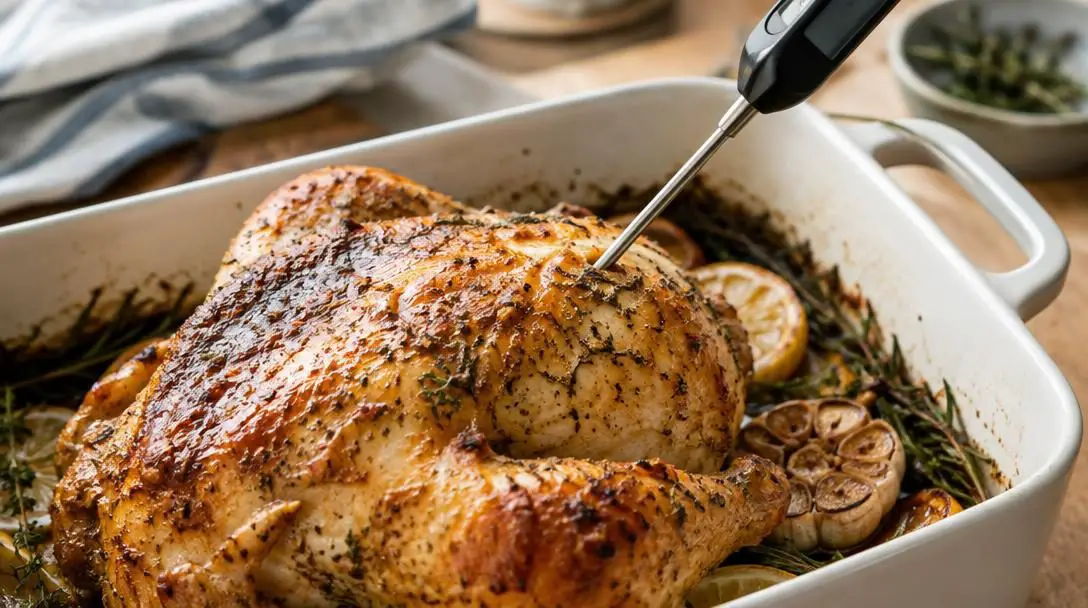
- Verify internal heat: When the calculated roasting time nears completion, insert a meat thermometer into the thickest part of the chicken without touching bone. Confirm that the internal temperature registers a solid 165°F (75°C).
- Rest the meat: Remove the pan from the oven and set it aside in a draft-free space. Let the chicken rest undisturbed for at least 10 minutes to allow muscle fibers to relax and retain moisture.
- Carve for presentation: Using a sharp carving knife, sever the skin along the hip joints to slice cleanly through the connecting cartilage between the legs and thighs. Next, trace the blade along the breastbone to free the breasts from the carcass, and sever the wings cleanly at the shoulder joints.
Techniques for Maximizing Skin Crispness
The texture of the outer skin often determines the overall success of a roast chicken. Tender, flavorful meat paired with limp or rubbery skin feels incomplete. Achieving crisp skin requires deliberate pan management and strict control over moisture.
The first critical technique is aggressive surface drying. Paper towels must be pressed firmly against the raw chicken until the paper comes away completely dry. Once dried, brushing the skin with melted butter or cooking oil supplies the direct surface fat required to fry the outer layer under convective heat.
Pan management is equally decisive. When a whole chicken rests directly on the bottom of a roasting vessel, the lower halves of the thighs and back sit submerged in rendered fat and escaping juices. Resting the bird on an elevated wire roasting rack within the pan allows dry, circulating air to pass beneath the chicken, preventing moisture pooling and ensuring crispness on all sides.
Evaluating Roasting Vessels and Equipment
Selecting the proper vessel directly affects airflow, heat distribution, and fat drainage during high-heat cooking.
| Cooking Vessel | Elevation Capability | Heat Retention | Primary Advantage |
|---|---|---|---|
| Roasting pan with wire rack | High (elevates above juices) | Moderate | Maximum airflow around the bottom prevents soggy skin |
| Heavy cast-iron skillet | Low (sits on vessel floor) | Exceptional | Deep radiant heat crisps dark meat and pan drippings rapidly |
| Standard flat baking pan | None (without rack) | Low to moderate | Shallow walls allow convective air to circulate over the top |
Diagnosing and Fixing Common Roasting Errors
Even with careful preparation, variations in oven heat patterns and bird sizes can cause unexpected issues. Applying targeted solutions quickly corrects these problems before they compromise the meal.
Overcooking and Dry Breast Meat
Leaving poultry in the oven past the target cooking time rapidly draws out essential moisture, leaving the delicate breast meat dry and stringy. To eliminate guesswork, rely exclusively on an accurate meat thermometer inserted into the thickest area of the meat. As soon as the gauge indicates 165°F (75°C), immediately pull the chicken from the oven and move it to a carving board to halt cooking.
Undercooking Near the Bone
If you slice into the chicken and observe signs that the inner meat or joint tissue remains undercooked, return the bird to the hot oven right away. Continue checking the internal temperature every 5 to 10 minutes until the thickest portions register a uniform 165°F (75°C).
Uneven Cooking Across Different Parts
Because lean white breast meat cooks faster than dense dark leg and thigh meat, inconsistent heat distribution can dry out the breasts before the thighs finish. Ensure the bird is properly trussed to draw the limbs inward toward the torso, baste regularly with pan juices throughout roasting, and utilize an elevated roasting rack to circulate heat around the sides and bottom of the chicken.
Skin Burning Before the Interior Cooks
Roasting at 425°F (220°C) provides excellent skin crispness, but spice rubs with higher sugar contents or ovens with strong radiant top elements can cause the skin to darken too quickly. If the skin achieves your desired golden shade well before the internal thermometer reaches 165°F (75°C), tent the top loosely with foil to deflect radiant heat while the interior finishes cooking.
Planning the Meal: Side Dishes and Flavor Variations
A well-prepared roast chicken pairs naturally with a broad range of textures and accompaniments, making side dish selection an easy way to customize the meal for any occasion.
- Creamy mashed potatoes: Provide a smooth, comforting counterpoint to the roasted meat and act as an ideal vessel for rendered pan drippings.
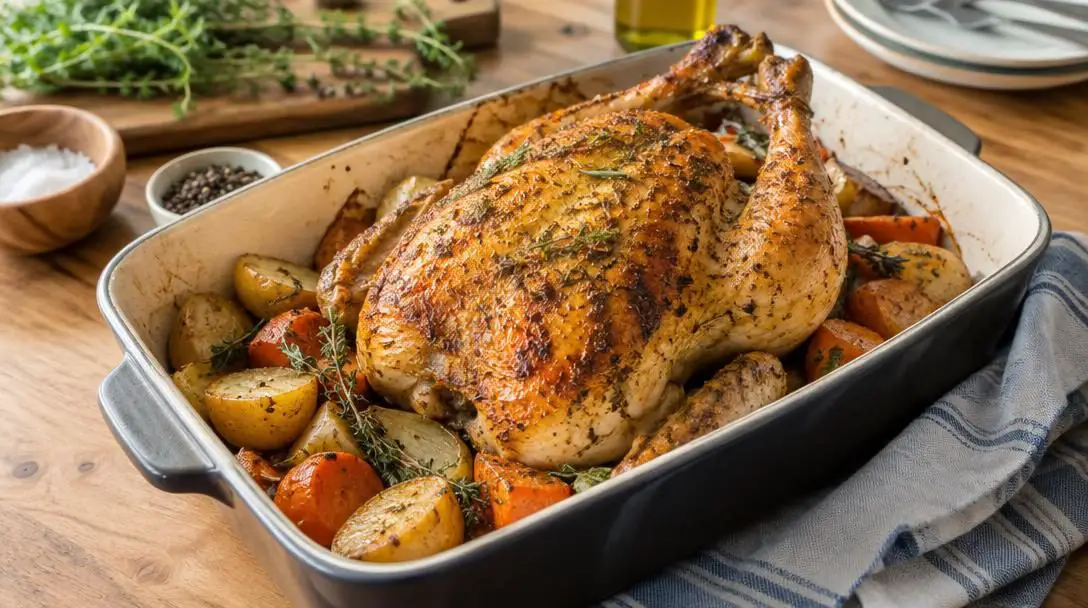
- Roasted seasonal vegetables: Dense root crops and alliums—such as carrots, small potatoes, and quartered onions—can be roasted alongside the bird or on a separate sheet pan to absorb savory rendered fat as they soften.
- Crisp green salad: Tossed with a bright, acidic dressing, fresh greens cut through the rich poultry skin and seasoned meat.
Once you are comfortable with basic roasting, consider exploring variations on cavity fillings and seasoning profiles. Shifting from classic garlic and mixed garden herbs to warm spice rubs, citrus blends, or specialized dry rubs allows you to repurpose the same fundamental roasting technique into an entirely new culinary presentation every time you cook.
Frequently asked questions
Why must a roast chicken rest for 10 minutes before carving?
Resting the chicken undisturbed for at least 10 minutes in a draft-free space allows the contracted muscle fibers to relax. This pause lets moisture redistribute evenly throughout the meat rather than spilling out onto the cutting board upon carving.
How do I know the chicken is completely cooked without overcooking it?
Insert a reliable meat thermometer into the thickest part of the meat without making contact with the bone. The chicken is safe and ready to remove from the oven the moment the reading registers 165°F (75°C).
Is trussing with kitchen twine truly necessary?
Yes. Trussing draws the drumsticks and thighs tightly against the breast and secures the wingtips underneath the body. This creates a uniform shape that prevents thin protruding sections from drying out before the interior dark meat finishes cooking.
What is the best oven temperature and timing formula for a whole bird?
Roast the chicken in an oven preheated to 425°F (220°C). Use a timing guideline of approximately 15 minutes per pound, basting roughly every 20 minutes with rendered pan drippings until internal temperature checks reach 165°F (75°C).
Can I roast a chicken without a specialized wire rack?
Yes. While a rack promotes maximum 360-degree airflow to crisp the underside, a heavy cast-iron skillet or sturdy roasting pan works effectively. However, the skin touching the bottom of the pan may turn out softer due to pooling juices.
The bottom line
Mastering whole roasted chicken does not require specialized culinary equipment or complex kitchen maneuvers. By managing surface moisture with paper towels, compacting the bird through proper trussing, and maintaining steady convective heat at 425°F (220°C), home cooks can consistently balance tender white meat, rich dark meat, and crisp golden skin. Relying on an internal temperature of 165°F (75°C) and honoring the mandatory 10-minute rest ensures that every roast bird emerges safe, juicy, and ready to carve.