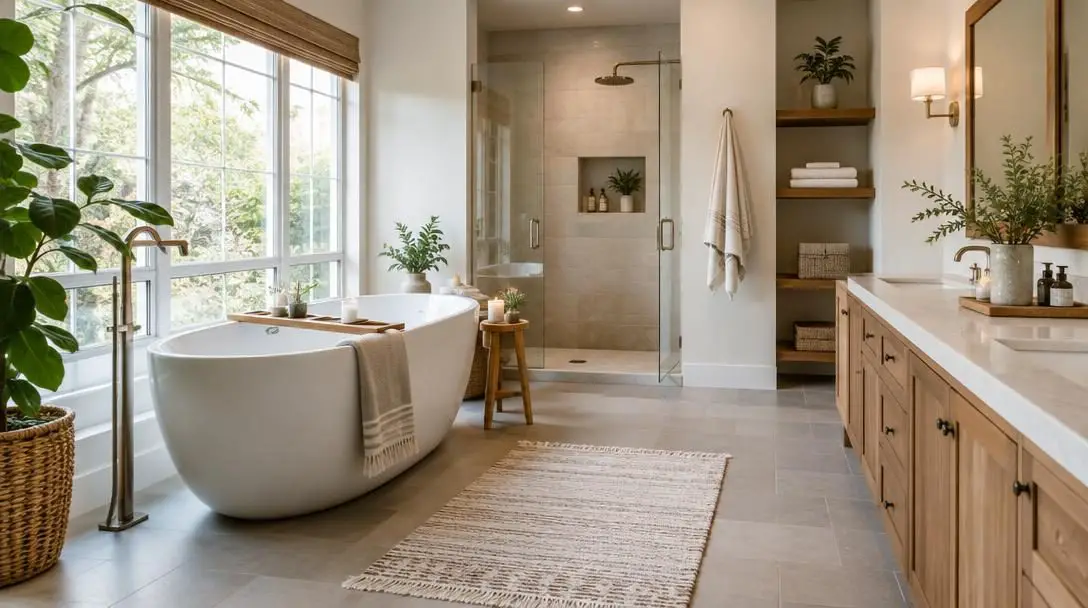
Personalizing Your Home with Wall Murals and Artwork: 5 Things To Know Before You Start
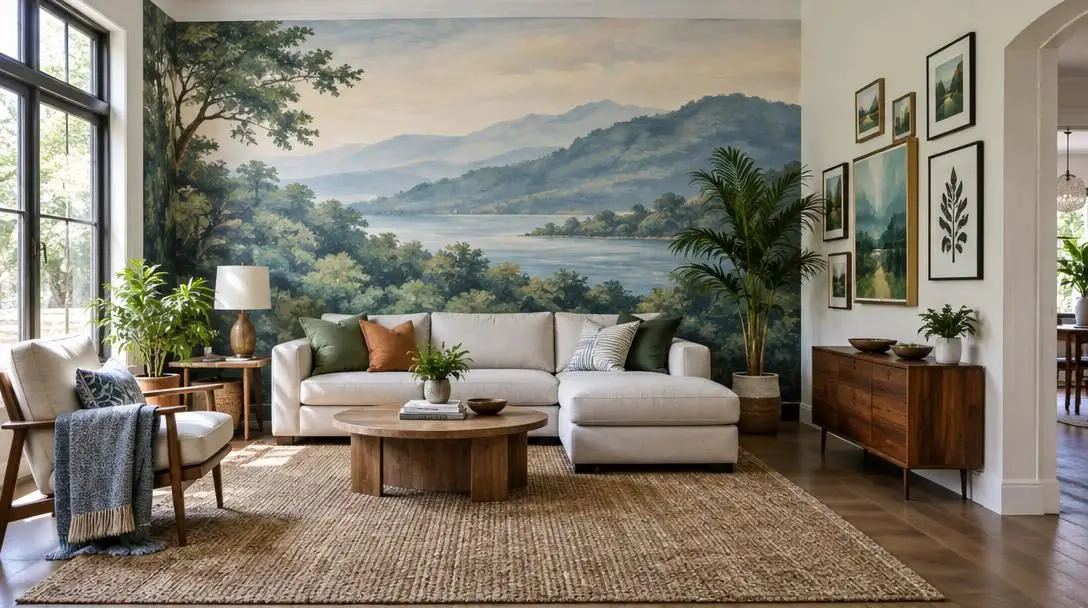
Transforming an interior space often begins with the expansive surfaces that surround us every day. While standard paint colors can shift the mood of a room, wall murals and oversized artwork introduce depth, visual storytelling, and an unmistakable sense of identity to residential living areas. Throughout design history, murals have evolved from classical hand-painted frescoes and architectural scenes into mass-produced wallcoverings, framed fine art, and contemporary peel-and-stick vinyl applications. Today, homeowners enjoy unprecedented access to an extensive variety of artistic media, ranging from custom hand-painted commissions to modular printed panels and removable wallpaper.
However, treating a large-scale visual installation as an impulse purchase often leads to design fatigue, wasted money, or lasting damage to your drywall. Large art installations command immediate attention and interact directly with a room's physical environment, including its lighting, temperature, and humidity. By understanding how artwork functions within an interior and taking practical precautions before you buy, you can select and install pieces that enrich your household for years to come.
Key takeaways
- Large-scale art and murals establish the primary visual focal point of a room, guiding the color palette and anchoring nearby furniture.
- Accurate wall measurements must always be verified against the physical dimensions of delivered panels to prevent seam misalignments and awkward trims.
- Balancing deeply personal or trendy imagery with timeless elements prevents visual fatigue and extends the lifespan of your decor.
- Budgeting for ongoing maintenance, sunlight protection, and potential professional installation saves significant time and prevents costly material loss.
How Wall Murals and Statement Art Anchor an Interior
Wall murals and large art pieces operate on fundamental principles of visual weight and architectural integration. Unlike smaller picture frames grouped into gallery walls, an oversized statement piece or wall-spanning mural immediately captures the eye. It dictates where attention flows, anchors the surrounding furniture arrangements, and defines the tonal balance of rugs, drapery, and accent lighting. Because of this commanding presence, any flaw in scale, proportion, or alignment becomes readily apparent.
Beyond aesthetics, murals interact directly with the physical infrastructure of your home. Wall coverings generally fall into three common categories: painted artwork applied straight onto drywall or plaster, standard wallpaper panels hung using adhesive paste, and self-adhesive peel-and-stick vinyl sheets. Each material responds differently to ambient indoor conditions. Traditional paste-the-wall wallpaper relies on wet paste penetrating the backing to create a durable, semi-permanent bond with primed drywall. In contrast, adhesive stickers rely on pressure-sensitive adhesives that grip flat, non-porous surfaces but can lift or bubble on textured walls and in humid environments.
| Format | Adhesion Method | Surface Requirement | Primary Advantage |
|---|---|---|---|
| Direct Painted Drywall | Direct pigment absorption onto cured primer | Smooth, dry, repaired plaster or drywall | Completely customized; no panel seams or peeling edges |
| Traditional Paste Wallpaper | Water-based or premixed commercial paste | Primed, flat, non-chalky wall surface | Long-lasting structural bond with seamless panel joints |
| Peel-and-Stick Adhesive Vinyl | Pressure-sensitive adhesive backing | Completely smooth, fully cured gloss or satin paint | Straightforward, removable application ideal for flexible decor |
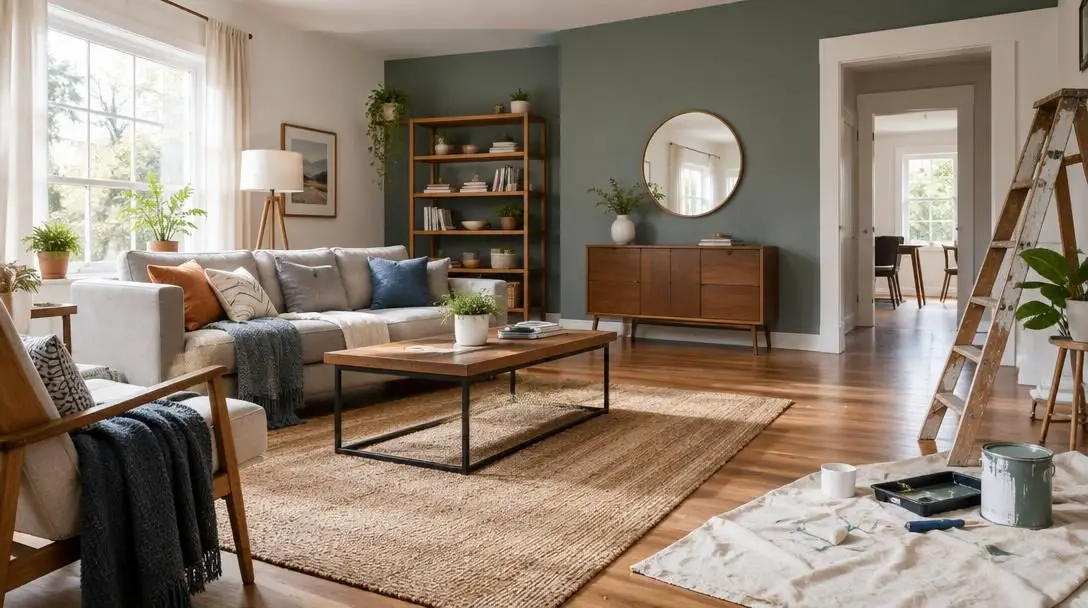
A mural or oversized statement piece acts as the primary anchor of an entire room, setting the tone for every surrounding piece of furniture and fixture.
Five Essential Things to Know Before You Start
Before ordering rolls of paper, scheduling a commissioned artist, or driving nails into your walls, evaluate five fundamental factors to ensure your project proceeds smoothly and delivers lasting visual satisfaction.
1. Plan Ahead
Embarking on a major decorative project without a comprehensive plan frequently leads to mismatched aesthetics, clashing undertones, or severe buyer's remorse. First, assess the exact square footage and proportions of the area you intend to cover. An undersized art piece placed on an expansive double-height wall appears marooned and insubstantial, whereas a massive, dark design shoehorned into a narrow corridor can make the space feel cramped and claustrophobic.
Carefully choose the artistic genre that aligns with the intended function of the room:
- Figurative pieces: Landscape scenes, architectural renderings, and lush botanical illustrations introduce depth, creating the convincing illusion of an open window into another world.
- Abstract art: Compositions focusing on color interaction, texture, and organic shapes offer maximum styling versatility, making them easy to adapt as surrounding furniture changes.
- Graphic and geometric patterns: Structured lines, repeating motifs, and symmetrical arrangements bring dynamic rhythm to functional areas such as dining rooms, foyers, and home offices.
Planning ahead also involves researching the full financial picture. Specialized vinyls, non-woven textured papers, and custom hand-painted commissions carry dramatically different prices. Evaluating materials and associated costs beforehand ensures your project aligns comfortably with your budget.
2. Measure Twice
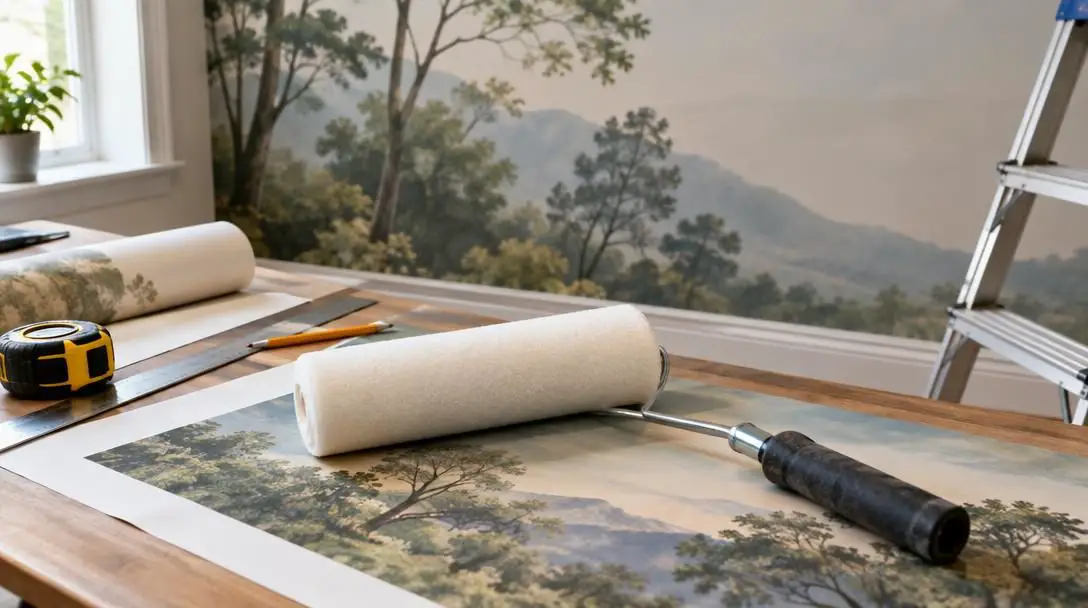
Precision is vital when executing large-scale wall projects. Measure your wall height and width at multiple intervals before drilling holes, trimming material, or spreading paste. Residential rooms are almost never perfectly square; baseboards, crown moldings, floors, and ceilings routinely shift by fractions of an inch across a single horizontal run. Taking multiple vertical and horizontal measurements ensures you capture the true maximum dimensions of the space.
If you are installing prefabricated panels or wallpaper stickers rather than painting directly onto the surface, carry out an essential extra step: double-check the delivered product dimensions against your wall measurements before opening paste or peeling backing paper. Manufacturing tolerances can result in minor discrepancies between listed dimensions and the actual physical product. Identifying a size shortfall before installation prevents unsightly gaps, distorted patterns, and awkward edge trims.
3. Personalize Carefully
Displaying elements that reflect personal milestones, family memories, or specific eras brings warmth and character into a home. Nevertheless, deliberate restraint is essential when committing these themes to large-scale installations. Consider the projected longevity of the installation. Aesthetic trends shift rapidly, and an ultra-niche design motif or hyper-specific pop-culture theme that feels exciting today may become visually exhausting after years of daily exposure.
Ask yourself whether a design possesses enduring emotional and aesthetic value or whether it serves as a temporary novelty. If your tastes change frequently, lean toward classic compositions, nature-inspired motifs, or easily removable materials. Pairing deeply personal touches with balanced, timeless room foundations keeps your home visually appealing over the long haul.
4. Use Professional Services
While handling the project yourself can seem like an easy way to save money, certain installations benefit immensely from experienced craftsmanship. In many instances, hiring a licensed wallpaper hanger or certified art installer saves both time and money by executing the job correctly on the first attempt without ruined materials.
Professional installers possess the specialized tools and tactile experience required to navigate difficult hurdles. They manage tricky architectural obstructions such as windows, soffits, and electrical switches, ensuring pattern repeats line up seamlessly without air bubbles, creased vinyl, or adhesive staining. For high-value art prints, fragile hand-printed papers, or ceiling applications, hiring professional support protects your investment against accidental tears and improper installation.
5. Think Through Maintenance and Repair
Wall installations are subjected to continuous wear from their surrounding environment. Natural elements—particularly prolonged exposure to direct sunlight—gradually fade pigments and degrade paper fibers. Daily indoor living also takes a toll; scuffs, scratches, accidental punctures, and handprints are common occurrences, particularly in households with young children or pets.

Before purchasing, determine what ongoing maintenance the material demands. Some washable vinyl surfaces tolerate gentle wiping with a damp microfiber cloth, whereas delicate grasscloth, uncoated papers, and matte canvas prints can be permanently damaged by water contact. Factor potential maintenance, cleaning products, and future panel replacements into your initial budget to avoid unpleasant surprises down the road.
Step-by-Step Installation Guide
A systematic, methodical workflow protects your wall surfaces and ensures clean alignment across every panel or frame. Follow these essential steps for a successful installation:
- Assess the Wall Condition: Inspect your wall surface for cracks, structural dampness, and surface texture. Fill any indentations with spackle, sand down rough patches, and thoroughly wash away dust, grease, and residue. Ensure the surface is completely dry and primed before proceeding.
- Gather the Proper Tools: Assemble your equipment in advance. Standard necessities include a steel tape measure, a sharp utility knife with extra snap-off blades, a long level or laser level, a smoothing squeegee, clean drop cloths, a seam roller, clean microfiber sponges, and the manufacturer-approved adhesive.
- Create Alignment Marks: Never rely on room corners or door frames as straight reference lines. Use a level and pencil to draw a crisp, plumb vertical line down the wall where your first panel will sit. This initial guide guarantees that the starting panel hangs true, preventing the design from tilting across the wall.
- Dry-Fit the Art or Panels: Clear a clean floor area and lay out your mural panels or multi-frame artwork in full sequence. Check panel overlaps, inspect the continuity of the pattern, and look for any manufacturer print flaws before any adhesive touches the wall.
- Execute the Application: Mount panels smoothly from top to bottom, smoothing outward from the center with a squeegee to displace trapped air pockets. Clean away any wet adhesive that squeezes out of seams immediately using a lightly damp, non-abrasive sponge.
- Trim with Care: Allow wet wallpaper or vinyl to settle as recommended by the manufacturer before trimming borders. Always use a brand-new, razor-sharp blade held at a low angle against a metal straightedge to prevent tearing damp paper around baseboards and outlets.
Common Mistakes to Avoid
Steering clear of standard installation errors preserves both your financial investment and the appearance of your room:
- Ignoring ambient and natural lighting: Mounting delicate art across from an unshaded south-facing window causes rapid UV fading. Additionally, raking artificial light across glossy finishes can produce harsh glare that obscures the artwork.
- Underestimating installation time: Rushing through panel smoothing or pattern matching causes crooked seams, stretched vinyl, and permanent wrinkles. Allocate plenty of time to work methodically.
- Skipping surface priming: Applying paste or adhesive backing over fresh, unprimed, or chalky drywall frequently causes adhesive failure. Fresh paint needs several weeks to cure completely before receiving peel-and-stick murals.
- Disregarding room scale: Placing micro-scale patterns inside cavernous rooms makes the surface appear busy and visually noisy, whereas placing a massive, singular graphic in a cramped entryway destroys visual perspective.
- Discarding excess cutoffs: Keep clean scraps, leftover roll pieces, and color swatches. They provide an exact match for patch repairs if the wall is gouged later, and they help you color-match paints for future decor updates.
Harmonizing Your New Art With the Surrounding Space
Once your mural or statement art piece is securely in place, take time to evaluate how it interacts with the rest of the room. A vibrant focal wall redistributes the visual balance of the entire interior. You may find that existing furnishings appear cluttered against a dynamic new backdrop, requiring you to edit down tabletop accessories and simplify textile patterns.
Lighting adjustments can elevate the finished installation. Incorporating dedicated picture lights, directional ceiling gimbals, or adjustable floor lamps allows you to highlight the texture and depth of the artwork during evening hours. Finally, balance the visual weight of the room by echoing one or two subtle secondary colors from the mural in your accent pillows, throws, or ceramic decor, creating a cohesive, thoughtfully designed environment.
Frequently asked questions
Can wall murals be installed over textured walls?
Most peel-and-stick and traditional wallpapers require a smooth, flat surface to adhere correctly. Heavy textures like knockdown or orange peel create air pockets that weaken adhesive contact and cause bumps under the paper. Textured walls should be skim-coated with joint compound, sanded smooth, and primed before mural installation.
How long should newly painted drywall cure before applying a mural?
Fresh paint releases gases and moisture as it cures. Even if the surface feels dry to the touch within hours, you should generally wait between two and four weeks before applying peel-and-stick materials or adhesive-backed murals, as outgassing paint can cause adhesive failure and bubbling.
How do I prevent artwork and murals from fading over time?
To minimize fading, keep artwork out of direct, unshaded sunlight. You can also apply UV-filtering window films to room windows, choose archival pigments and UV-resistant inks, or install framed pieces behind conservation-grade glass or acrylic.
Is peel-and-stick wallpaper truly removable without wall damage?
Peel-and-stick wallpaper is designed for clean removal, but success depends on the condition of the wall underneath. If applied to a properly primed, cured, and smooth wall, it pulls away cleanly. If installed over damaged drywall, unprimed plaster, or poorly adhered paint, it can tear the underlying paint layers during removal.
What should I do with leftover scraps after trimming the panels?
Store leftover mural panels and border trimmings flat in a dry space. These spare pieces are essential for patching punctures, repairing torn corners, or bringing to the paint store to mix custom paint colors that complement your installation.
The Bottom Line
Personalizing your home with murals and large-scale artwork is one of the most rewarding ways to revitalize an interior. By taking the time to plan your concept, confirm exact dimensions, balance personal expression with timeless design, and prepare your surfaces properly, you protect your walls while creating an inspiring living space that stands the test of time.