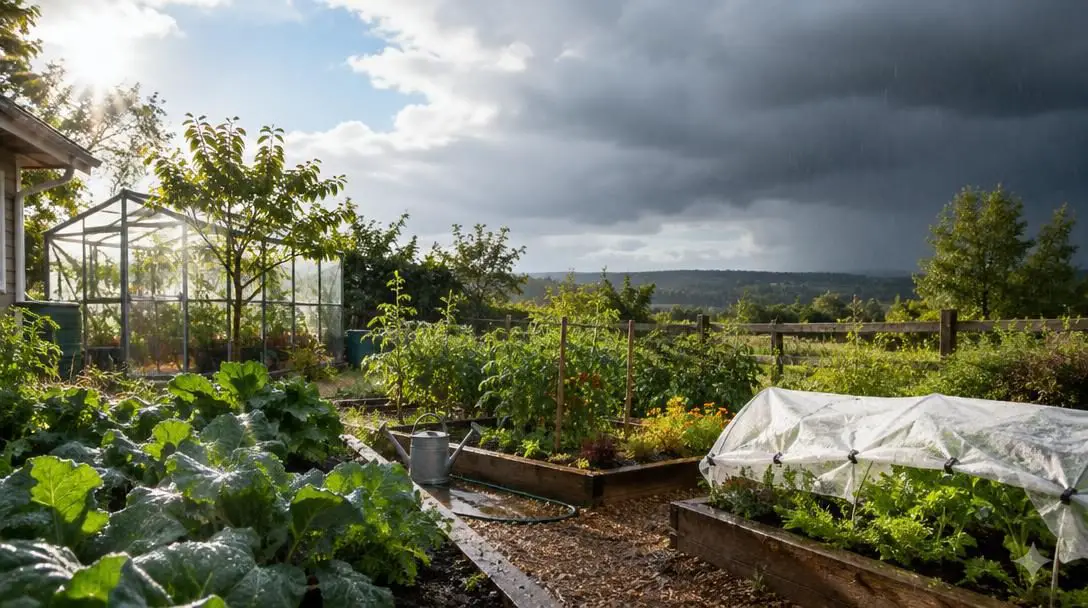
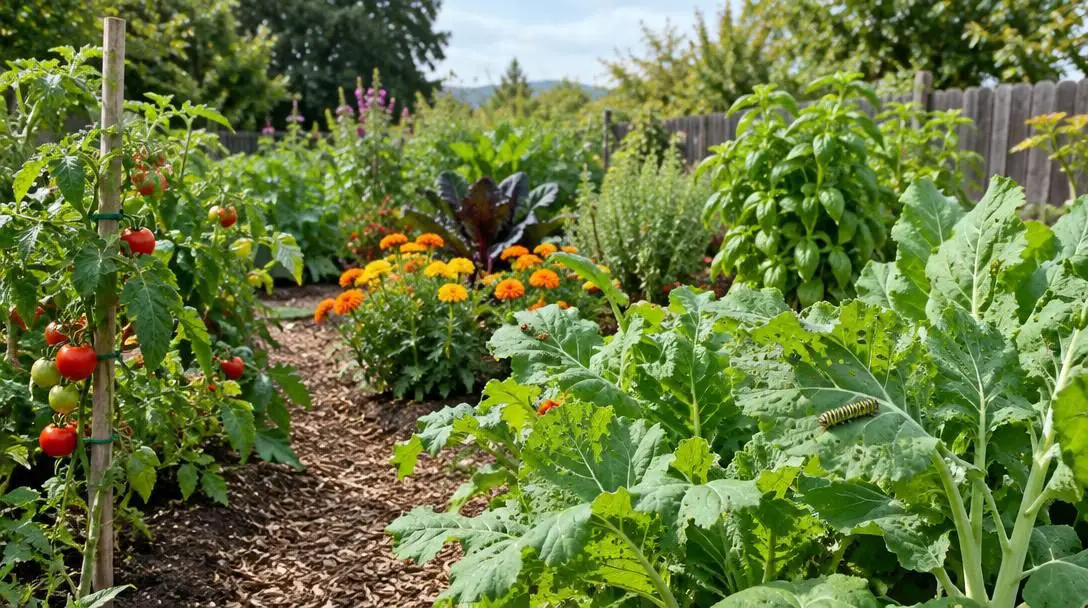
The Benefits of Raised Bed Gardening: A Guide to Healthier Soil and Easier Maintenance
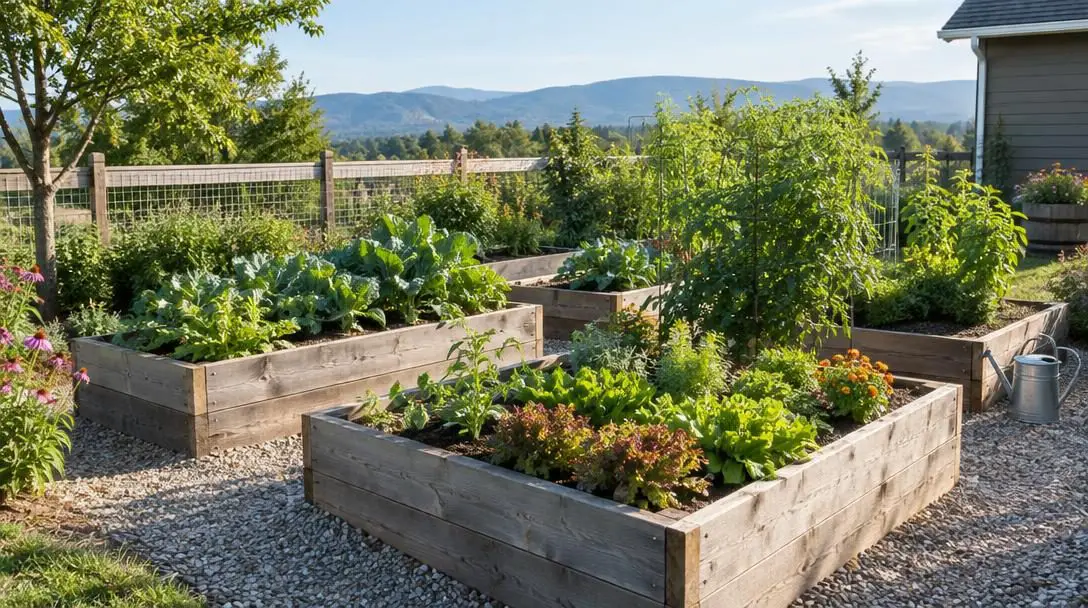
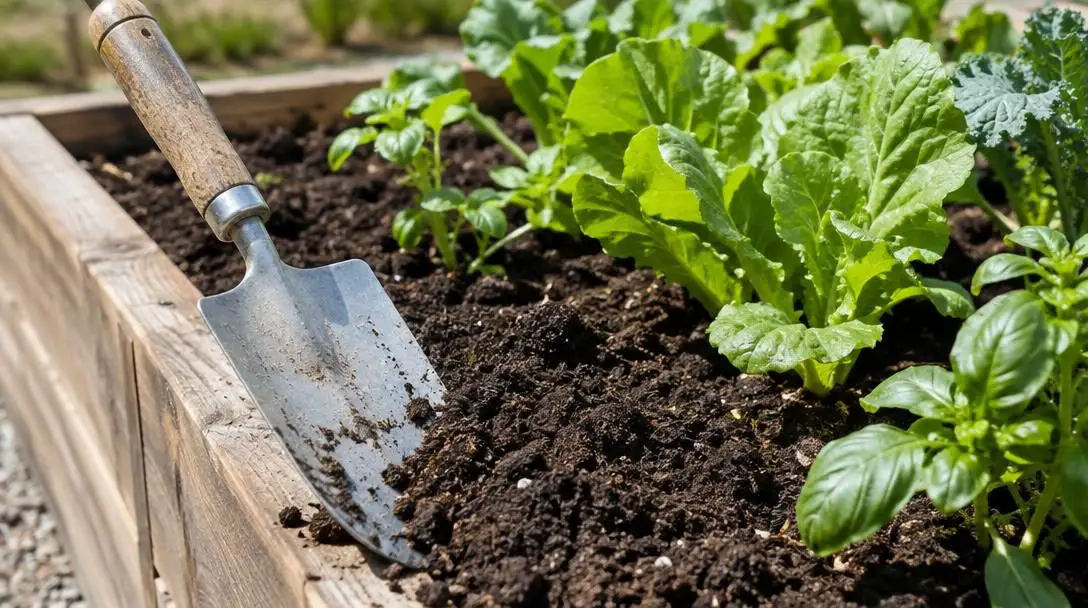
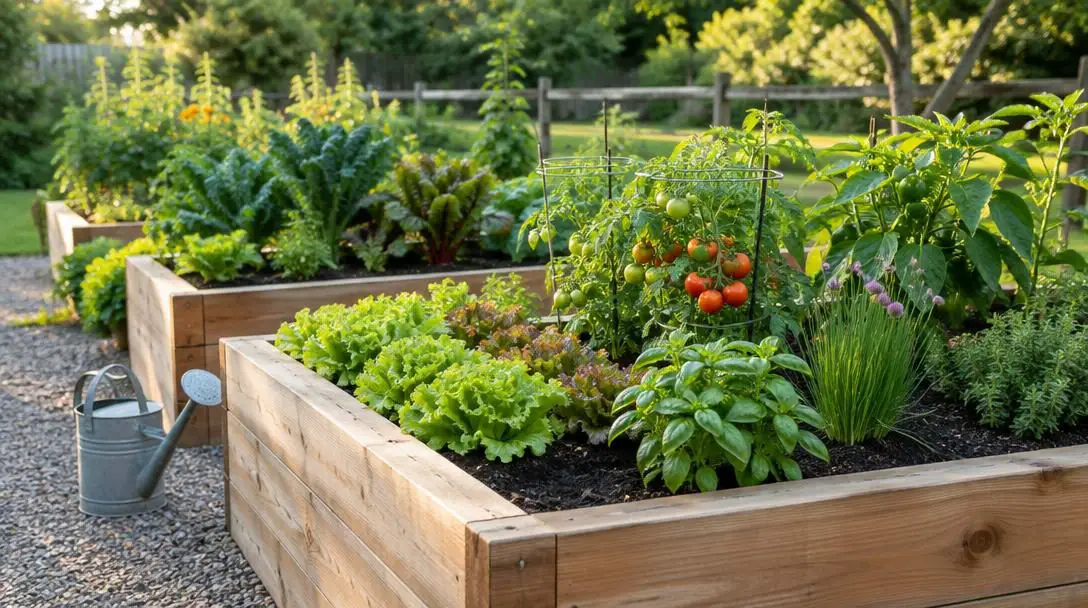
Gardening remains one of the most rewarding pursuits for homeowners and hobbyists alike, offering a direct line to fresh produce, vibrant blooms, and relaxing outdoor recreation. Yet traditional in-ground gardening frequently turns into a grueling cycle of physical labor. Repeated tilling, backbreaking digging, poor native earth, and relentless weed growth can quickly drain the joy from tending a plot. Raised bed gardening offers a practical, highly productive alternative that minimizes physical fatigue while providing total control over your growing conditions. By lifting cultivation areas above the native terrain, gardeners can establish custom soil blends, optimize drainage, boost yields, and work at a comfortable height that protects joints and muscles. <div class="takeaways"> <h2>Key takeaways</h2> <ul> <li>Elevating planting beds by at least six inches protects the growing medium from foot-traffic compaction and promotes free root development.</li> <li>Custom soil recipes using peat moss, coconut coir, perlite, vermiculite, and compost establish ideal aeration and drainage that native ground cannot match.</li> <li>Physical elevation spares gardeners from deep bending and kneeling, dramatically reducing back and knee strain during routine maintenance.</li> <li>Dense planting in porous soil creates a protective foliage canopy that suppresses weeds, preserves moisture, and boosts overall crop yields.</li> <li>Constructing beds no wider than four feet ensures all maintenance and harvesting can occur without stepping onto the loose soil.</li> </ul> </div> <h2>Understanding the Mechanics of Raised Bed Cultivation</h2> <p>At its foundation, raised bed gardening is the practice of growing plants in soil situated above the surrounding grade. Rather than digging down into whatever dirt happens to exist in your yard, you establish an elevated growing zone bounded by physical borders. To function as an authentic raised bed, the growing medium should be elevated by <strong>at least 6 inches</strong> above the surrounding ground level. These structures can take the form of freestanding timber boxes, stone enclosures, masonry units, containers, or even elevated soil mounds.</p> <p>The fundamental advantage of this system is the complete isolation of your growing medium from surrounding paths and turf. In conventional gardens, walking alongside rows inadvertently packs the soil down around root networks. When soil becomes compacted, the microscopic pockets that hold air and water collapse. In contrast, an elevated bed creates a dedicated zone where human feet never tread. The soil remains permanently loose, allowing delicate root hairs to navigate freely through the substrate without resistance.</p> <blockquote class="pull">Raising the soil level protects delicate root structures from compaction and creates an optimized microenvironment where plants flourish without native soil limitations.</blockquote> <p>Drainage is similarly enhanced by elevation. When heavy rainfall inundates a flat, in-ground garden, water frequently pools on the compacted surface or saturates dense clay subsoil, suffocating roots and triggering root rot. In a raised bed, gravity continuously pulls excess moisture downward through the uncompacted medium, allowing air to return to root zones promptly after a storm. Simultaneously, raising crops brings plants closer to eye level, streamlining regular checks for leaf-dwelling pests, root collar health, and soil moisture.</p> <h2>Popular Framing Materials for Raised Beds</h2> <p>Choosing the right border material determines not only the visual appeal of your garden but also the structural longevity of your installation. Gardeners use a variety of materials depending on their budget, available tools, and site conditions.</p> <table> <thead> <tr> <th>Material</th> <th>Durability</th> <th>Assembly Effort</th> <th>Primary Benefit</th> </tr> </thead> <tbody> <tr> <td>Untreated Cedar</td> <td>High</td> <td>Low to Moderate</td> <td>Natural resistance to rot and moisture without chemical preservatives</td> </tr> <tr> <td>Recycled Lumber</td> <td>Moderate</td> <td>Low</td> <td>Cost-effective and sustainable reuse of existing building supplies</td> </tr> <tr> <td>Bricks and Concrete Masonry</td> <td>Very High</td> <td>Moderate to High</td> <td>Permanent structural integrity and thermal mass retention</td> </tr> <tr> <td>Prefabricated Metal Panels</td> <td>High</td> <td>Low</td> <td>Sleek, modern profile with rapid assembly and thin wall boundaries</td> </tr> <tr> <td>Natural Stone Blocks</td> <td>Very High</td> <td>High</td> <td>Rustic, enduring permanence that integrates seamlessly into landscaping</td> </tr> </tbody> </table> <aside class="callout warn"> <strong>Watch out:</strong> Never use older railroad ties or repurposed lumber treated with toxic chemical preservatives such as creosote or chromated copper arsenate, as hazardous compounds can leach directly into edible vegetable roots. </aside> <h2>Building Superior Soil from Scratch</h2> <p>Perhaps the most transformative benefit of a raised bed is the ability to bypass native soil problems entirely. Heavy clay dirt holds onto water until plants drown, while loose, sandy ground allows moisture and essential nutrients to wash right through. Correcting these native deficiencies in an in-ground bed requires years of labor-intensive amendments. Raised beds allow you to build an ideal growing medium on day one.</p> <p>A balanced raised bed medium relies on a combination of structural bulk, aeration agents, and rich biological nutrition. Gardeners achieve this by custom-blending three core categories of ingredients:</p> <ul> <li><strong>Moisture-Retentive Bases:</strong> Peat moss and coconut coir serve as lightweight, absorbent foundation materials. They absorb water efficiently and release it slowly to plant roots without becoming heavy or dense.</li> <li><strong>Aeration Amendments:</strong> Materials like perlite and vermiculite prevent the growing medium from settling into a solid mass. Perlite provides volcanic porosity that promotes rapid drainage, while vermiculite provides both aeration and mild moisture retention.</li> <li><strong>Organic Matter:</strong> High-grade compost and aged organic matter introduce a steady stream of macro- and micronutrients. Compost also introduces beneficial microbial life that breaks down nutrients and supports root resilience.</li> </ul> <p>When combined, these materials yield a loose, friable mixture that feels spongy to the touch. Water absorbs rapidly and distributes evenly across the bed, eliminating surface runoff and ensuring that moisture penetrates deep into the root zone.</p> <aside class="callout note"> <strong>Good to know:</strong> Over the course of a single growing season, rich organic soil naturally settles as organic components decompose. Topping off your beds with an inch or two of fresh compost every spring replenishes lost volume and feeds the upcoming crop. </aside> <h2>Maximizing Yields Through Intensive Spacing</h2> <p>Because the growing medium in a raised bed is loose, porous, and consistently nutrient-dense, plants do not need to send their roots far out to the sides in search of water and fertility. Instead, root systems dive downward with ease. This behavioral shift allows gardeners to plant crops significantly closer together than standard seed-packet row guidelines recommend.</p> <p>Intensive planting creates a living mulch across the bed. As crops mature, their leaves intersect to form a thick, continuous canopy over the soil surface. This canopy acts as a natural sun shield that blocks ambient light from reaching the soil floor, discouraging dormant weed seeds from germinating. Furthermore, the shaded soil experiences far less surface evaporation during hot summer afternoons, conserving vital hydration.</p> <p>Closer spacing also improves cross-pollination among flowering and fruiting plants. When crops such as beans, tomatoes, and peppers are grouped into concentrated groupings, breezes and foraging insects transfer pollen between nearby blossoms far more reliably. This proximity leads to superior fruit set and substantially larger harvests from a fraction of the yard area required by conventional rows.</p> <h2>Resource Conservation and Environmental Efficiency</h2> <p>Elevated beds represent an ecologically sound approach to home horticulture. In traditional plots, broad swathes of open dirt between rows are watered and fertilized despite containing no crop roots. Water easily runs off hard, uncultivated native dirt, carrying expensive fertilizers into municipal storm drains and local watersheds. This wastefulness increases utility bills and risks ecological damage.</p> <p>Raised bed systems curb nutrient runoff through containment. Because the borders enclose the growing medium, applied nutrients and liquid organic feeds remain inside the bed boundaries where root systems can take them up. Gardeners use less fertilizer overall because none is wasted on barren access aisles.</p> <p>Water conservation is equally pronounced. Water delivered to a raised bed penetrates directly into the porous medium rather than washing across compacted footpaths. Mulched beds retain this moisture deep within the root profile, cutting down irrigation frequency. Structural containment also completely prevents the soil erosion common in tilled ground during intense downpours, keeping your fertile topsoil intact year after year.</p> <h2>Step-by-Step Raised Bed Installation</h2> <p>Establishing an elevated bed requires modest planning and basic DIY tools. Setting up your plot methodically ensures smooth drainage, easy access, and optimal seasonal growth.</p> <ol class="steps"> <li><strong>Select an appropriate location:</strong> Scout an area of your property that receives 6 to 8 hours of unfiltered daily sunlight. Confirm that the site is within comfortable reaching distance of an outdoor spigot or dedicated irrigation hose.</li> <li><strong>Choose your construction materials:</strong> Procure durable framing supplies such as untreated cedar boards, recycled composite lumber, or modular stone blocks. Ensure your chosen lumber is free of harmful chemical treatments.</li> <li><strong>Assemble the bed structure:</strong> Secure the corners with galvanized exterior screws or corner brackets. Level the frame across the chosen ground area, ensuring the perimeter walls sit at least 6 inches high. If installing multiple boxes, space them at least 3 feet apart for wheelbarrow and footpath access.</li> <li><strong>Prepare and add the soil mix:</strong> Combine roughly equal measures of peat moss or coconut coir, aeration aids like perlite or vermiculite, and high-quality organic compost. Fill the frame to within 2 inches of the upper rim to account for future settling.</li> <li><strong>Select and arrange your plantings:</strong> Pick plant varieties suited to your local hardiness zone and sunlight patterns. Arrange seedlings using concentrated hexagonal spacing rather than linear rows, keeping taller crops on the north side of the bed to prevent shading smaller plants.</li> <li><strong>Plant and hydrate thoroughly:</strong> Settle transplants or seeds into the loose medium at their recommended planting depths. Water the entire bed deeply with a soft-spray nozzle to seat the soil firmly around root networks and remove large air pockets.</li> </ol> <aside class="callout tip"> <strong>Tip:</strong> Keep the width of your raised beds to 4 feet or less. A four-foot width allows an average adult to reach the absolute center of the bed from either side without leaning on the soil or stepping inside the box. </aside> <h2>Common Raised Bed Mistakes to Avoid</h2> <p>While elevated gardening circumvents many traditional headaches, beginners often encounter avoidable difficulties if they treat raised beds exactly like in-ground plots. Keep these precautions in mind:</p> <ul> <li><strong>Filling beds with garden topsoil:</strong> Digging up native backyard dirt to fill a new bed introduces weed roots, pest larvae, and heavy clay that quickly compacts inside framed walls, suffocating root structures.</li> <li><strong>Excessive plant overcrowding:</strong> While dense spacing works well in raised beds, cramming crops beyond reason chokes out airflow. Stagnant, humid microclimates invite powdery mildew and fungal blights while forcing plants to battle for sunlight.</li> <li><strong>Neglecting daily moisture checks:</strong> Because elevated soil mixtures drain water with exceptional speed, they dry out far faster than dense native dirt during peak summer heatwaves. Consistent soil checks are essential.</li> <li><strong>Building oversized dimensions:</strong> Constructing a bed wider than 4 feet makes routine tasks agonizing. If you cannot reach the center easily, you will eventually step inside, undoing all benefits of uncompacted soil.</li> <li><strong>Using unvetted reclaimed materials:</strong> Sourcing mystery wood from industrial shipping pallets or treated utility poles risks bringing chemical contamination directly into your food supply.</li> </ul> <h2>Ongoing Seasonal Maintenance</h2> <p>Keeping a raised bed productive across multiple years requires focused, seasonal upkeep rather than heavy physical exertion. In early spring, elevated soil warms up faster than surrounding native ground, granting gardeners a head start of several weeks on cool-season crops such as spinach, lettuce, and radishes. Take advantage of this early warming by prepping the beds with a fresh layer of compost as soon as hard freezes end.</p> <p>As summer conditions peak, high ambient heat can increase soil temperatures inside exposed beds. Applying a two-inch layer of clean straw, shredded bark, or leaf mulch across the soil surface shields delicate roots from intense heat spikes and slashes moisture evaporation. Mulch also breaks the impact of heavy watering droplets, preserving the crumbly texture of your upper soil blend.</p> <p>As autumn arrives, simple additions can extend your growing window deep into cold months. Gardeners often attach lightweight PVC conduit hoops or wooden cold frame lids directly to the raised bed walls. Covering these structures with clear horticultural plastic or floating row covers traps residual solar warmth, insulating cold-hardy greens and root vegetables from damaging frost.</p> <section class="faq"> <h2>Frequently asked questions</h2> <details> <summary>How deep should a raised garden bed be?</summary> <p>A raised bed should be at least 6 inches deep to qualify as an elevated growing zone and provide adequate clearance for shallow-rooted crops. However, a depth of 10 to 12 inches is ideal for most vegetables, as it offers ample room for extensive taproots like carrots and tomatoes to expand downward without impedance.</p> </details> <details> <summary>Can I fill a raised bed with regular dirt from my yard?</summary> <p>No, using native yard dirt is discouraged because it usually contains heavy clay, weed seeds, and soil-borne pathogens. Once placed in an enclosed frame, ordinary dirt packs down tightly, eliminating aeration and destroying the natural drainage that makes raised beds so productive.</p> </details> <details> <summary>Do raised garden beds dry out faster than in-ground plots?</summary> <p>Yes, because raised beds sit above ground level and contain loose, porous soil blends, they drain water more rapidly and warm up faster in the sun. During extended heatwaves, you must monitor moisture levels regularly and use organic mulch on the surface to help retain water in the root zone.</p> </details> <details> <summary>Why should a raised bed be no wider than four feet?</summary> <p>A maximum width of four feet allows you to comfortably reach the center of the bed from either side without bending awkwardly or stepping onto the planting surface. Preserving the bed from foot traffic prevents soil compaction, which is essential for healthy root growth and easy hand weeding.</p> </details> <details> <summary>How do I refresh the soil in my raised bed each year?</summary> <p>Because intensive vegetable crops extract nutrients and the organic matter gradually decomposes, top off your raised beds before every spring planting. Add a 1- to 2-inch layer of high-quality compost or aged organic matter and lightly work it into the top few inches of soil to restore fertility and structure.</p> </details> </section> <h2>The bottom line</h2> <p>Raised bed gardening solves the primary hurdles that cause many backyard growers to abandon traditional plots. By lifting crops away from compacted native ground, you gain total authority over soil composition, drainage, weed pressure, and plant nutrition. At the same time, the physical elevation eliminates punishing bending and kneeling, ensuring that seasonal garden tasks remain engaging rather than exhausting. With quality building materials, a balanced organic soil blend, and thoughtful spacing, a raised bed transforms any outdoor space into a lush, bountiful, and sustainable harvest center.</p>