The Secret to Successful Seed Starting: Tips and Tricks
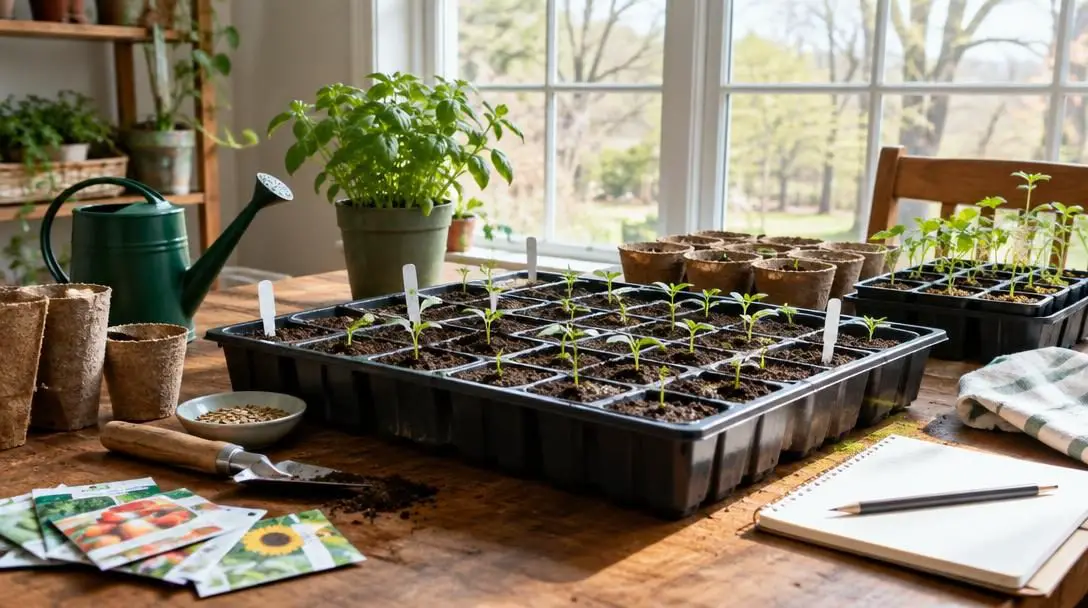
Planning a garden is an exciting venture, and starting your seeds indoors is one of the most effective strategies to get a head start on the growing season. By initiating the plant cycle in a controlled indoor setting, gardeners can nurture tender crops and flowers well before outdoor soil warms and frost recedes. This early head start produces sturdy, vibrant seedlings that are primed to hit the ground running the moment spring weather turns favorable.
However, indoor propagation demands careful attention to environmental conditions. When young seedlings struggle or experience chronic stress, gardeners sacrifice the vital advantages of starting early. Stunted or fragile plants rarely catch up once shifted outdoors, which can derail months of careful planning. Understanding the biological requirements of seed germination and seedling vigor is the key to producing robust transplants that yield an abundant harvest.
Key takeaways
- Starting seeds indoors lets gardeners establish strong root systems and healthy foliage weeks ahead of the outdoor growing season.
- A balanced soil mix composed of equal parts peat moss, perlite, and vermiculite provides optimal drainage, aeration, and moisture retention.
- Maintaining soil temperatures between 65 and 75 degrees Fahrenheit under fluorescent grow lights running 14 to 16 hours daily ensures compact, sturdy growth.
- Careful watering prevents damping off disease, while a gradual hardening-off process protects delicate plants from transplant shock.
The Science of Germination and Early Plant Growth
Seed germination is the precise biological process where a dormant plant embryo awakens and transforms into an active seedling. Inside every viable seed sits an embryonic plant structure supported by a concentrated endosperm—a built-in food reserve that fuels the initial burst of cellular division. To break dormancy, the seed must encounter a specific combination of three non-negotiable external factors: consistent moisture, gentle warmth, and oxygen.
When water absorbs through the outer seed coat via imbibition, it activates dormant enzymes that metabolize stored starches and proteins into usable fuel. The expanding embryo fractures the outer shell, sending a primary root (the radicle) downward to anchor into the soil and an embryonic shoot upward toward available warmth and light.
When light, heat, and moisture are held in balance, young seedlings channel energy directly into thick stems and resilient root structures.
Once the green sprout breaches the surface, its environmental priorities change rapidly. Underground, the fledgling root system requires a delicate equilibrium: soil must hold enough water to sustain hydration without displacing the microscopic air pockets that roots require to breathe. Above ground, newly deployed foliage needs targeted light to commence photosynthesis. During this metabolic transformation, chlorophyll captures light wavelengths to convert atmospheric carbon dioxide and water into essential plant sugars. If any single variable falls out of alignment, the seedling's cellular development stutters.
Six Core Principles for Indoor Seed Starting Success
Cultivating resilient transplants requires aligning your indoor environment with the natural rhythms of plant physiology. By mastering these six essential principles, you establish the foundation for uniform germination and vigorous vegetative growth.
1. High-Quality Seed Selection
The genetic vigor and physical condition of your seeds fundamentally determine your garden's ultimate performance. High-quality seed stock delivers superior germination rates and produces seedlings capable of weathering environmental shifts. Always procure seeds from dependable suppliers that adhere to strict storage and purity standards.
Always inspect the packaging date printed on the packet before planting. Seeds are living organisms; over time, cellular degradation diminishes their energy reserves, leading to patchy germination and languid sprout development. If you are working with leftover packets from previous seasons or unsure of how the seeds were stored, conduct a quick germination test beforehand. Place ten seeds between moist paper towels inside an unsealed plastic bag for several days to evaluate how many sprout before dedicating valuable tray space.
2. The Right Seed-Starting Medium
Ordinary garden topsoil has no place in indoor seedling flats. Outdoor dirt is dense, compacts tightly within shallow containers, drains poorly, and routinely harbors weed seeds, pest larvae, and soil-borne fungal spores. Seedlings thrive in a specialized medium that is exceptionally fine-textured, sterile, and free-draining.
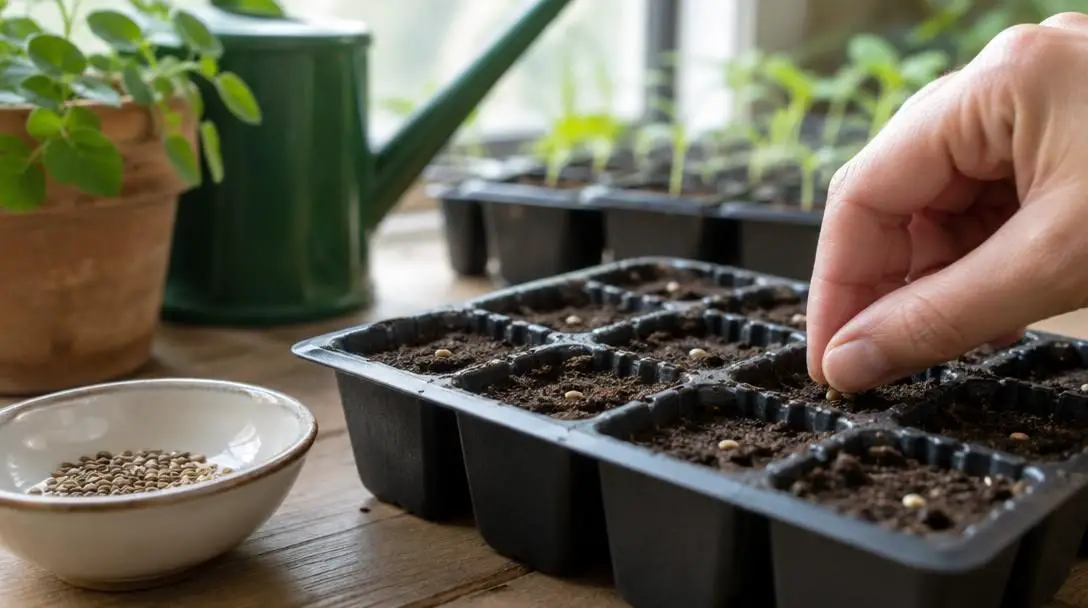
Commercial soilless seed mixes work well, but blending your own allows total control over physical properties. A proven custom recipe combines three basic ingredients in equal proportions: peat moss, perlite, and vermiculite. Together, these components create an airy, sponge-like structure that encourages rapid root exploration while shedding excess water.
| Component | Primary Function | Physical Benefit to Seedlings |
|---|---|---|
| Peat Moss | Moisture Retention | Creates a lightweight, spongy foundation that holds water without heavy compaction. |
| Perlite | Drainage and Aeration | Inert volcanic granules that prevent soil packing and introduce essential root air pockets. |
| Vermiculite | Moisture Buffering | Expands to manage capillary moisture and improves aeration immediately around developing roots. |
3. Constant Warmth and Ambient Humidity
Most vegetable and flower seeds germinate most reliably when the surrounding soil maintains an internal temperature between 65 and 75 degrees Fahrenheit. Ambient indoor air temperatures are often several degrees cooler than the root zone inside a damp soil flat, slowing enzyme activity and prolonging germination times.
Setting your seedling flats on specialized waterproof heat mats elevates root-zone temperatures to the ideal range. To keep moisture consistent around germinating seeds, fit trays with clear plastic humidity domes or sheets. These covers trap moisture evaporating from the medium, establishing a stable microclimate that prevents the surface of the soil from crusting over before fragile shoots can push through.
4. Targeted Artificial Lighting
A sunny south-facing windowsill is rarely sufficient for growing stocky seedlings in late winter or early spring. Weak, angled sunlight forces young stems to stretch frantically toward the glass, resulting in pale, spindly plants known as leggy seedlings. These frail stems lack the structural lignin required to stand upright outdoors.
Fluorescent grow lights deliver the broad red and blue light spectrums necessary to support balanced photosynthesis and compact structural growth. Suspend your light fixtures merely a few inches above the tops of the emerging leaves, raising the lights gradually as the plants grow. Keep lights active for an average of 14 to 16 hours daily, using an automated mechanical or digital timer to maintain a predictable day-night rhythm that provides young plants with their necessary dark resting phase.
5. Precise Moisture Management
Water management is one of the most delicate aspects of seedling care. Seedling flats feature shallow cells with limited soil volume, meaning they dry out rapidly under artificial warmth yet can drown quickly if watered indiscriminately. Root tips require ongoing access to gaseous oxygen; saturated, waterlogged soil suffocates roots and invites pathogenic soil fungi.
The most devastating consequence of chronic overwatering is damping off, a fungal condition that attacks tender seedling stems at the soil line, causing them to collapse and rot overnight. To protect against disease, apply fresh water only when the surface of the soil medium begins to turn pale and dry to the touch, and empty any excess water standing in collection trays beneath the cells.
6. Hardening Off and Transplanting
Transplanting marks the bridge between the sheltered indoor nursery and the dynamic outdoor landscape. Plants must possess an established root system before being moved into larger pots or outdoor beds, yet leaving them in starter trays too long can cause them to become root-bound and stunted.
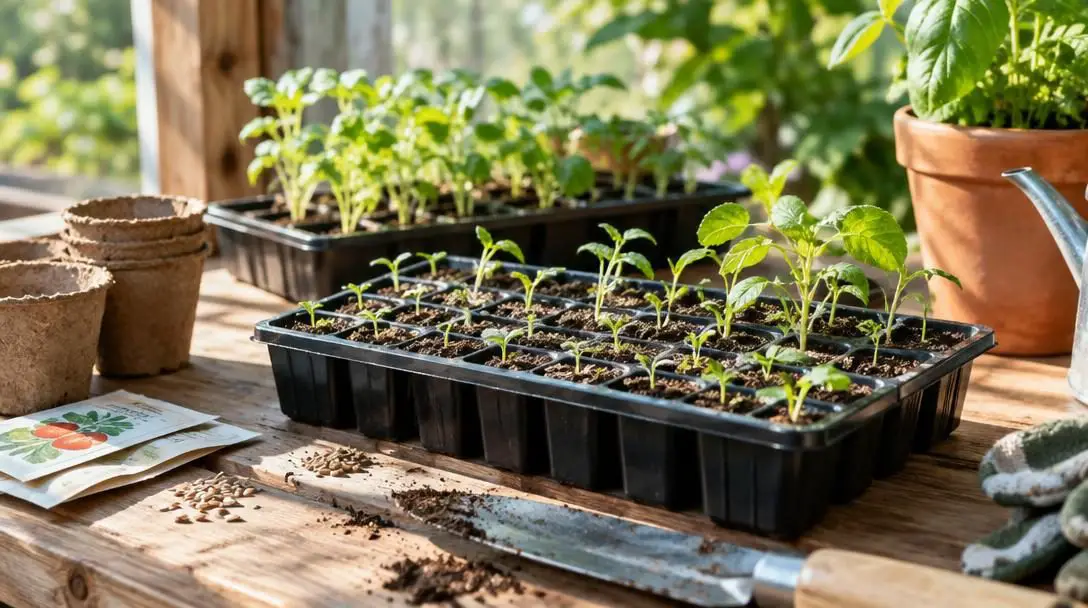
Before outdoor planting, seedlings must undergo hardening off. This transition protocol acclimates plants to natural ultraviolet sunlight, temperature fluctuations, and wind gusts over an extended period. Gradual exposure thickens stem walls and hardens leaf cuticles, drastically minimizing transplant shock and preventing leaf scorch once plants settle into their permanent garden plots.
Practical Step-by-Step Seed Starting Process
Executing an indoor growing plan requires a clean workspace and an orderly routine. Follow these sequential steps from the initial tray preparation to final garden installation:
- Gather equipment and materials: Collect sanitized seed trays or cell inserts, clean collection flats, clear humidity covers, heat mats, fluorescent fixtures with timers, your viable seed packets, and a sterile seed-starting mix.
- Verify seed viability: Check the printed expiration dates on seed packaging. If using older seed stock, run a quick germination test on moist paper towels to confirm strong emergence rates before sowing entire flats.
- Prepare and pre-moisten the medium: Combine equal parts peat moss, perlite, and vermiculite (or use a sterile commercial mix). Add warm water and blend until the substrate is thoroughly damp but not dripping wet, then fill trays loosely without packing the soil down.
- Sow seeds at correct depths: Plant seeds according to the specific depth recommendations on the seed packet. Gently dust soil mix over the seeds and lightly tamp the surface to ensure positive seed-to-soil contact.
- Set up heat and moisture covers: Place the seeded flats onto heat mats calibrated between 65 and 75 degrees Fahrenheit. Cover the flats with clear humidity domes to retain ambient moisture and check daily for initial sprout emergence.
- Introduce light upon emergence: The moment green shoots emerge through the soil surface, remove the humidity domes immediately. Position fluorescent grow lights two to three inches above the foliage, setting a timer for 14 to 16 hours of daily illumination.
- Monitor and adjust moisture levels: Inspect your trays daily. Water gently with a fine mist or from the bottom whenever the top layer of the growing medium starts to dry out, keeping the soil moist without waterlogging the roots.
- Begin the hardening-off protocol: As outdoor temperatures moderate and seedlings fill out their cells, move trays outside to a sheltered, shaded location for an hour on the first day. Gradually increase daily exposure to ambient breezes and direct sunlight over 7 to 10 days.
- Transplant into final locations: Once plants are thoroughly hardened off, gently ease them from their starter cells by supporting the root ball, then plant them into larger containers or prepared garden beds at their recommended spacing.
Common Seed Starting Mistakes to Avoid
Even seasoned gardeners make small operational errors that compromise tray productivity. By recognizing these common pitfalls early, you can take preventative steps to protect your seedlings from irreparable damage:
- Sowing out-of-date or poorly stored seeds: Seeds subjected to fluctuating heat and humidity lose vigor rapidly. Relying on stale seeds results in erratic germination rates, spotty flats, and weak primary shoots that struggle to break their seed hulls.
- Relying on dense garden dirt: Using outdoor soil inside flats introduces weed seeds, fungal spores, and soil-borne insects while packing into a dense, airless crust that strangles fine seedling roots. Stick strictly to sterile, soilless mixes.
- Allowing root zones to remain cold: Germinating seeds in chilled rooms without supplemental heat prolongs the emergence window, increasing the likelihood that seeds will rot in the damp medium before sprouting. Keep trays uniformly between 65 and 75 degrees Fahrenheit.
- Failing to provide close, direct light: Placing seedlings far from light sources or depending entirely on window light causes weak, leggy stems. Keep fluorescent bulbs positioned just above the canopy to promote stout, upright growth.
- Overwatering and restricting root oxygen: Keeping flats continuously drenched drives oxygen out of the soil and fuels fungal pathogens like damping off. Water only as the soil surface begins to dry.
- Rushing plants directly outdoors: Exposing indoor-grown plants directly to wind, cold nights, and intense sun causes transplant shock, leaf scorching, and root death. Always complete a deliberate hardening-off period.
Advanced Considerations for Expanding Your Indoor Setup
After mastering the basic mechanics of germination and tray care, you can refine your indoor growing system to maximize yield and transition plants into the outdoor landscape without delay.
Maintaining a dedicated garden log is an invaluable habit. Different plant families exhibit wildly diverse growth trajectories; while fast-growing brassicas may require only four weeks indoors, slow-growing peppers and eggplants often demand eight weeks or more. By documenting exact sowing dates, days to emergence, and the timing of outdoor transplanting, you can fine-tune your propagation calendar for subsequent growing seasons, ensuring every flat reaches peak planting size at the ideal moment.
Another crucial variable is post-germination nutrition. Soilless mixes made of peat moss, perlite, and vermiculite provide an ideal sterile structure for delicate roots, but they contain virtually no inherent plant nutrients. While the seed's endosperm supplies sufficient energy to push out the initial cotyledons (seed leaves), seedlings exhaust these reserves once they produce their first true leaves. At this stage, incorporate gentle, diluted plant nutrients into your watering routine to fuel vegetative development until planting day.
Finally, align indoor production with outdoor preparation. Clear garden beds of weeds, amend the soil with mature compost, and set up your trellises and irrigation lines well before the hardening-off process finishes. Having beds completely ready to receive transplants prevents root-bound seedlings from languishing in undersized plastic cells.
Frequently asked questions
Why are my indoor seedlings growing tall, thin, and spindly?
Seedlings turn leggy when they receive insufficient light intensity. Stems stretch rapidly toward distant light sources, creating weak, fragile structures. To fix this, place fluorescent grow lights just two to three inches above the plant canopy and run them for 14 to 16 hours daily.
What is damping off disease, and how do I prevent it?
Damping off is a fatal fungal condition caused by excess moisture, poor airflow, and cold conditions. It causes stems to rot and collapse at the soil surface. Prevent it by using sterile soilless mix, maintaining warm soil with heat mats, providing gentle air movement, and avoiding saturated, waterlogged trays.
What soil temperature do seeds need to germinate successfully?
Most vegetable and flower seeds germinate best when the soil temperature stays consistently within the range of 65 to 75 degrees Fahrenheit. Placing waterproof heat mats underneath starter trays maintains this optimal range far better than ambient indoor room air.
How do I test older seeds before planting an entire tray?
Moisten a paper towel, arrange ten seeds across one half, fold it over, and seal it inside a plastic bag. Place the bag in a warm spot for a few days to a week. Count the number of germinated seeds to calculate your viability rate before filling your trays.
How long should I harden off seedlings before planting them outside?
Hardening off typically takes 7 to 10 days. Start by placing trays in a sheltered, shaded outdoor spot for an hour or two, then gradually increase their exposure to outdoor breezes, ambient temperatures, and direct sunlight over the course of a week.
The Bottom Line
Starting seeds indoors empowers gardeners to expand their variety selection, cultivate healthier plants, and extend the natural growing season. By investing in clean, sterile growing media, maintaining consistent soil warmth between 65 and 75 degrees Fahrenheit, and providing 14 to 16 hours of dedicated grow light daily, you build an ideal microclimate for emerging plants. Pair these environmental controls with careful moisture management and a patient hardening-off routine, and your indoor nursery will reliably supply vigorous, resilient transplants ready to thrive in the garden.