Easy Ways To Get Started In Gardening
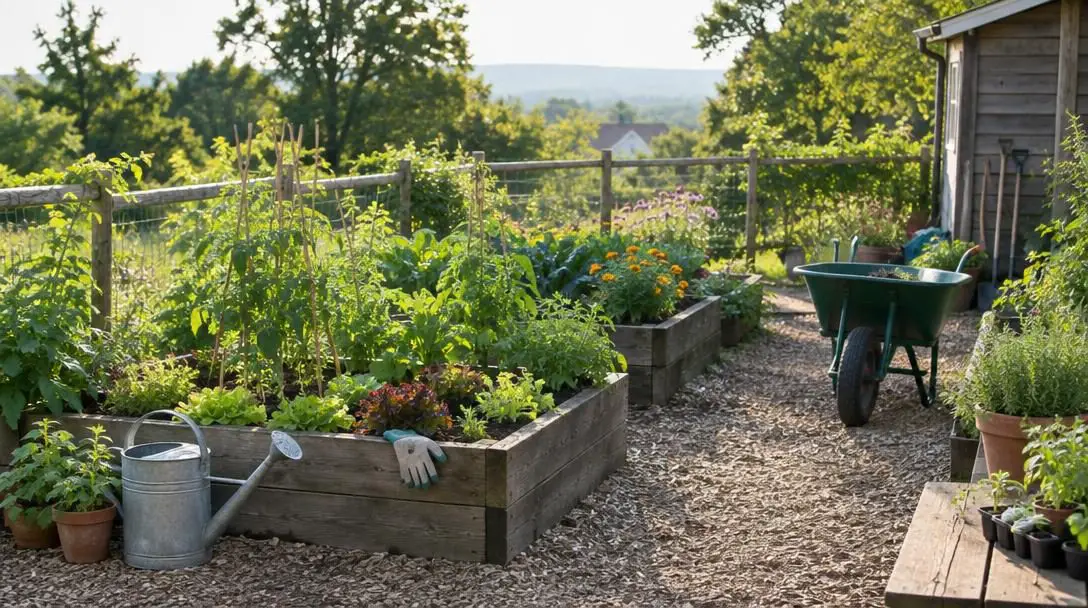
Gardening is an accessible and deeply rewarding pastime that delivers substantial benefits for physical health, mental equilibrium, and daily well-being. Getting your hands close to living greenery helps reduce stress, ease lingering anxiety, and relieve symptoms of depression, while the gentle physical activity boosts strength and sharpens mental acuity, including memory retention. Beyond personal wellness, tending living plants brings vibrant organic beauty indoors and yields fresh, nutrient-dense produce for home cooking. Whether pursued as a meditative solo ritual or as an engaging family activity, growing plants connects you directly to the rhythms of the natural world.
For complete novices who have never germinated a seed or cared for a houseplant, horticulture can appear intimidating. The conventional picture of sprawling outdoor plots, strenuous earth-tilling, and confusing seasonal planting schedules often discourages beginners before they even begin. In truth, modern gardening offers effortless entry points tailored for small apartments, bright kitchen windowsills, and modest patio corners. By starting indoors with controlled, manageable setups, you bypass physical strain and complex landscape maintenance while building practical confidence through daily observation.
Key takeaways
- Indoor gardening eliminates traditional barriers like heavy digging and unpredictable outdoor weather by using compact, manageable spaces.
- Plants function as self-regulating biological systems that flourish predictably when provided with balanced light, moisture, nutrients, and stable temperatures.
- Four accessible starting methods—windowsill potted herbs, automated self-watering gardens, fast-growing microgreens, and water-based scrap regeneration—deliver quick results for beginners.
- Consistent daily observation and proper drainage prevent the most common beginner pitfalls, including root suffocation and temperature shock.
The fundamentals of how indoor cultivation works
Every successful grower develops practical competence by understanding one core truth: plants are self-regulating biological systems that respond systematically to environmental signals. Cultivation does not demand round-the-clock intervention; rather, it requires providing essential resources in the right proportions. When you supply adequate illumination, appropriate moisture levels, root aeration, and basic nutrition, botanical life thrives with surprising resilience.
In traditional outdoor farming, growers must constantly react to unpredictable weather, poor soil composition, and pest pressures. Indoor cultivation simplifies these variables by placing the plant in a contained, observable micro-environment. Whether you use a terracotta container on a kitchen counter or an automated hydroponic reservoir on a bookshelf, you maintain direct influence over the primary drivers of photosynthesis and cellular development.
Beginning your journey with manageable indoor methods removes physical strain and complex landscape maintenance, allowing you to develop a green thumb through controlled and easily observable routines.
By focusing on compact, indoor systems, beginners master foundational horticultural principles on a small scale. You learn to read subtle signals in foliage, assess root hydration by touch, and understand the crucial relationship between illumination duration and vigorous stem growth. These baseline competencies establish the skills required to manage larger gardening projects over time.
At a glance: Four beginner-friendly indoor growing methods
tbody| Growing Method | Primary Setup | Light Requirement | Typical Harvest Window | Key Benefit |
|---|---|---|---|---|
| Potted Culinary Herbs | Containers with drainage holes and potting soil | Direct sunlight or 12–14 hours grow light | Ongoing leaf snipping as mature | Teaches fundamental soil and moisture management |
| Automated Indoor Gardens | Self-watering hydroponic unit with seeded pods | Built-in automated LED light cycle | Continuous growth after germination | Removes guesswork with scheduled lighting and moisture |
| Nutritious Microgreens | Shallow tray or seed mat with light medium | Warm ambient light or simple lamp | 2 to 10 days from seeding | Ultra-rapid yield utilizing seed nutrition reserves |
| Kitchen Scrap Regeneration | Shallow dish or glass jar with clean water | Sunny windowsill | Ongoing regrowth of tender shoots | Zero-cost, thrifty reuse of everyday cooking scraps |
Four practical paths to launch your first garden
Selecting the right gardening method depends on your living space, available natural light, and personal goals. Beginners can choose from four proven, low-barrier approaches to start cultivating edible plants and decorative foliage immediately.
Potted culinary herbs
Potted container gardening serves as the quintessential foundation for new growers. Confining a plant to a pot restricts its root system to a distinct, manageable volume of soil, creating a miniature ecosystem where you directly regulate moisture, airflow, and root development. The potting mix anchors the root structure while holding water and essential minerals that the plant draws upward into its stems and aromatic leaves.
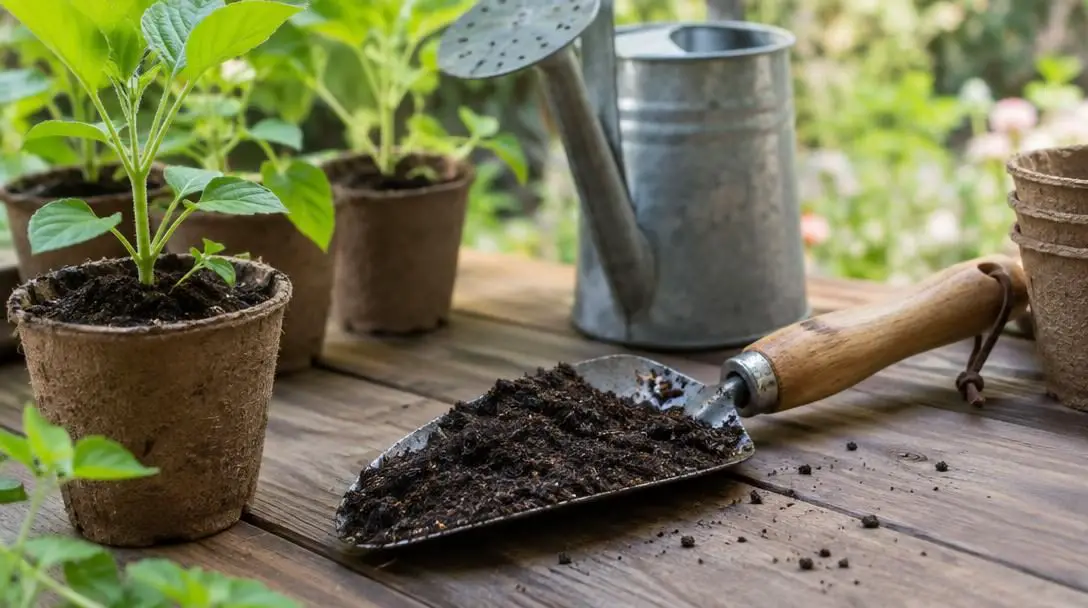
Cultivating kitchen herbs on a windowsill delivers practical, flavorful rewards for home cooking while establishing foundational gardening skills. Hardier culinary varieties adapt exceptionally well to indoor spaces, forgiving minor beginner mistakes while producing fragrant harvests.
Follow these steps to establish your potted herb garden:
- Select dependable indoor herb varieties such as parsley, thyme, basil, mint, or chives.
- Pot each herb in a sturdy container equipped with base drainage holes to ensure proper moisture runoff.
- Position the containers along a bright windowsill receiving direct sunlight, ideally facing south or southwest.
- Install an artificial grow light connected to an automatic timer set for 12 to 14 hours daily if natural sun exposure is inadequate.
- Arrange pots so foliage never rests against hot or freezing window panes, avoiding thermal leaf scorch.
- Check the soil hydration regularly by dipping your finger into the pot, adding fresh water only when the top half-inch feels dry.
- Snip mature leaves with clean kitchen shears as needed to season daily home cooking.
Self-watering indoor gardens
For individuals who want fresh homegrown produce with minimal manual calibration, automated self-watering systems offer a streamlined, highly predictable alternative. Modern smart gardens utilize compact hydro-culture or specialized pod configurations, pioneered by manufacturers such as Click and Grow or Aero Garden. These units house seeds inside pre-seeded pods packed with tailored growing media and balanced nutrients.
The integrated LED lighting arrays in these units reproduce the solar spectrum, ensuring robust photosynthesis regardless of gloomy weather, season, or window placement. Automated timers distribute light and moisture on calibrated intervals, removing the risk of overwatering or dehydration.
- Set up an automated countertop garden unit on a stable surface near a standard electrical wall outlet.
- Insert the manufacturer-supplied plant pods containing seeds, growing medium, and plant food into the designated slots.
- Pour clean, room-temperature water into the integrated reservoir up to the designated fill line.
- Plug in the unit to activate the automated lighting schedule, water pump, and nutrient distribution cycle.
- Check the visual water level gauge periodically and top off the reservoir when prompted.
- Observe seedling emergence and harvest mature greens, herbs, or flowers directly from the unit.
Nutritious microgreens
Microgreens represent the transitional growth stage between a freshly sprouted seed and a mature baby green. Because young microgreen shoots draw primarily on the nutritional energy reserves locked within the seed itself, they do not require extensive soil prep, specialized fertilizers, or months of care. Commercial kits and supplies from providers like True Leaf Market, Hamama, or Urban Leaf make setting up a tray simple and mess-free.
These tiny plants develop bold, concentrated flavors and exceptional nutrient density within just 2 to 10 days. Their miniature footprint makes them ideal for small countertops, and their rapid turnaround offers immediate positive feedback for first-time growers.
- Acquire specialized microgreen trays, shallow dishes, or pre-seeded growing mats from a reputable supplier.
- Spread seeds evenly across the surface of the moistened growing medium to create a uniform, dense canopy.
- Mist the seeds thoroughly using a gentle hand spray bottle to initiate germination without dislodging the seed coat.
- Keep the seeded tray in a warm, sheltered location until shoots sprout upward.
- Move the sprouted greens into gentle natural ambient light or beneath a simple desk lamp to encourage deep color.
- Cut the greens cleanly at the soil line with sharp kitchen shears within 2 to 10 days and add them directly to soups, salads, and wraps.
Regrown kitchen scraps
Kitchen scrap gardening is an economical, zero-waste approach that demonstrates the innate survival mechanisms of biennial and perennial plants. Vegetable bases and root tops from crops like scallions, onions, beets, carrots, lettuce, bok choy, and celery contain active, specialized plant tissue capable of rapid cellular regeneration. When placed in water with access to ambient sunlight, these discarded culinary cuttings produce brand-new root structures and fresh green shoots.
This technique requires no commercial potting soil or dedicated equipment, making it an engaging and thrifty project to maintain on a bright kitchen windowsill.
- Save the trimmed root bases, bottoms, or crown cut-offs from scallions, celery, lettuce, bok choy, carrots, or beets during meal preparation.
- Pour a shallow layer of clean water into a small ceramic saucer, shallow dish, or clear glass jar.
- Place root bases upright in the dish, ensuring the bottom remains submerged while keeping the upper cut surfaces above water.
- Suspend larger root crowns or vegetable stems across wide-mouth jars using toothpicks pushed into their sides for structural support.
- Set the container on a sunny windowsill where ambient light can prompt photosynthesis in developing leaves.
- Rinse and refill the water reservoir every day or two to maintain clean, well-oxygenated conditions.
- Snip off newly emerged leaves and shoots once they attain edible size, leaving the base in place for further growth.
Crucial mistakes to avoid in your first garden
Even though indoor cultivation is accessible, beginners often encounter small hurdles that can stall plant growth or damage root systems. Being aware of these frequent mistakes will ensure your indoor garden thrives consistently:
- Overwatering container soil: Adding moisture while the soil remains wet deprives roots of oxygen and causes root suffocation. Always confirm that the top half-inch of soil feels dry before watering.
- Resting foliage against window glass: Window panes transmit intense outdoor temperature swings. Touching icy winter panes or sun-scorched summer glass damages delicate leaf tissue.
- Inadequate or irregular lighting hours: Providing unpredictable light cycles stresses stems and causes plants to stretch weakly. Use an automatic timer set for 12 to 14 hours of steady daily light.
- Leaving scrap water stagnant: Forgetting to change the liquid in kitchen scrap dishes depletes oxygen and causes soft stem rot. Rinse and renew water every 24 to 48 hours.
- Neglecting container drainage: Planting directly into solid containers without bottom drainage holes causes standing water to pool at the base, rotting the root network.
- Harvesting microgreens too late: Letting microgreens grow past their initial leaf stage yields tough, woody stems and bitter flavors. Harvest promptly within the 2- to 10-day window.
- Skipping daily visual observations: Overlooking early signs like leaf wilt, discoloration, or drying soil delays corrective care. A quick sixty-second inspection each day keeps issues manageable.
Expanding your indoor growing routine
Once you achieve consistent success with your first herbs, self-watering systems, microgreens, and regrown kitchen scraps, you can systematically scale up your indoor garden. Start by mapping out the distinct microclimates throughout your home. Notice how light intensity changes between southern windows that receive bright afternoon sun and eastern windows bathed in gentle morning light. Matching specific plant requirements to these environmental zones optimizes growth without requiring extra gear.
As your container collection expands, consider experimenting with tailored potting mixes containing perlite, vermiculite, and coco coir to balance moisture retention with root aeration. Incorporating mild organic liquid fertilizers supports steady, long-term vitality for heavy-feeding herbs like basil and mint.
Gardeners seeking greater yields often assemble multi-tiered wire shelving units equipped with linked full-spectrum grow light fixtures. This vertical arrangement allows you to rotate continuous batches of microgreen flats on lower levels while keeping mature pots of parsley, thyme, and chives thriving above. During mild seasons, moving your potted containers onto an outdoor porch or balcony offers an effortless bridge to open-air gardening without the labor of breaking ground.
Frequently asked questions
How much natural sunlight do indoor herbs require to thrive?
Culinary herbs generally require bright, direct natural light for optimal growth, making south- or southwest-facing windowsills ideal. If your home lacks strong natural sun, install an artificial grow light set on an automatic timer to provide 12 to 14 hours of consistent illumination daily.
Why are microgreens harvested so much earlier than regular vegetables?
Microgreens are eaten at the transitional stage between sprout and baby green, which occurs between 2 and 10 days after germination. At this stage, the young shoots are powered by the concentrated nutrition stored inside the seed coat, delivering peak tenderness, rich nutrients, and vibrant flavor before the plant requires extensive soil nutrients.
Can kitchen vegetable scraps keep producing new food indefinitely?
Regrowing kitchen scraps like scallions, celery, and lettuce provides several rounds of tender green shoots through rapid cell division. However, water alone does not supply the full spectrum of soil minerals needed for infinite growth, so scraps eventually exhaust their stored cellular reserves and should be replaced with fresh cuttings.
How can I tell if I am overwatering my potted plants?
The most common sign of overwatering is persistently damp soil accompanied by yellowing, drooping leaves and a sour odor from the pot. To prevent this, always ensure your pots have functional drainage holes and verify that the top half-inch of soil feels dry to the touch before adding water.
Do automated indoor gardens require specialized tap water or chemicals?
Most commercial systems, such as Click and Grow or Aero Garden, operate using standard clean, room-temperature tap water. The necessary plant food and mineral nutrients are built directly into the pre-seeded pods or added as measured liquid drops according to the unit's guidelines.
The bottom line
Cultivating an indoor garden does not require acres of land, expensive equipment, or innate talent. By focusing on practical methods like container herbs, automated hydroponic units, microgreens, and scrap regeneration, anyone can enjoy the physical and mental rewards of horticulture from the comfort of home. Treat every seedling as an opportunity to observe how plants interact with light and moisture, maintain simple daily routines, and savor the satisfaction of harvesting your own fresh, homegrown greens.